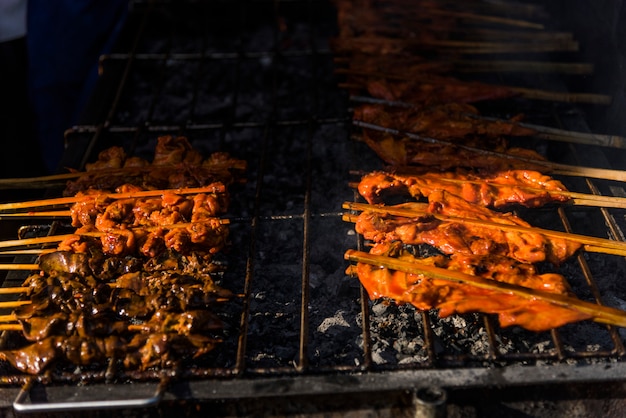
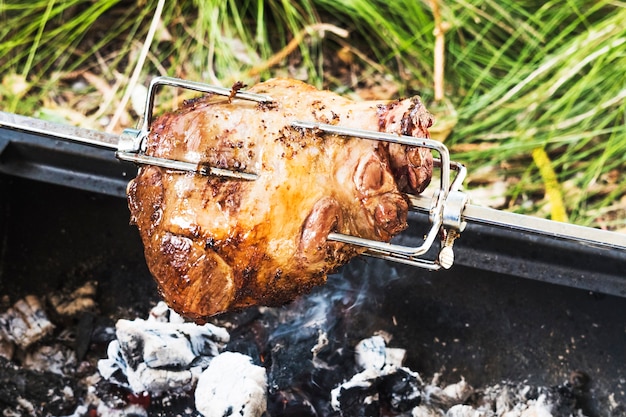
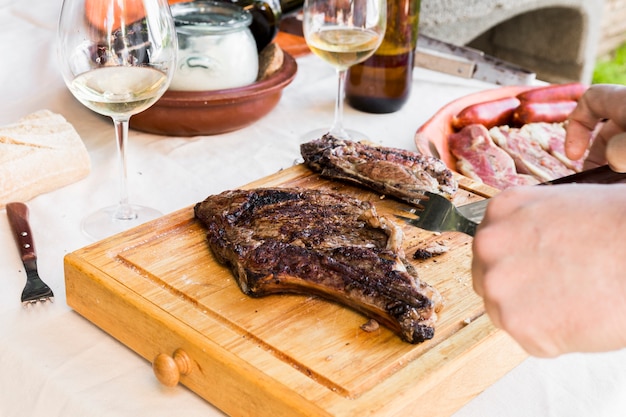
There's something truly magical about the smoky aroma of ribs cooking low and slow over a bed of hot coals. It's a scent that instantly transports you to a backyard barbecue, complete with good company, laughter, and the promise of a delicious meal. But let's be honest, achieving that perfect, fall-off-the-bone tenderness and mouthwatering smoky flavour takes a bit of know-how. It's not just about tossing some ribs on the grill and hoping for the best.
Over the years, I've spent countless hours perfecting my charcoal grill rib technique, experimenting with different rubs, brines, woods, and cooking methods. I've learned from my mistakes and discovered the secrets to consistently creating ribs that are juicy, flavorful, and make everyone at the table swoon. I'm excited to share everything I've learned with you, from choosing the right cut to mastering the art of smoking and achieving that gloriously crispy bark.
So put on your apron, grab your favourite barbecue sauce, and let's embark on a journey to rib cooking greatness!
(Part 1) Choosing the Right Ribs: Baby Backs vs. spare ribs

The first step on our rib adventure is selecting the right cut. You've got your baby backs and your spare ribs, and each has its own unique character and quirks. Understanding the differences will help you decide which cut best suits your needs and preferences.
Baby back ribs: The Fan Favourite
These are the "baby" of the rib world, smaller and more delicate, with a leaner meat-to-bone ratio. They're typically more tender than spare ribs and cook faster. Baby backs are known for their beautiful, meaty ends, which are particularly succulent and often become the centrepiece of the plate. These ribs are a popular choice for a crowd, and their smaller size makes them more manageable to eat.
Spare Ribs: The Beefier Option
Spare ribs are the bigger, bolder, and more robust siblings. They come from the lower portion of the rib cage and have a higher fat-to-meat ratio. This extra fat contributes to a richer, more intense flavour, but it also means they take longer to cook and require more attention to ensure they don't become dry. If you're after a heartier, more substantial rib experience, then spare ribs are the way to go.
(Part 2) Prepping Your Ribs: Building a Foundation of Flavor

Now that you've chosen your ribs, it's time to give them a little TLC before they hit the grill. This prep stage is where the real magic happens, where you infuse those ribs with layers of flavour and tenderness that will make them sing on the palate.
The Art of the dry rub
A dry rub is the secret weapon of every serious rib cook. It's a blend of spices and seasonings that you rub all over the ribs before cooking. The rub not only adds flavour, but it also helps to create a beautiful, crispy bark – that golden-brown, slightly caramelized crust that encapsulates the juicy meat inside.
The possibilities with dry rubs are truly endless. You can go classic with a simple blend of paprika, garlic powder, onion powder, black pepper, and brown sugar. Or you can get creative and experiment with different spices and herbs like chili powder, smoked paprika, cumin, coriander, mustard powder, cayenne pepper, or even a touch of ginger.
My personal favourite dry rub combines the classic flavours with a hint of smokiness: paprika, brown sugar, garlic powder, onion powder, black pepper, smoked paprika, and a touch of cayenne for a subtle kick.
The Wet Brine: Unlocking Maximum Tenderness
If you want to take your ribs to the next level of tenderness, a wet brine is the key. This is a simple solution of salt, sugar, and water that helps to break down the tough muscle fibres in the ribs, resulting in a juicy, melt-in-your-mouth experience.
To make a brine, simply dissolve a generous amount of salt and sugar in a large bowl of water. You can also add flavour to your brine by incorporating herbs, spices, or even a splash of apple cider vinegar. Let the ribs soak in the brine for at least 4 hours, or even overnight for maximum tenderness. Remember to pat the ribs dry before applying your dry rub.
(Part 3) Mastering the Charcoal Grill: The Two-Zone Method

The charcoal grill is where the magic truly unfolds. It's here that the ribs will be transformed by the gentle heat of the coals and infused with that irresistible smoky flavour. But to get those ribs perfectly cooked, you need to understand the importance of controlling the heat.
The Two-Zone Method: The Key to Success
The two-zone method is the most effective way to cook ribs on a charcoal grill, allowing you to control the temperature and create both a hot zone for searing and a cooler zone for low and slow cooking. Here's how to set it up:
- Light your charcoal. Use enough charcoal to create a good bed of coals. Don't overfill the grill.
- Create the zones. Once the charcoal is fully lit and covered in ash, rake most of the coals to one side of the grill. This creates the hot zone.
- Adjust the vents. Close the vents on the lid to control the temperature and create a low and slow cook.
Maintaining the Temperature: The Art of Consistency
Once you've created your zones, the key is to maintain a steady temperature throughout the cooking process. Aim for 225°F to 250°F (107°C to 121°C). You can use a grill thermometer to monitor the temperature and adjust as needed. If it starts to drop, simply add more charcoal to the hot zone. If the temperature is too high, open the vents slightly to let more air in.
Remember, slow and steady wins the race when it comes to cooking ribs. Patience is your best friend, and the results will be well worth the wait.
(Part 4) The Smoke: The Secret Ingredient
The smoke is the element that truly elevates your ribs, transforming them from good to extraordinary. It's what gives them that signature barbecue flavour, that tantalizing blend of smokiness, sweetness, and savoury notes that makes you crave more.
Choosing the Right Wood: A World of Flavour
Different types of wood impart distinct flavours to your ribs. Here's a rundown of popular options:
- Hickory: A classic choice with a strong, smoky flavour that pairs well with pork.
- Mesquite: A bolder, slightly bitter flavour that adds a robust taste to red meats.
- Applewood: A milder, sweeter flavour that complements pork beautifully, adding a touch of fruitiness.
- Cherry: A slightly sweet and fruity flavour that adds a touch of elegance to ribs, enhancing their natural sweetness.
- Oak: A slightly smoky and nutty flavour that adds depth to the ribs.
Personally, I find hickory to be the perfect wood for ribs. It delivers a classic smoky flavour that complements the richness of the meat without overpowering it. But don't be afraid to experiment with different woods to discover your own flavour preferences.
Soaking the Wood Chips: Maximizing Smoke Production
Before adding wood chips to your grill, it's crucial to soak them in water for at least 30 minutes. This prevents them from catching fire too quickly and burning up before they can impart their flavour.
You can add the soaked wood chips directly to the charcoal in the hot zone or use a smoker box, a small metal container that sits on the grill. The smoker box helps keep the wood chips contained and prevents them from scattering around.
(Part 5) The Cooking Process: Patience and Precision
Now it's time to cook those ribs! Remember, this is a slow and steady process, a journey of gentle heat and controlled smoke. It's not a sprint, it's a marathon, and the results will be worth the wait.
Step 1: Searing for a Crispy Bark
Start by searing the ribs over direct heat for a few minutes on each side. This helps create a beautiful, crispy bark, a golden-brown crust that adds texture and depth of flavour. Just be careful not to burn them!
Step 2: Moving to Indirect Heat for Tenderness
After searing, move the ribs to the cooler zone of the grill and close the lid. Keep the temperature around 225°F to 250°F (107°C to 121°C). Cook the ribs until they reach the desired level of tenderness. This can take anywhere from 3 to 5 hours, depending on the size of the ribs and the heat of your grill.
Step 3: The "3-2-1" Method: A Classic Approach
The "3-2-1" method is a time-tested approach to cooking ribs on a charcoal grill, designed to ensure tenderness and juiciness. Here's how it works:
- 3 Hours: Cook the ribs for 3 hours with the lid closed, maintaining a consistent temperature. You'll want to add more charcoal as needed to keep the temperature stable.
- 2 Hours: After 3 hours, wrap the ribs tightly in aluminium foil. Add a tablespoon or two of butter, a splash of apple cider vinegar, and a little bit of your favourite barbecue sauce to the foil before wrapping. Continue cooking for another 2 hours.
- 1 Hour: Unwrap the ribs and brush them with your favourite barbecue sauce. Cook for the final hour uncovered, making sure to brush them with sauce every 30 minutes. This allows the ribs to get a nice glaze and crispy bark.
Step 4: The "texas crutch" Method: For Maximum Moisture
If you're looking for a slightly different approach, try the "Texas Crutch" method. This involves wrapping the ribs in foil after 2-3 hours of cooking, but then you leave them wrapped for the rest of the cooking time. This helps create extra moisture and tenderness, especially for ribs that are particularly lean.
(Part 6) Testing for Doneness: Knowing When the Ribs Are Ready
You've been patiently tending to your ribs for a while, and your stomach is starting to rumble. But how do you know when they're finally ready to devour? Here are a few techniques to help you determine if those ribs have reached their peak of tenderness:
The Bend Test
A classic test is the "bend test". Gently lift a rib from the grill. If it bends easily without breaking, it's done. If it's still stiff, it needs a little more cooking time.
The Fork Test
Another reliable method is the "fork test". Insert a fork into the meat. If the fork slides in easily and the meat pulls away from the bone, they are done.
Using a meat thermometer
For a more scientific approach, use a meat thermometer. The internal temperature of the ribs should reach 190°F (88°C) for maximum tenderness.
(Part 7) Resting Your Ribs: Letting the Flavours Settle
Once your ribs are done, resist the urge to dig in immediately. They need to rest for at least 15 minutes, covered in foil. This allows the juices to redistribute and the meat to become even more tender. It also helps the bark to relax and prevent it from becoming too brittle.
(Part 8) Slicing and Serving: The Final Touches
Now it's time to enjoy the fruits of your labour! You can cut the ribs between the bones, or you can leave them whole, depending on your preference.
Serve your ribs with your favourite side dishes. Coleslaw, baked beans, potato salad, corn on the cob, and mac and cheese are all classic companions. And don't forget the barbecue sauce!
(Part 9) Tips for Success: Avoiding Common Mistakes
Here are some essential tips to help you avoid common pitfalls and ensure your ribs turn out perfectly cooked every time:
- Don't overcook the ribs. Overcooked ribs will be dry and tough. Check them regularly and take them off the grill as soon as they reach the desired tenderness.
- Don't overcrowd the grill. Give your ribs plenty of space to cook evenly. If you have a lot of ribs, you may need to cook them in batches.
- Don't forget to add more charcoal as needed. Keep an eye on the temperature and add more charcoal to the hot zone if it starts to drop.
- Don't forget to rest the ribs before slicing. This is essential for ensuring tenderness and juiciness.
(Part 10) FAQs: Your Questions Answered
Let's address some of the most common questions about cooking ribs on a charcoal grill:
1. What kind of barbecue sauce should I use?
The world of barbecue sauce is vast and varied, offering a spectrum of flavours from sweet and tangy to smoky and spicy. The best sauce is ultimately a matter of personal preference.
If you're looking for a classic, sweet and tangy sauce, consider a vinegar-based sauce with a touch of molasses. For a smoky flavour, opt for a sauce with a smoky paprika base. And if you prefer a spicier kick, look for sauces with chili peppers or cayenne pepper.
Don't be afraid to experiment and discover your favourite sauce. You can even try making your own!
2. Can I use a gas grill?
While you can certainly cook ribs on a gas grill, it won't achieve the same smoky flavour as a charcoal grill. If you're using a gas grill, you'll need to use wood chips or wood chunks to add smoke, placing them in a smoker box or directly on the grill grates.
3. How long do ribs take to cook?
The cooking time for ribs varies depending on the size of the ribs, the temperature of your grill, and the method you use. Generally, you can expect to cook ribs for 3 to 5 hours. However, it's always best to check for doneness using the methods described earlier.
4. Can I make ribs ahead of time?
Yes, you can definitely make ribs ahead of time. You can cook them completely, then reheat them in the oven or on the grill before serving. Just be sure to wrap them tightly in foil to prevent them from drying out.
If you're cooking the ribs ahead of time, you can even skip the final hour of uncovered cooking. Simply wrap the ribs in foil and refrigerate them until you're ready to reheat them. When reheating, simply remove the ribs from the refrigerator and reheat them in a 250°F (121°C) oven for about 30 minutes, or until they are heated through.
5. What are some good side dishes to serve with ribs?
There are countless delicious side dishes that pair beautifully with ribs. Some classics include:
- Coleslaw: The creamy coolness of coleslaw provides a refreshing contrast to the richness of the ribs.
- Baked Beans: A smoky and sweet side dish that complements the ribs perfectly.
- Potato Salad: A hearty and comforting side dish that is always a crowd-pleaser.
- Corn on the Cob: grilled corn on the cob adds a touch of sweetness and freshness to the meal.
- Mac and Cheese: A cheesy and comforting side dish that is perfect for a barbecue feast.
I hope this comprehensive guide has given you all the information you need to grill the most delicious, tender, and flavourful ribs. Remember, the key to success is patience, attention to detail, and a little bit of experimentation. So fire up your grill, get those ribs cooking, and enjoy the fruits of your labour!
Everyone is watching

How to Cook Frozen Lobster Tails Perfectly: A Step-by-Step Guide
RecipesLobster. Just the word conjures up images of lavish meals, special occasions, and a taste of luxury. But let's...

Pigs in a Blanket Cooking Time: How Long to Bake for Perfect Results
RecipesAh, pigs in a blanket. Just the name conjures up images of those delightful little parcels of crispy pastry en...

Pork Fillet Cooking Time: How Long to Cook It Perfectly
RecipesPork fillet, or tenderloin as it's sometimes called, is a real favourite in our house. It's so versatile, and...

The Ultimate Guide to Tender, Juicy Pulled Pork
RecipesRight, let's talk pulled pork. It's one of those dishes that just screams "comfort food," doesn't it? I mean...

The Ultimate Guide to Cooking Sweet Potatoes: From Roasting to Mashing
RecipesSweet potatoes. Just the name conjures up images of warm, comforting dishes, bursts of vibrant color, and a to...
