Alright, folks, let's face it – we've all been there. We've stared down a turkey drumstick, wondering how to make it something other than dry and bland. It's a common dilemma, especially when it comes to leftover thanksgiving turkey. But fear not, my friends! After years of experimenting and trial and error, I've finally cracked the code to creating juicy, flavorful turkey drumsticks that are truly unforgettable.
This guide is your one-stop shop for transforming those drumsticks from ordinary to extraordinary. We'll delve into every step, from selecting the perfect drumstick to mastering the art of cooking, flavoring, and even leftover magic. So grab a cuppa, get comfy, and let's get cooking!
(Part 1) Picking the Perfect Drumstick
The first step to juicy drumsticks is picking the right ones. It's all about starting with a good foundation, right? And by "good," I mean fresh, whole turkey drumsticks. Forget those pre-packed, frozen ones – they just don't have the same depth of flavor. We're going for the real deal here!
Understanding the Parts
Let's get a bit technical for a moment. A whole turkey drumstick is essentially the thigh and the leg attached. It's like a mini-turkey leg! Some people swear by the thigh, while others prefer the leg, but trust me, both are delicious! When choosing, look for plump, well-proportioned drumsticks with smooth skin and no bruises. You want a drumstick that looks healthy and vibrant, not like it's seen better days!
The Skin Matters!
Don't underestimate the power of skin! turkey skin is packed with flavor and helps lock in moisture during cooking. Think of it like a natural, delicious barrier. So, when you're picking your drumsticks, make sure the skin is intact and unblemished. You want that skin to be smooth and glistening, not wrinkled or torn.
(Part 2) Preparing Your Drumsticks
Now that you've got your perfect drumsticks, let's get them prepped for their culinary adventure. This step might seem simple, but it's crucial for ensuring that juicy, tender result.
A Quick Rinse
First things first, give those drumsticks a quick rinse under cold water to wash away any debris. I don't like to soak them for too long, as this can affect the flavor. Just a quick splash and they're good to go.
Pat Dry, Pat Dry!
After rinsing, pat your drumsticks dry with kitchen paper. This will help create a nice crispy skin during cooking and prevent steam from building up, which can make the meat soggy. Remember, we want that skin to be crispy, not soggy!
Don't Forget the Salt
Now, here's a little trick I've learned over the years. Before you do anything else, give your drumsticks a generous rub with salt. This helps draw out excess moisture, which will result in a juicier, more flavorful meat. And trust me, a little salt goes a long way! It's like magic!
(Part 3) The Art of Flavouring
This is where the real fun begins! You can go wild with flavoring turkey drumsticks, from simple to elaborate, there's a recipe out there for everyone. The possibilities are truly endless!
Classic herb and spice blends
For a classic flavor, you can't go wrong with a simple herb and spice blend. Here's a tried and true combination I love:
- Dried Thyme: A fragrant herb that adds a warm, earthy flavour. It's like a hug in a herb.
- Dried Rosemary: A bold, pungent herb that complements the turkey's flavour beautifully. It's a bit more assertive, but in the best way.
- Ground Black Pepper: A touch of spice to add depth and complexity. Just a hint of heat!
- Garlic Powder: A flavour enhancer that adds a subtle yet delicious aroma. A touch of garlic goes a long way!
- Onion Powder: A touch of sweetness and savouriness to round out the flavour profile. It adds a lovely depth!
Spice Things Up!
If you're feeling adventurous, try adding some spice to your drumsticks. Paprika, cayenne pepper, and smoked paprika can add a fiery kick. Just be mindful of how much you use, especially if you're sensitive to spice. A little goes a long way!
Sweet and Savoury
For a truly unique twist, consider incorporating sweet and savoury elements. A pinch of brown sugar or maple syrup can complement the savoury flavours beautifully. Think of it as a balance of sweetness and saltiness. It's a winning combination!
(Part 4) The Cooking Conundrum
Now we're getting to the heart of the matter: how to cook those turkey drumsticks to juicy perfection! There are a few methods I swear by, each offering its own unique advantages.
The Oven's Embrace
This is a tried and true method for a large batch of drumsticks. Here's how I do it:
- Preheat Your Oven: Set your oven to 350°F (175°C). A preheated oven ensures even cooking, preventing cold spots.
- Grease the Pan: Line a baking sheet with parchment paper or foil. This makes clean-up a breeze! No more scrubbing burnt-on turkey bits!
- Roast Away: Place the drumsticks on the baking sheet, skin side up. Roast for 1 hour and 15 minutes to 1 hour and 30 minutes, or until the internal temperature reaches 165°F (74°C). Patience is key here!
- Basting Time: During the last 30 minutes of cooking, baste the drumsticks with melted butter or oil for extra moisture and a crispy skin. This step ensures those drumsticks are juicy and have that beautiful golden brown color!
The Skillet's Sizzle
For smaller batches or a quicker meal, I love using a skillet. It's perfect for those last-minute cravings.
- Heat That Oil: Heat a generous amount of oil in a large skillet over medium-high heat. We want that oil nice and hot!
- Sizzle and Sear: Add the drumsticks to the skillet and cook for about 8-10 minutes per side, or until nicely browned and crisp. We want a beautiful sear on those drumsticks!
- Reduce the Heat: Reduce the heat to medium-low, cover the skillet, and continue cooking for another 20-25 minutes, or until the internal temperature reaches 165°F (74°C). Now we're letting those drumsticks cook through slowly and gently.
The slow cooker's Magic
For incredibly tender and juicy drumsticks, slow cooking is the way to go. It's a set-it-and-forget-it method, perfect for busy days.
- Season and Layer: Season your drumsticks with your favourite blend of herbs and spices, then layer them in your slow cooker. This is your chance to get creative with those flavors!
- Add Liquid: Add a cup or two of broth, stock, or even apple cider to the slow cooker, ensuring the drumsticks are at least partially submerged in liquid. The liquid helps create a beautiful, flavorful sauce.
- Slow and Steady: Cook on low heat for 6-8 hours, or on high heat for 3-4 hours. This is where the slow cooker's magic truly shines.
(Part 5) The Temperature Test
It's time to make sure those drumsticks are cooked to perfection! A meat thermometer is your best friend for ensuring food safety and achieving the ideal level of doneness.
The Golden Number: 165°F
Insert the thermometer into the thickest part of the drumstick, making sure it's not touching bone. The internal temperature should reach 165°F (74°C) for safe consumption. This is the magic number for perfectly cooked turkey!
Don't Overcook!
Overcooked turkey can be dry and tough. Once the temperature reaches 165°F, remove the drumsticks from the heat. They will continue to cook slightly as they rest. No one likes a dry turkey, so let's be careful not to overcook!
(Part 6) Resting Time
Now, here's a crucial step that many people overlook: resting your cooked drumsticks. This allows the juices to redistribute, resulting in a tender and moist final product. This is a crucial step, so don't skip it!
10 Minutes of Zen
After cooking, remove the drumsticks from the oven, skillet, or slow cooker, and place them on a cutting board. Cover them loosely with foil and let them rest for 10 minutes. Give those drumsticks a chance to relax and regain their moisture!
Don't Rush It!
Resist the urge to carve into those drumsticks immediately. Give them time to rest and absorb the juices, and you'll be rewarded with a much more flavorful and tender result. Patience is a virtue in the kitchen!
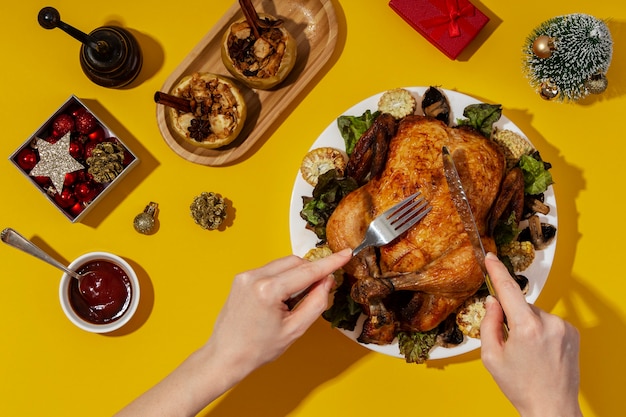
(Part 7) Carving and Serving
The moment you've been waiting for! It's time to carve those beautiful drumsticks and get ready to enjoy the fruits of your labour.
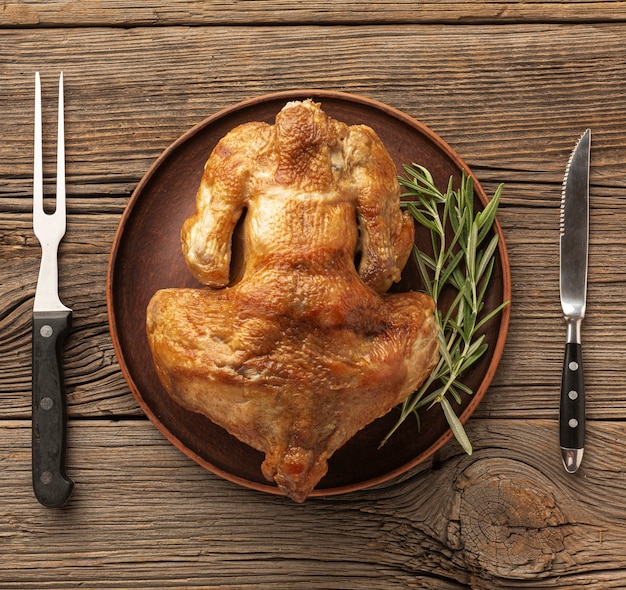
The Carving Technique
Here's a simple method for carving turkey drumsticks:
- Separate the Thigh and Leg: Use a sharp carving knife to cut through the joint between the thigh and the leg. You'll feel a slight give when you reach the joint.
- Remove the Skin: Carefully peel back the skin from both the thigh and leg. The skin should come off easily once the drumsticks are cooked.
- Slice the Meat: Slice the thigh and leg meat across the grain. This will help create tender, easy-to-eat pieces. This is a crucial step for achieving tender, flavorful turkey.
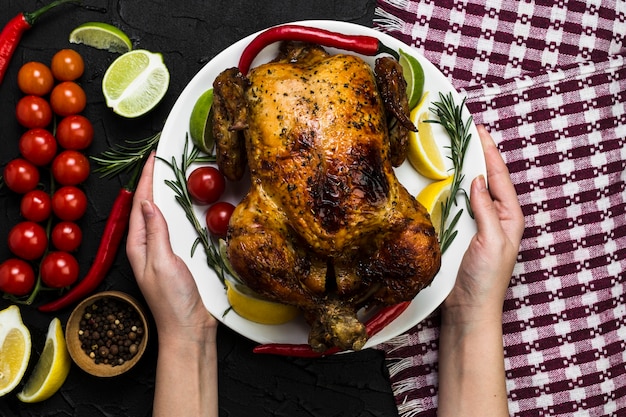
Serving Suggestions
Turkey drumsticks are incredibly versatile! Here are a few serving ideas:
- Classic turkey dinner: Serve your drumsticks alongside mashed potatoes, gravy, stuffing, and cranberry sauce for a traditional thanksgiving meal. It's a classic for a reason!
- Sandwiches or Wraps: Slice the meat and use it for delicious sandwiches or wraps. It adds a wonderful protein boost and flavor.
- Salads: Add shredded turkey to salads for a protein boost and extra flavor. It's a great way to add a little something extra to your salad.
- pasta dishes: Add chopped turkey to pasta sauces or toss it with your favourite pasta for a hearty and satisfying meal. Turkey and pasta are a perfect combination!
(Part 8) Leftover Love
Leftover turkey drumsticks? Absolutely! Don't toss them out! With a little creativity, you can transform those leftovers into a whole new world of deliciousness.
turkey salad
One of my favourite ways to use leftover turkey is in a classic turkey salad. Here's my recipe:
- Dice the Turkey: Dice the leftover turkey into bite-sized pieces. Make sure those pieces are nice and small for easy eating.
- Mix It Up: Combine the diced turkey with mayonnaise, celery, onion, and your favourite seasonings. You can use any seasonings you like, but I recommend a bit of salt, pepper, and maybe some dried herbs.
- Get Creative: For a twist, add chopped cranberries, pecans, or a dollop of Dijon mustard. This is where you can add your own personal touch!
- Enjoy: Serve on bread, crackers, or lettuce leaves for a delicious and satisfying meal. It's a quick and easy meal that's perfect for lunch or dinner.
turkey soup
Transform leftover turkey drumsticks into a comforting and flavorful soup. Here's what you'll need:
- Chop the Turkey: Chop the leftover turkey into smaller pieces. You want to make sure those pieces are small enough to easily cook in the soup.
- Simmer and Stir: Simmer the chopped turkey in a pot of broth with your favourite vegetables, such as carrots, celery, and potatoes. Season with salt and pepper to taste. This is your chance to create a truly comforting soup!
- Garnish and Serve: Garnish with fresh herbs, a dollop of sour cream, or a sprinkle of cheese. Serve hot and enjoy! This is where you can add that finishing touch!
Turkey and Veggie Stir-Fry
For a quick and healthy meal, stir-fry leftover turkey with your favourite vegetables. Here's what you'll need:
- Slice the Turkey: Slice the leftover turkey into thin strips. This will help the turkey cook quickly and evenly in the stir-fry.
- Prep Your Veggies: Chop your favourite vegetables, such as broccoli, bell peppers, onions, and carrots, into bite-sized pieces. Be creative and use any vegetables you like!
- Stir-Fry Time: Heat a wok or skillet over medium-high heat. Add a tablespoon of oil and stir-fry the turkey strips until browned. Add the vegetables and continue stir-frying until tender-crisp. Stir-frying is all about moving quickly and keeping those ingredients moving!
- Season and Serve: Season with your favourite sauce, such as soy sauce, teriyaki sauce, or hoisin sauce. Serve over rice or noodles. This is your chance to really make it your own!
(Part 9) FAQs
Q1: Can I cook turkey drumsticks from frozen?
While it's possible, I don't recommend cooking turkey drumsticks from frozen. It can take longer to cook and may result in uneven cooking. It's always best to thaw them in the refrigerator overnight for the best results. Thawing them in the fridge ensures they cook evenly and have the best flavor.
Q2: How long do I need to cook turkey drumsticks for?
The cooking time will vary depending on the size of the drumsticks and the cooking method you choose. For a general guideline, I recommend cooking them for 1 hour and 15 minutes to 1 hour and 30 minutes at 350°F (175°C) in the oven. Use a meat thermometer to check the internal temperature, which should reach 165°F (74°C). Remember, checking the internal temperature is the best way to ensure your turkey is cooked through!
Q3: What are some good side dishes to serve with turkey drumsticks?
Turkey drumsticks pair well with a variety of side dishes. Some of my favourites include mashed potatoes, gravy, stuffing, cranberry sauce, roasted vegetables, and green beans. It's all about finding the perfect combination to complement those delicious drumsticks!
Q4: Can I freeze leftover turkey drumsticks?
Absolutely! Leftover turkey drumsticks can be frozen for up to 3 months. To freeze them, place them in a freezer-safe bag or container and label with the date. When you're ready to use them, defrost them in the refrigerator overnight. This is a great way to make sure you don't waste those delicious leftovers!
Q5: What's the best way to reheat leftover turkey drumsticks?
The best way to reheat leftover turkey drumsticks is in the oven. Preheat your oven to 350°F (175°C) and place the drumsticks on a baking sheet. Heat for about 15-20 minutes, or until heated through. You can also reheat them in a skillet over medium heat for a quicker option. Reheating them in the oven will ensure they stay moist and flavorful!
(Part 10) The Final Word
And there you have it, folks! The ultimate guide to juicy, flavorful turkey drumsticks. From choosing the perfect drumsticks to mastering the art of cooking and flavoring, you've got everything you need to transform those humble drumsticks into a culinary masterpiece.
Remember, don't be afraid to experiment with different flavors, cooking methods, and recipes. The possibilities are endless! So, grab your favorite ingredients, get creative, and let's get those drumsticks cooking!
Everyone is watching

Corn on the Cob: The Ultimate Guide to Perfectly Cooked Ears
Healthy MealsAh, corn on the cob. Just the name evokes images of sunny days, barbecues, and that sweet, juicy flavour that ...

Perfect Pork Roast Oven Cooking Time: A Guide to Delicious Results
Healthy MealsThere's something truly satisfying about a perfectly roasted pork. The aroma alone is enough to make your mout...

Ham Cooking Time: How Long to Bake, Smoke, or Boil a Delicious Ham
Healthy MealsAh, ham. It's a classic, isn't it? A real crowd-pleaser, especially around holidays. And when done right, it'...

Scallops: The Ultimate Guide to Perfect Cooking
Healthy MealsAh, scallops. Those delicate, sweet, and utterly delicious morsels of the sea. They hold a special place in my...

Spaghetti Squash: The Ultimate Guide to Cooking and Serving
Healthy MealsRemember that time you saw spaghetti squash at the supermarket, looking all bumpy and strange, and thought, "W...