Let's face it, cooking a turkey can be a bit daunting. It's the centerpiece of the festive table, the star of the show, and it carries a lot of pressure to be perfect. But fear not, dear reader! I'm here to guide you through the entire process, from choosing the right bird to carving it like a pro.
This is more than just a recipe; it's a culinary adventure we'll embark on together. I'll share my years of experience, my tips, my tricks, and even some of my mishaps (we've all been there!), so you can cook a turkey that'll have everyone singing your praises.
Ready? Let's get started!
(Part 1) Choosing Your Turkey: A Matter of Size and Style
The first step is crucial: choosing the right turkey. It's not just about picking the biggest one you can find, though that might be tempting for a truly impressive spread. It's about finding the perfect fit for your guests and your oven.
Turkey Sizes: Finding the Perfect Fit
Here's a general rule of thumb: aim for about 1.5kg (3.3 lbs) of turkey per person. You know, it's always better to have leftovers than run out! For example, if you're cooking for six people, a 9kg (20lb) turkey would be a good choice. Now, if you're hosting a massive gathering, go bigger, but don't forget to consider your oven's capacity.
Fresh or Frozen: A Decision to Be Made
Next up, fresh or frozen? This is a matter of personal preference. I lean towards fresh turkeys, especially for the beautiful golden skin they achieve. The flavour is also often considered slightly superior. But, if you're short on time or don't have the luxury of a walk-in freezer, frozen works just fine. Just make sure to give it plenty of time to thaw in the refrigerator before cooking.
Turkey Types: Beyond the Standard
Now, let's talk breeds. You've got your standard bronze turkey, the classic choice, and then there's the Norfolk Black, known for its juicy, succulent flavour. If you're looking for a more rustic experience, consider a free-range turkey, which often has a deeper, more complex flavor. Or, for a truly unique experience, try a heritage breed like the Bourbon Red or the Narragansett, known for their distinctive appearances and exceptional flavour.
(Part 2) Brining Your Turkey: A Secret to Succulent Meat
Okay, you've got your turkey, and now it's time to consider brining. It's like giving your turkey a spa treatment! By soaking it in a salt solution, you're helping to retain moisture and flavour.
Why Brine? The Benefits of a Salt Soak
Let me tell you, brining can make a world of difference. It prevents the breast from drying out and creates a truly juicy, tender turkey, especially if you're using a larger bird.
Brining Solutions: Choosing Your Soak
There are countless brining solutions out there, from simple salt water to more elaborate concoctions with herbs and spices. I tend to stick to the classic salt water brine, but feel free to experiment! If you want to add flavour, try incorporating herbs like thyme, rosemary, bay leaves, or even a citrus zest for a bright, refreshing touch.
Brining Times: Getting the Right Soak
The brining time depends on the size of your turkey. For a standard-sized bird, around 12 hours is a good starting point. Ensure your turkey is fully submerged in the brine and store it in a container large enough to hold it comfortably.
(Part 3) Preparing Your Turkey: A Step-by-Step Guide
Now, you've got your chosen turkey, perhaps even brined to perfection. Let's get into the nitty-gritty of preparing it for cooking.
Patting It Dry: A Crucial Step
First things first, pat your turkey dry with kitchen paper. Removing excess moisture is crucial for achieving that gorgeous crispy skin. Trust me, it makes a big difference in the final outcome.
Stuffing It Up: A Matter of Preference
Now, the stuffing. This is where personal preference comes in. You can stuff your turkey or cook the stuffing separately. I generally prefer separate stuffing, as it allows the turkey to cook more evenly and ensures the stuffing reaches a safe internal temperature. If you do choose to stuff your turkey, make sure to use a loose stuffing and cook it until it's piping hot throughout.
Seasoning It Right: Enhancing the Flavour
Now for the seasoning! I like to keep it simple with a blend of salt, pepper, and herbs like thyme, rosemary, or sage. But you can add whatever you like. Garlic powder, paprika, a touch of ginger - experiment and see what works for you.
Butter It Up: A Touch of Richness
Finally, give your turkey a good rub with butter. This helps to keep it moist and creates that beautiful golden-brown colour. I like to add a little rosemary or thyme to the butter for a flavour boost.
(Part 4) Cooking Your Turkey: The Main Event
Now, it's time for the main event: the cooking process.
Oven Temperature: Finding the Sweet Spot
The best oven temperature for a turkey is 180°C (350°F). You want it to cook slowly and evenly, allowing the breast to cook through without drying out.
roasting time: Estimating the Cooking Duration
The cooking time depends on the size of your turkey. A good rule of thumb is about 20 minutes per pound (450g). It's always best to check the internal temperature with a meat thermometer, though. You're looking for an internal temperature of 82°C (180°F) in the thickest part of the thigh.
Basting and Checking: Ensuring a Perfect Outcome
While your turkey is roasting, don't forget to baste it regularly. This helps keep it moist and enhances the browning. You can use the turkey drippings or even a simple mixture of butter and herbs. Remember to check the temperature every 30 minutes or so, just to make sure everything is on track.
(Part 5) Resting Your Turkey: A Step You Can't Skip
Once your turkey is cooked, resist the urge to carve it immediately. Let it rest for at least 30 minutes, ideally covered with foil. This allows the juices to redistribute, resulting in a wonderfully juicy and tender turkey.
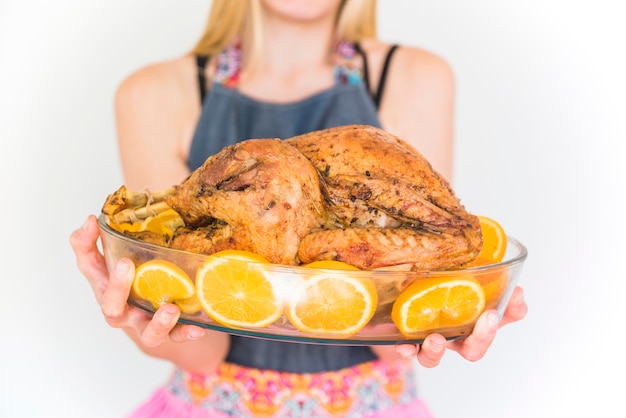
(Part 6) Carving Your Turkey: A Skill to Master
Here comes the exciting part: carving the turkey. It can seem a bit daunting at first, but trust me, it's easier than you think!
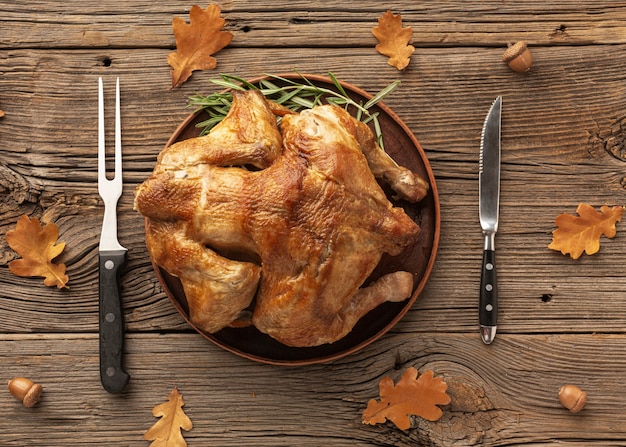
Tools of the Trade: The Essential Carving Kit
You'll need a sharp carving knife, a fork, and a carving board (optional, but handy).
Carving Techniques: A Step-by-Step Guide
1. Start with the wings and legs. Slice them off at the joint.
2. Remove the breast meat. Carefully slice the breast meat in thin, even slices, working against the grain for a more tender result.
3. Don't forget the stuffing! If you stuffed your turkey, remove it carefully and serve it separately.
(Part 7) Gravy: The Perfect Companion
No turkey roast is complete without a delicious gravy. It's the finishing touch, the perfect accompaniment to all those juicy turkey slices.
Making Your Gravy: A Classic Recipe
You can create a wonderful gravy using the pan juices from the turkey. Simply add some stock or wine for flavour. The key is to make sure you scrape the bottom of the pan to release all those delicious browned bits.
Thickening Techniques: Achieving the Perfect Consistency
You can thicken your gravy with flour, cornstarch, or even a little butter. Experiment and see what you prefer! Just make sure your gravy is smooth and lump-free.
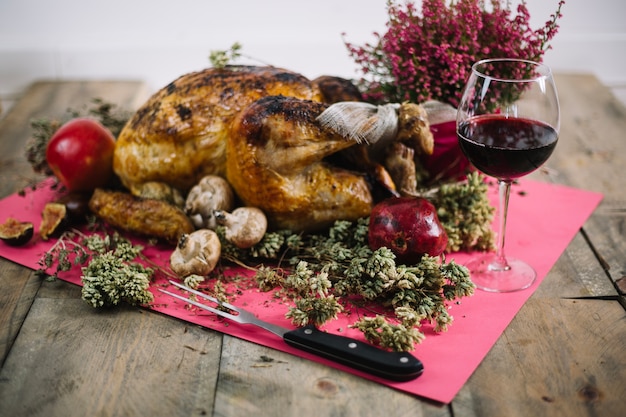
(Part 8) Accompaniments: Completing the Feast
Now that you've got your turkey, your gravy, and your carving skills honed, let's talk about those perfect accompaniments.
Traditional Favourites: Classic Accompaniments
I always go for the classics: roast potatoes, stuffing, Brussels sprouts, and cranberry sauce. It's a combination that's guaranteed to please!
Seasonal Delights: Bringing in the Flavours of the Season
If you want to add some seasonal flair, try incorporating parsnips, carrots, or squash. Or, how about a tangy apple sauce for a twist on the traditional?
(Part 9) Leftover Turkey: Delicious Possibilities
Don't let those leftover turkey bits go to waste! There are so many delicious things you can do with them.
turkey sandwiches: A Classic comfort food
Turkey sandwiches are always a winner. I like to use good crusty bread, add some mayonnaise, lettuce, and a slice of tomato. A simple but satisfying lunch.
turkey soup: A Warm and Hearty Meal
Leftover turkey makes a fantastic soup. Add vegetables like carrots, celery, potatoes, and herbs and spices for a flavourful and comforting meal.
Turkey Curry: A Flavourful Twist
For something a bit different, try a leftover turkey curry. You can use a store-bought curry sauce or whip up your own. It's a delicious way to use up those leftovers.
(Part 10) FAQs: Answering Your Questions
1. How long does it take to cook a turkey?
The cooking time depends on the size of the turkey. A good rule of thumb is about 20 minutes per pound (450g) at 180°C (350°F). But always check the internal temperature with a meat thermometer to ensure it's cooked through.
2. What temperature should the turkey be cooked to?
The turkey should reach an internal temperature of 82°C (180°F) in the thickest part of the thigh.
3. How do I know if my turkey is cooked?
You can check the internal temperature with a meat thermometer, or you can insert a skewer into the thickest part of the thigh. If the juices run clear, it's cooked.
4. What happens if I overcook my turkey?
If you overcook your turkey, the meat will become dry and tough. To avoid this, use a meat thermometer and don't overcook it.
5. What are some good sides to serve with turkey?
There are so many delicious possibilities! Traditional favourites include roast potatoes, stuffing, Brussels sprouts, and cranberry sauce. You can also get creative with seasonal vegetables like parsnips, carrots, or squash.
And there you have it, your ultimate guide to cooking a perfect turkey roaster. Now, go forth and conquer! Armed with these tips and tricks, you'll create a truly memorable feast. Happy cooking, and happy holidays!
Everyone is watching

Corn on the Cob: The Ultimate Guide to Perfectly Cooked Ears
Healthy MealsAh, corn on the cob. Just the name evokes images of sunny days, barbecues, and that sweet, juicy flavour that ...

Scallops: The Ultimate Guide to Perfect Cooking
Healthy MealsAh, scallops. Those delicate, sweet, and utterly delicious morsels of the sea. They hold a special place in my...

Spaghetti Squash: The Ultimate Guide to Cooking and Serving
Healthy MealsRemember that time you saw spaghetti squash at the supermarket, looking all bumpy and strange, and thought, "W...

Salmon Cooking Times: Perfect Guide for Every Recipe
Healthy MealsLet me tell you, cooking salmon is an art form. It's all about getting that perfect balance: juicy and tender,...

Ham Cooking Time: How Long to Bake, Smoke, or Boil a Delicious Ham
Healthy MealsAh, ham. It's a classic, isn't it? A real crowd-pleaser, especially around holidays. And when done right, it'...