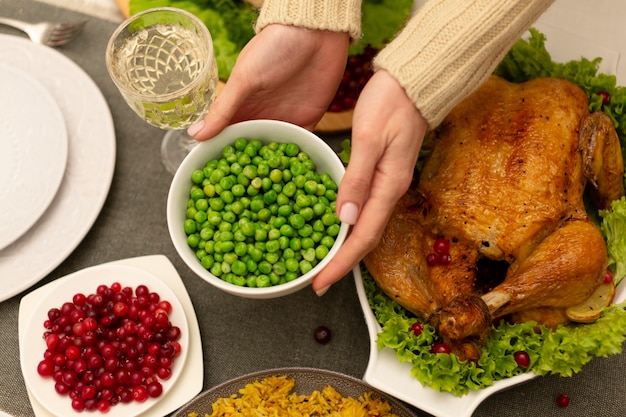
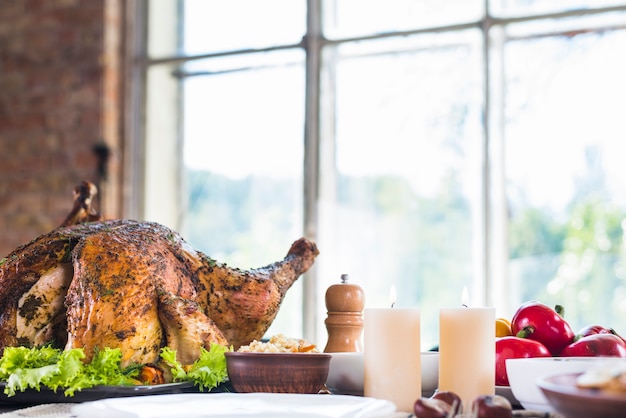
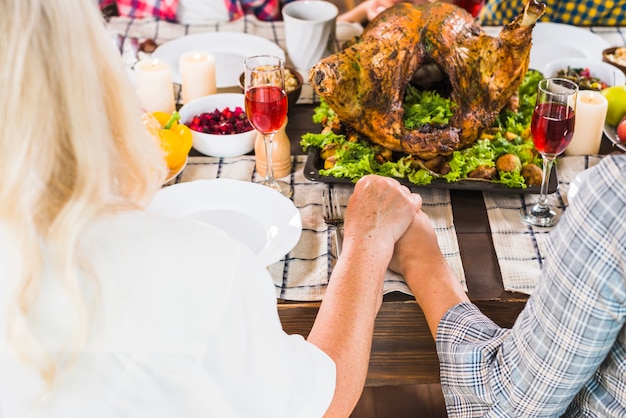
The aroma of a perfectly roasted turkey fills the air, promising a delicious festive feast. But the thought of tackling this culinary giant can be daunting, especially for those who haven't mastered the art of roasting a bird. I've seen my fair share of dry, overcooked turkeys, and let me tell you, it's a culinary tragedy. But fear not, my fellow cooks! Through years of trial and error, I've gathered the knowledge needed to ensure your turkey is a triumph, not a disaster.
Part 1: Choosing Your Turkey

The first step to a successful turkey roast is choosing the right bird. There's a whole world of options, from supermarket turkeys to free-range beauties. My personal preference leans towards free-range turkeys – their flavour is often more robust and full-bodied.
Size Matters
The size of your turkey will play a crucial role in determining your cooking time. For a smaller gathering, a turkey under 10 pounds might be just right. But if you're expecting a large crowd, a bird weighing 15-20 pounds might be necessary. Don't be afraid to ask your butcher for advice; they're experts in all things turkey!
Fresh or Frozen?
When it comes to fresh versus frozen, it's a matter of personal preference. Fresh turkeys are generally more flavorful, but frozen turkeys are often more affordable and readily available. If you choose a frozen turkey, make sure to allow ample time for defrosting in the refrigerator (about 24 hours per 5 pounds of turkey).
Part 2: Prepping Your Turkey

The Brine Debate: A Dive into Flavour
You'll often hear seasoned cooks rave about brining their turkeys. The theory is that soaking the bird in a salty solution helps keep it moist and tender. While I've tried it, and it can certainly yield a juicier bird, I find the whole process a bit too involved. If you're a fan of brining, go for it! But for me, a well-prepared turkey can shine without the extra effort.
A Good Scrub is Essential
Before we get started, let's give our turkey a good scrub. Rinse it thoroughly under cold water, pat it dry with kitchen paper, and remove any giblets or neck from the cavity. I like to give the bird a massage with some softened butter, a sprinkle of fresh herbs, and a generous pinch of salt and pepper. It's a little culinary love before it goes into the oven!
Stuffing: To Stuff or Not to Stuff?
Now for the age-old question: stuff or not to stuff? This is a personal preference, and there are pros and cons to both sides. I'm a firm believer in stuffing separately. It allows me to cook the stuffing to perfection without worrying about the turkey's internal temperature, and it opens up the possibility for a more generous stuffing. If you're a fan of stuffing the bird, be sure to cook it to an internal temperature of 165°F (74°C) for safety. Remember, stuffing takes longer to cook than the turkey itself, so it may be wiser to cook it separately in a casserole dish.
Part 3: Roasting the Turkey

Choosing the Perfect Oven Temperature
The oven temperature is a crucial factor in achieving a juicy, flavorful turkey. I tend to stick to a moderate heat of 325°F (160°C). This allows for a slow and steady roast, preventing the breast from drying out. A higher temperature, like 400°F (200°C) for the first 30 minutes, can help create a crispy skin. But once that golden crust is achieved, reduce the heat to 325°F (160°C) for the rest of the cooking time.
The Placement Paradox: Finding the Sweet Spot
The placement of your turkey in the oven can have a significant impact on how it cooks. The middle rack is often the ideal spot, as it allows for even heat distribution. The top rack can lead to overcooked breasts, while the bottom rack might result in a soggy turkey. However, every oven is different, so don't be afraid to experiment a little. Keep a close eye on your turkey and adjust the rack position as needed.
Basting for a Juicy Finish
Basting the turkey throughout the cooking process is essential for achieving that luscious, golden-brown skin. I love to use a mixture of melted butter, chicken broth, and herbs. But you can use whatever you like! A simple mixture of butter and water works wonders. Just remember to baste the bird every 30-45 minutes, ensuring those delicious flavors penetrate the skin.
Part 4: Checking for Doneness
The Thermometer Test: The Ultimate Gauge
The most reliable way to determine if your turkey is cooked through is with a meat thermometer. Insert it into the thickest part of the thigh, ensuring it doesn't touch any bone. The internal temperature should reach 165°F (74°C) for safe consumption. You can also check the breast, which should register at 165°F (74°C) as well. If the turkey isn't cooked through, simply pop it back in the oven until it reaches the desired temperature.
Visual Clues: Recognizing a Cooked Bird
Besides using a thermometer, you can also rely on visual clues to gauge the turkey's doneness. If you press on the thigh, it should feel firm, not spongy. You can also wiggle the drumstick; it should come loose easily. If the juices run clear from the thigh, then your turkey is ready to be taken out of the oven. If the juices are pink, it needs a little more time.
Part 5: Resting the Bird
Once your turkey has reached the desired temperature, it's crucial to let it rest for at least 30 minutes before carving. This allows the juices to redistribute evenly, resulting in a moister and tastier bird. I usually tent the turkey with foil to keep it warm while it rests. And while it's resting, I like to whip up some gravy with the pan juices for a truly festive feast.
Part 6: Carving Time
After the rest, it's time for the moment we've all been waiting for: carving the turkey. This is best done on a carving board, with a sharp carving knife. Start by removing the legs and thighs, and then carve the breast into thin slices. Don't forget to save some of the delicious pan juices for your gravy.
Part 7: Serving Up Perfection
The moment of truth has arrived. It’s time to serve your beautifully roasted turkey. I like to arrange it on a platter with sides such as roasted vegetables, stuffing, and gravy. It’s a good idea to keep the turkey warm in a slow cooker while you assemble your feast. And don’t forget to grab some cranberry sauce for the perfect festive touch!
Part 8: Leftover Magic
Even if you're serving a crowd, it's likely you’ll end up with some leftover turkey. Don't let it go to waste! turkey sandwiches, turkey soup, turkey salad, the possibilities are endless. Leftover turkey makes for some delicious and satisfying meals, perfect for a quick lunch or dinner in the days after your feast.
FAQs: Your Turkey Questions Answered
Q1: What happens if I overcook my turkey?
Overcooked turkey can be a culinary disaster. The breast will be dry and tough, the skin will be leathery, and the overall flavor will be disappointing.
Q2: How do I prevent my turkey from drying out?
Here are some tips to ensure your turkey stays juicy:
- Baste it regularly throughout the cooking process, ensuring the skin stays moist.
- Don't overcook it! Check the internal temperature with a meat thermometer, and remove it from the oven as soon as it reaches 165°F (74°C) in the thigh and breast.
- Let it rest for at least 30 minutes after cooking, allowing the juices to redistribute evenly.
Q3: Can I cook a frozen turkey?
You can cook a frozen turkey, but it will take much longer. It's best to defrost it in the refrigerator for a few days before cooking. If you're in a pinch, you can also defrost it in cold water, but be sure to change the water every 30 minutes to keep it cold.
Q4: What is the best way to reheat leftover turkey?
The best way to reheat leftover turkey is to do it in the oven. Preheat your oven to 325°F (160°C) and place the turkey on a baking sheet. Reheat for 15-20 minutes, or until heated through.
Q5: What are some tips for carving a turkey?
Here are some tips for carving a turkey:
- Use a sharp carving knife for clean, precise cuts.
- Start by removing the legs and thighs, working your way up to the breast.
- Carve the breast into thin slices, ensuring even portions for your guests.
- Don't forget to save some of the delicious pan juices for your gravy!
There you have it, my turkey wisdom, passed down through years of experience. By following these tips, I’m confident you can cook a delicious and impressive bird that will be the star of your festive feast. Happy cooking!
Everyone is watching

Corn on the Cob: The Ultimate Guide to Perfectly Cooked Ears
Healthy MealsAh, corn on the cob. Just the name evokes images of sunny days, barbecues, and that sweet, juicy flavour that ...

Perfect Pork Roast Oven Cooking Time: A Guide to Delicious Results
Healthy MealsThere's something truly satisfying about a perfectly roasted pork. The aroma alone is enough to make your mout...

Ham Cooking Time: How Long to Bake, Smoke, or Boil a Delicious Ham
Healthy MealsAh, ham. It's a classic, isn't it? A real crowd-pleaser, especially around holidays. And when done right, it'...

Scallops: The Ultimate Guide to Perfect Cooking
Healthy MealsAh, scallops. Those delicate, sweet, and utterly delicious morsels of the sea. They hold a special place in my...

Spaghetti Squash: The Ultimate Guide to Cooking and Serving
Healthy MealsRemember that time you saw spaghetti squash at the supermarket, looking all bumpy and strange, and thought, "W...
