(Part 1) Prepping the Bird: A Tale of Patience and Precision

The Great Thaw: A Matter of Timing
First things first, we need to defrost that big guy. Tempting as it may seem to throw it straight into the oven frozen, trust me, it's not the way to go. The results are disastrous, a mix of raw and burnt, a culinary tragedy. So, patience is key. The best way is to defrost in the fridge, allowing about 24 hours for every 5 pounds. That means our 20lb bird needs a good four days in the fridge. If you're short on time, you can defrost it in cold water, but make sure to change the water every 30 minutes. This should thaw it within a day. But remember, a properly defrosted turkey is the foundation for a successful feast.Gutting and Stuffing: The Art of the Inner Bird
Now, time to get our hands a little dirty. The first step is to remove the giblets and neck. Don't throw them out, they'll make a delicious gravy later on. Next comes the stuffing. Some folks like to stuff their turkey, but I'm a purist – I prefer to cook it separately. Why? Because stuffing inside the turkey can take longer to cook, and you need to be certain it reaches a safe temperature to avoid any nasty surprises. Plus, cooking it separately in a casserole dish is just plain easier. If you're dead set on stuffing your turkey, make sure to cook it thoroughly until steaming hot before adding it to the bird.The Brine: A Secret Weapon for Moisture
Now, this is where the magic happens: brining. It's a simple process, but it elevates the turkey to a whole new level of deliciousness. It's basically soaking the turkey in a salt water solution, which keeps the meat moist and tender. My go-to brine is a simple mix of salt, sugar, water, and herbs. Let the turkey soak for a few hours. There are tons of recipes online, so experiment and find one you like. Just remember, brining can get messy, so make sure you have a large enough container and be prepared for some splatter.(Part 2) The Roast: Where the Turkey Meets the Fire

Choosing Your Weapon: Oven vs. roasting pan
We're getting to the fun part: the roasting. First, you need to decide on your weapon of choice. A standard roasting pan is usually the best bet, especially for a big bird like ours. If your pan is a bit snug, you can always use two smaller ones. But if you're feeling adventurous, you could try a roasting rack. This helps air circulate around the turkey, which can lead to a crispier skin. Just make sure to use a pan underneath to catch any drippings.The Right Temperature: Finding the Sweet Spot
Now, let's talk temperature. A good rule of thumb is to cook a turkey at 325°F (160°C). Our 20lb bird will need about 4 to 5 hours. However, cooking time can vary based on the size and shape of your turkey. The best way to check if it's cooked through is with a meat thermometer. Stick it into the thickest part of the thigh, and make sure it reaches an internal temperature of 165°F (74°C). If it's not quite there, pop it back in the oven for a bit longer.Don't Overdo It: The Art of Basting
While the turkey is roasting, you can give it some extra love. I like to baste it every 30 minutes with the drippings. This helps keep the skin moist and juicy. You can also use butter or broth for extra flavor. Just be careful not to go overboard, as too much basting can make the skin soggy.Rest Time: Patience is a Virtue (Especially in Cooking)
After the turkey comes out of the oven, resist the urge to carve it immediately. Let it rest for at least 30 minutes, covered with tin foil. This allows the juices to redistribute, resulting in a more tender and juicy bird. It's also a chance for you to catch your breath and relax before the carving frenzy begins.(Part 3) Carving the Bird: A Skillful Dance with a Sharp Knife

The Art of Carving: Tools and Tips
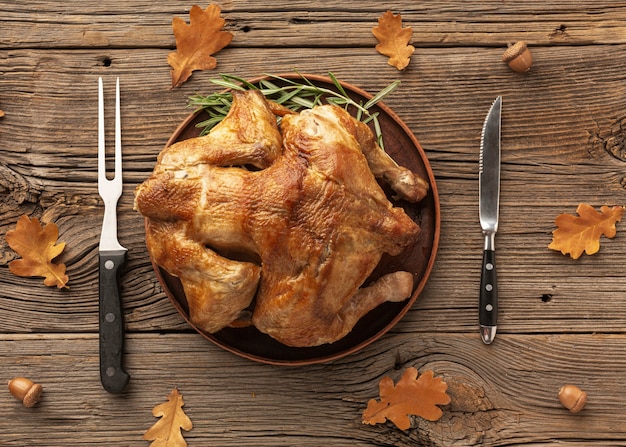
carving a turkey can be a bit intimidating, but with the right tools and a little practice, you'll be a master in no time. You'll need a sharp carving knife, a carving fork, and a cutting board. A fork with a good grip is essential, as you'll need to hold the turkey steady while carving. Start by removing the legs and thighs. Use your fork to hold the leg steady and cut through the joint. Next, remove the wings, then the breast. Cut across the breastbone and slice the breast into thin slices. Remember to check for any bones, especially near the wing and leg joints.Don't Forget the Gravy: Making the Magic Sauce
No turkey feast is complete without gravy. It's the perfect accompaniment, adding richness and flavor. You can make it from the turkey drippings, a treasure trove of deliciousness. Simply skim off any excess fat, then whisk in some flour to thicken it. Add some stock, herbs, and seasonings to enhance the flavor. And those giblets you saved? They can add a rich depth of flavor to your gravy.(Part 4) Serving the Feast: A Table Worthy of Celebration
A Feast for the Senses: Arranging the Dish
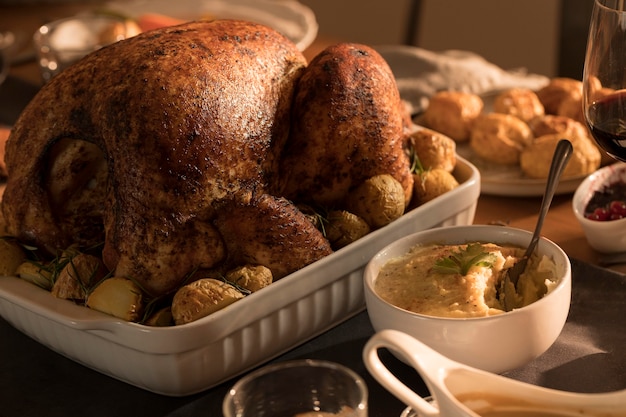
Now that the turkey is carved, it's time to present it proudly. Arrange the slices on a platter, drizzling a bit of extra gravy on top. Surround it with your favorite side dishes, like mashed potatoes, stuffing, cranberry sauce, and roasted vegetables. Don't forget to add some festive touches to your table: a tablecloth, candles, and a beautiful centerpiece. It's all about creating a beautiful and inviting atmosphere for your guests.The First Cut: A Moment of Truth
And then, the moment of truth: the first cut. There's a collective anticipation in the room, everyone watching. Will the turkey be juicy and tender? Will the skin be crispy? The answer, my friend, is in the cut. And hopefully, it'll be a glorious, delicious revelation.(Part 5) Leftovers: A Culinary Treasure Trove
The Day After: turkey sandwiches and Beyond
The turkey might be gone, but the memories, and the leftovers, linger. And those leftovers are a culinary treasure! From turkey sandwiches to turkey soup, the possibilities are endless. I love making turkey salad with mayonnaise, celery, and onions. It's a refreshing and delicious way to use up leftover turkey. You can also add some chopped nuts, dried cranberries, or herbs for extra flavor.Freezing for Later: Storing for Future Feasts
If you have more leftover turkey than you can eat in a few days, you can always freeze it. Just make sure to cool it completely before packaging it in freezer-safe containers or bags. Label them with the date and store them in the freezer for up to 2 months. Then, when you're ready for another turkey feast, simply defrost it in the refrigerator overnight.(Part 6) The Perfect Christmas Turkey: Tips and Tricks
Tips from a Turkey Veteran: Mastering the Art of Roasting
After many years of roasting turkeys, I've picked up a few tricks along the way. Here are some of my favorites:- Don't overcrowd the oven: If you're cooking other dishes alongside the turkey, make sure there's enough space in the oven for the air to circulate. You might need to use a second oven or cook some dishes ahead of time.
- Use a meat thermometer: It's the best way to ensure your turkey is cooked to perfection. Don't rely on the color of the skin as a guide, as it can be deceiving.
- Rest the turkey: Let it rest for at least 30 minutes after cooking to allow the juices to redistribute. This will make it more tender and juicy.
- Save the drippings: You can use them to make gravy or stock. Just skim off any excess fat before using them.
- Be patient: cooking a turkey takes time, so be patient and don't rush the process. Enjoy the process and the anticipation.
(Part 7) The Science Behind a perfect turkey
The Chemistry of Cooking: Understanding the Process
There's a science to cooking a perfect turkey. It's all about understanding the chemistry of protein and how heat affects it. When you roast a turkey, the heat causes the protein molecules to unravel and bind together, which is what makes the meat tender and juicy. The key is to cook it at the right temperature for the right amount of time.Time and Temperature: A Crucial Balance
Too much heat can dry out the turkey, while too little heat won't cook it properly. That's why it's important to use a meat thermometer to check the internal temperature. And remember, the cooking time will vary depending on the size and weight of your turkey.The Importance of Rest: Resting for Tenderness
Resting the turkey after cooking is also crucial. It gives the protein time to relax, allowing the juices to redistribute and resulting in a more tender and juicy bird. It's like giving the turkey a chance to catch its breath after its workout in the oven.(Part 8) A Festive Feast: Sharing with Loved Ones
The Joy of Sharing: Celebrating with Family and Friends
Cooking a turkey isn't just about the food; it's about bringing people together. It's a tradition that's shared with family and friends, a way to connect and celebrate. The laughter, the conversation, the shared meal - it's all part of the festive experience.A Culinary Journey: Embracing the Traditions
As you gather around the table, you can share stories and memories. You can talk about past Christmases, and the traditions that you hold dear. You can share your favorite recipes, and your tips for cooking the perfect turkey. It's a culinary journey that connects generations.(Part 9) The Last Bite: A Culinary Triumph
A Sense of Accomplishment: The Reward of Hard Work
After all the planning, the prepping, the cooking, and the carving, you finally reach the last bite. It's a moment of satisfaction, a sense of accomplishment. You've conquered the turkey, and it's been a delicious victory.A culinary adventure: Continuing the Tradition
And as you put away the last of the leftovers, you can already start planning for next year's feast. What new recipes will you try? What traditions will you continue? The turkey may be gone, but the memories will last a lifetime.FAQs
1. How long does it take to cook a 20lb turkey?
It typically takes 4 to 5 hours to cook a 20lb turkey at 325°F (160°C). However, cooking time can vary depending on the size and shape of the turkey. The best way to check if it's cooked through is to use a meat thermometer. Stick it into the thickest part of the thigh, and make sure it reaches an internal temperature of 165°F (74°C). If it's not quite there, pop it back in the oven for a bit longer.
2. How do I know if my turkey is cooked through?
The best way to ensure your turkey is cooked through is to use a meat thermometer. Insert it into the thickest part of the thigh, avoiding the bone, and make sure it reaches an internal temperature of 165°F (74°C). You can also check the juices: they should run clear, not pink.
3. How do I keep my turkey moist?
Brining, basting, and resting are all key to keeping your turkey moist. Brining involves soaking the turkey in a salt water solution, which helps to retain moisture. Basting with drippings or butter during cooking also helps to keep the skin moist. And finally, resting the turkey for at least 30 minutes after cooking allows the juices to redistribute, resulting in a more tender and juicy bird.
4. What can I do with leftover turkey?
The possibilities are endless! You can make turkey sandwiches, turkey salad, turkey soup, or even turkey pot pie. You can also freeze leftover turkey for up to 2 months. Just make sure to cool it completely before packaging it in freezer-safe containers or bags.
5. What are some tips for cooking a perfect turkey?
Here are some tips for cooking a perfect turkey:
- Don't overcrowd the oven.
- Use a meat thermometer.
- Rest the turkey for at least 30 minutes after cooking.
- Save the drippings for gravy or stock.
- Be patient and don't rush the process.
Remember, cooking a turkey is a journey. It's about patience, precision, and a touch of culinary magic. With a little practice, you'll be a turkey-roasting champion in no time. So, have fun, enjoy the process, and savor the delicious results!
Everyone is watching

Corn on the Cob: The Ultimate Guide to Perfectly Cooked Ears
Healthy MealsAh, corn on the cob. Just the name evokes images of sunny days, barbecues, and that sweet, juicy flavour that ...

Perfect Pork Roast Oven Cooking Time: A Guide to Delicious Results
Healthy MealsThere's something truly satisfying about a perfectly roasted pork. The aroma alone is enough to make your mout...

Ham Cooking Time: How Long to Bake, Smoke, or Boil a Delicious Ham
Healthy MealsAh, ham. It's a classic, isn't it? A real crowd-pleaser, especially around holidays. And when done right, it'...

Scallops: The Ultimate Guide to Perfect Cooking
Healthy MealsAh, scallops. Those delicate, sweet, and utterly delicious morsels of the sea. They hold a special place in my...

Spaghetti Squash: The Ultimate Guide to Cooking and Serving
Healthy MealsRemember that time you saw spaghetti squash at the supermarket, looking all bumpy and strange, and thought, "W...
