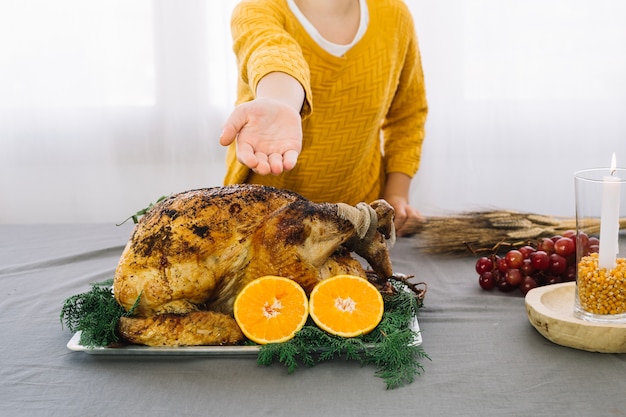
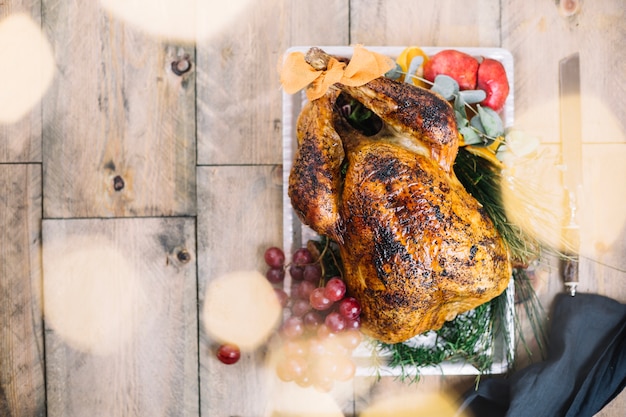
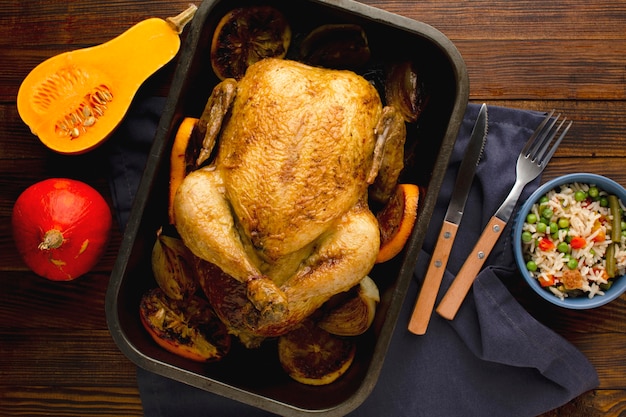
The aroma of a perfectly roasted turkey, golden brown and glistening, is enough to make anyone’s mouth water. But let’s be honest, the thought of tackling this culinary behemoth can be a bit daunting. It's a big responsibility, after all! But fear not, dear reader, because I'm here to guide you through every step of the way, sharing my own tips and tricks to ensure you create a show-stopping turkey that will have everyone singing your praises.
Part 1: Choosing Your Turkey - The Foundation of a Festive Feast

First things first, you need to choose the right turkey. This is the cornerstone of your entire meal, so we need to get this right! Let's dive into the details.
Size Matters: Choosing the Right Bird for Your Crowd
The size of your turkey is crucial. No one wants to be stuck with too much leftover bird, or worse, not enough to go around! A good rule of thumb is to allow about 1 pound per person. If you're hosting a large gathering, you'll want a bigger bird. If it's just a small family affair, a smaller turkey will be perfect. Don't worry about getting the exact weight, you can always adjust the cooking time. It's about finding the right fit for your celebration.
Fresh or Frozen? A Question of Convenience and Taste
Now, let's talk about freshness. frozen turkeys are a real lifesaver for me. They're easy to handle and have a longer shelf life. Just pop them in the fridge a few days before you need them and you're good to go. But if you prefer fresh, make sure it's really fresh. Give the breastbone a good press - it should be firm and bounce back. If it feels squishy, then it's probably not going to be the best bird for your roast.
Free-Range vs. Traditional: A Balancing Act of Taste and Ethics
This is where things get a little more nuanced. Free-range turkeys are often considered more ethical and their meat can have a more intense flavour. However, they can be pricier and sometimes a bit leaner. Traditional turkeys are readily available, typically more affordable, and usually provide a nice balance of flavour and moisture. Ultimately, it comes down to your personal preference and budget. There's no wrong answer, just different choices to suit your taste.
Part 2: Preparing Your Turkey - Setting the Stage for Success

Okay, you've picked your perfect turkey. Now it's time to get it ready for roasting. A little preparation goes a long way, I promise!
The Art of Brining: Unlocking Moisture and Flavor
Brining is a secret weapon for achieving a juicy and flavorful turkey. It involves soaking the bird in a salt water solution for several hours. This helps to retain moisture and prevent the meat from drying out during cooking. You can make your own brine from scratch, or you can find pre-made brines at most supermarkets. Feeling adventurous? Add herbs, spices, or even fruit to your brine for a touch of extra flavour. But remember, brining can make your turkey a bit salty, so don't go overboard! A little goes a long way.
Stuffing the Bird: A Delicious Debate
Stuffing is a matter of personal preference. Some people love it, others find it a bit unnecessary. The key is to do it right. I always recommend cooking stuffing separately to avoid any cross-contamination. Make sure it's cooked through to a safe temperature, both inside and out. If you choose to stuff the turkey, don't overfill it. Leave enough space for the stuffing to cook properly. And don't forget to use a meat thermometer to check the internal temperature of both the turkey and the stuffing. It's always better to be safe than sorry.
Pat It Dry: A Simple Step for a crispy skin
Before you roast your turkey, give it a good pat down with kitchen paper. This helps to remove excess moisture, which will result in a crispy, golden brown skin. While you're at it, you can rub the skin with butter or olive oil for extra flavour and a beautiful finish. It's a small step that makes a big difference.
Part 3: Roasting Your Turkey - The Heart of the Operation

This is it! The moment you've been waiting for - roasting the turkey! Now is when all your prep work comes together. Get your oven ready, gather your tools, and let's get cooking!
Oven Temperature: Finding the Sweet Spot for Optimal Cooking
Set your oven to 350 degrees fahrenheit (180 degrees Celsius). This is a good starting point for most turkeys. You might want to adjust the temperature slightly based on the size of your bird. For larger turkeys, consider lowering the temperature to prevent the breast from overcooking. It's all about achieving that perfect balance.
roasting time: Guiding Your Turkey to Perfection
The roasting time depends on the size of your turkey. As a general rule of thumb, allow 15-20 minutes per pound. For example, a 12-pound turkey will take about 3-4 hours to roast. But always check the internal temperature of your turkey using a meat thermometer to make sure it’s cooked through. Your turkey is perfectly cooked when the internal temperature reaches 165 degrees Fahrenheit (74 degrees Celsius) in the thickest part of the thigh. Don’t rely solely on time, use the thermometer to guarantee a delicious result!
Basting Bonanza: Adding Moisture and Flavor with Each Basting
Basting is a key element in achieving a moist and flavorful turkey. It involves pouring juices over the bird during cooking, helping to keep the meat tender and adding flavour. You can baste with turkey stock, butter, or a mixture of both. Do this every 30 minutes or so, making sure to pour the juices over the entire bird. You'll notice the skin gradually developing that beautiful golden brown colour, signaling your turkey is nearing perfection.
Part 4: Resting Your Turkey - The Secret to Juiciness
Once your turkey is cooked, it's time for a little rest. Letting it rest for at least 15-20 minutes before carving is crucial for a juicier, more tender turkey. The juices will redistribute throughout the meat, creating a more flavorful result. If you're impatient and carve the turkey straight out of the oven, you'll lose valuable moisture, leading to a dry bird, and nobody wants that!
Part 5: Carving Your Turkey - A Culinary Masterclass
The turkey has rested, the table is set, and you’re ready to carve the bird. This is your moment to shine! Don’t worry, it's not as intimidating as it seems.
Tools of the Trade: Essential Equipment for a Smooth Carving Experience
You'll need a sharp carving knife and a carving fork to get the job done. If you’re feeling fancy, a poultry shears can be a real game-changer for cutting through bone. Make sure you have a cutting board, and always keep your fingers away from the blade. Safety first, always!
Carving Steps: A Step-by-Step Guide to Achieving Perfectly Carved Turkey
1. Removing the Legs: Start by placing the turkey breast-side down on the cutting board. Slide the knife between the leg and the body, cutting along the joint. It's a bit like a puzzle, but you'll get the hang of it.
2. Removing the Wings: Next, use your knife to cut along the joint where the wing meets the body. This is a similar process to removing the legs, just a smaller joint.
3. Carving the Breast: Now, it's time to carve the breast. Make a series of parallel cuts down the length of the breast, being careful not to cut through the skin. This will create slices that can be easily lifted off the bone.
4. Carving the Legs and Thighs: Once you've carved the breast, you can move on to the legs and thighs. Cut along the bone to separate the leg from the thigh. Then, you can cut the thigh into smaller pieces. Don't forget to remove the bone before serving. A little bit of extra effort goes a long way!
Part 6: Serving Your Turkey - The Grand Finale
Your turkey is carved, the gravy is bubbling away, and the table is laden with delicious side dishes. You’re ready to serve! But before you do, let’s consider the finer points of presentation.
The Presentation: Making Your Turkey Look as Good as It Tastes
Presentation matters! You want your turkey to look as good as it tastes. Use a platter to arrange the carved turkey, and a serving spoon to scoop out the stuffing and place it on the platter. Make sure you have enough plates and cutlery for everyone. A well-presented meal is sure to impress your guests.
The Side Dishes: Complementing Your Turkey with Flavor and Variety
No turkey feast is complete without a selection of delicious side dishes. Think mashed potatoes, roasted vegetables, stuffing, cranberry sauce, gravy, and all the other festive favourites. Make sure you have a variety of flavours and textures to satisfy everyone's taste buds. Balance is key for a truly satisfying meal.
The Drinks: Adding Festive Cheer with the Perfect Beverages
Of course, you can’t forget about the drinks! Sparkling wine or champagne is a classic choice for a festive gathering. You can also offer beer, wine, or soft drinks. Make sure you have enough ice and glasses for everyone. A good drink is a great way to complete the festive atmosphere.
Part 7: Leftovers and Storage - Making the Most of Your Culinary Triumph
So the big day is over, and you're left with a mountain of turkey leftovers. Don’t worry, they can be transformed into delicious meals for days to come. But it's important to store them properly.
Storing Turkey Leftovers: Keeping Your Turkey Safe and Delicious
Leftover turkey should be refrigerated promptly within two hours of cooking. Store it in airtight containers to keep it fresh and prevent it from absorbing other flavours in the fridge. Turkey can be stored in the fridge for up to four days. You can also freeze turkey for up to two months. Make sure to defrost it completely in the fridge before cooking or eating. Proper storage ensures your leftovers remain delicious and safe to enjoy.
Reheating Turkey: Bringing Your Leftovers Back to Life
There are a few ways to reheat leftover turkey. You can reheat it in the oven, in the microwave, or in a skillet. If you're reheating it in the oven, cover it with foil to prevent it from drying out. When reheating turkey in the microwave, make sure to stir it frequently to ensure it’s cooked evenly. You can also add a splash of water or broth to keep it moist. Finding the right method for reheating will make all the difference in the taste of your leftovers.
Leftover turkey recipes: Turning Leftovers into Culinary Delights
The possibilities for using up leftover turkey are endless! You can make turkey sandwiches, turkey salad, turkey soup, turkey pies, and much more. Get creative and use your leftover turkey to create delicious and satisfying meals for days to come.
Part 8: FAQs - Answering Your Most Pressing Turkey Questions
1. How do I know if my turkey is cooked through?
The best way to check if your turkey is cooked through is to use a meat thermometer. The turkey is cooked when the internal temperature reaches 165 degrees Fahrenheit (74 degrees Celsius) in the thickest part of the thigh. A meat thermometer is an essential tool for ensuring your turkey is safe to eat.
2. Can I cook my turkey stuffed?
While stuffing a turkey can be tempting, it’s not recommended. Stuffing should be cooked separately to avoid cross-contamination. This will ensure that the stuffing is cooked through to a safe temperature. It's best to err on the side of caution when it comes to food safety.
3. How do I keep my turkey moist?
There are several ways to keep your turkey moist. Brining is a popular technique that helps to retain moisture. You can also baste the turkey regularly with butter, turkey stock, or a mixture of both. Finally, letting the turkey rest for 15-20 minutes before carving will allow the juices to redistribute. Each of these techniques will contribute to a juicier, more flavourful turkey.
4. How do I make a crispy turkey skin?
For crispy turkey skin, pat the turkey dry with kitchen paper before roasting. You can also rub the skin with butter or olive oil. To get extra crispy skin, you can use a high oven temperature for the first part of the cooking time. Achieving crispy skin is all about managing moisture levels and using the right oven setting.
5. How do I make gravy from turkey drippings?
To make gravy from turkey drippings, you’ll need to deglaze the roasting pan. Add a little flour to the pan and stir it into the drippings. Then, add turkey stock or water and bring it to a simmer. Strain the gravy through a sieve and season with salt and pepper to taste. A delicious gravy is the perfect complement to your roasted turkey.
There you have it, the ultimate guide to roasting a perfect turkey. With a bit of planning and these handy tips, you’ll be the star of your next festive gathering. Happy roasting!
Everyone is watching

Corn on the Cob: The Ultimate Guide to Perfectly Cooked Ears
Healthy MealsAh, corn on the cob. Just the name evokes images of sunny days, barbecues, and that sweet, juicy flavour that ...

Perfect Pork Roast Oven Cooking Time: A Guide to Delicious Results
Healthy MealsThere's something truly satisfying about a perfectly roasted pork. The aroma alone is enough to make your mout...

Scallops: The Ultimate Guide to Perfect Cooking
Healthy MealsAh, scallops. Those delicate, sweet, and utterly delicious morsels of the sea. They hold a special place in my...

Spaghetti Squash: The Ultimate Guide to Cooking and Serving
Healthy MealsRemember that time you saw spaghetti squash at the supermarket, looking all bumpy and strange, and thought, "W...

Ham Cooking Time: How Long to Bake, Smoke, or Boil a Delicious Ham
Healthy MealsAh, ham. It's a classic, isn't it? A real crowd-pleaser, especially around holidays. And when done right, it'...
