Let's be honest, there's something truly satisfying about a perfectly cooked steak. The juicy, smoky flavour, the tender bite, the satisfying sizzle – it's a culinary experience that never gets old. But, I'll confess, I've had my fair share of steak disasters in the kitchen. Overcooked, dry, tough – you name it, I've probably done it. But, over time, I've learned a thing or two about cooking the perfect striploin steak in the oven, and let me tell you, it's a game-changer! So, grab your apron, let's get started.
Part 1: Choosing Your Steak – The Foundation of a Great Meal
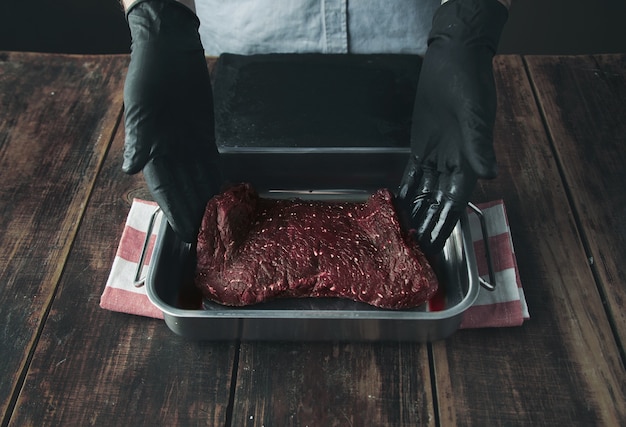
The Cut: Striploin, a Steak Lover's Dream
First, let's talk about the star of the show: the steak. Striploin, also known as new york strip, is a cut from the short loin that's absolutely perfect for oven cooking. It's known for its rich flavour, beautiful marbling, and a perfect balance of tenderness and chew, which I personally adore. I always go for a good quality striploin, preferably grass-fed. Trust me, the flavour difference is noticeable.
Thickness: Getting the Balance Right
Next up, thickness. A 1-inch thick steak is ideal for oven cooking. It's thick enough to develop a beautiful sear, but not so thick that it takes forever to cook. If you’re working with a thicker steak, don't worry, we'll adjust the cooking time later.
Quality: The Key to Unforgettable Flavour
Remember, the quality of the steak will make all the difference in the final flavour. For the most delicious results, look for a steak with a good amount of marbling. Those little streaks of fat will melt during cooking, adding unbelievable tenderness and richness to your steak.
Part 2: Prepping the Steak – Setting the Stage for Success
Pat Dry: The Secret to a Sizzling Sear
Okay, you’ve got your beautiful piece of striploin. First things first, pat it dry with kitchen paper. We want a nice, even sear on that steak, and moisture will just get in the way.
Seasoning: Simple is Best
Now, for the seasoning. This is where you can get creative, but I like to keep it simple. A good sprinkle of salt and freshly ground black pepper is all you really need. Don't go overboard, you want to enhance the natural flavour of the steak, not mask it. If you're feeling adventurous, a sprinkle of garlic powder or a touch of smoked paprika adds a nice depth of flavour.
Rest: Let the Steak Relax
Once it's seasoned, pop that steak on a plate and let it rest at room temperature for about 30 minutes. This will allow the steak to come up to temperature, ensuring it cooks evenly throughout. It's a simple step, but it makes a big difference in the final result.
Part 3: Getting Your Oven Ready – The Power of High Heat
Preheat: Don't Skip This Step
Now, let's get that oven fired up. We're going for a high heat, around 450°F (230°C). Give it plenty of time to preheat properly, we want it really hot! This intense heat is what creates the delicious sear and ensures that your steak cooks quickly and evenly.
Baking Sheet: A Solid Base for Your Masterpiece
Grab a baking sheet and pop it on the rack in the lower part of your oven. This is where we're going to place our sizzling steak. Make sure it's a good quality baking sheet – one that will hold the heat well. A dark-coloured baking sheet is ideal for absorbing heat and giving your steak that perfect crust.
Part 4: Searing the Steak – The Art of the Perfect Crust
cast iron pan: The Ultimate Searing Weapon
Now, this is where things get exciting. Grab your trusty cast iron skillet. Cast iron is absolutely brilliant for searing – it gets super hot and holds that heat, giving you those beautiful, crispy sear marks that make your steak look and taste amazing. Heat the pan over a medium-high heat until it’s nice and hot. You should feel the heat radiating from the pan when you hold your hand close to it.
Searing: Getting That Mouthwatering Crust
Carefully place the steak in the pan, making sure it sizzles when it hits the surface. We want that gorgeous brown crust to form, which will lock in those juicy flavours and create an irresistible taste. Cook for around 2-3 minutes per side.
Flipping: The Key to Those Perfect Grill Marks
Now, here’s a little trick. You want to flip the steak once only, and make sure you do it carefully. We’re aiming for those perfect criss-cross grill marks that add a touch of elegance and visual appeal to your steak.
Part 5: Finishing in the Oven – Achieving Perfect Doneness
Transfer: From Pan to Oven
Once the steak has been seared on both sides, carefully transfer it to the preheated baking sheet. This is where the oven takes over, gently cooking the steak through to your desired doneness.
Temperature: The Science Behind perfect steak
Now, the trick to a perfectly cooked steak is knowing the temperature. A meat thermometer is your best friend in this process. You want to make sure your steak is cooked to your liking, without overcooking it and turning it into a dry, tough piece of meat.
Cooking Times: A Guide for Every Taste
Here's a handy guide to cooking times for different levels of doneness:
| Desired Doneness | internal temperature (°F) | Internal Temperature (°C) | Oven Time (approx.) |
|---|---|---|---|
| Rare | 125-130 | 52-54 | 10-12 minutes |
| Medium-Rare | 130-135 | 54-57 | 12-15 minutes |
| Medium | 135-140 | 57-60 | 15-18 minutes |
| Medium-Well | 140-145 | 60-63 | 18-20 minutes |
| Well-Done | 145-150 | 63-66 | 20-25 minutes |
Resting: Letting the Steak Recoup
Once the steak reaches your desired doneness, remove it from the oven and transfer it to a cutting board. Let it rest for about 5-10 minutes. This will allow the juices to redistribute throughout the steak, ensuring it's tender and juicy. Resist the temptation to cut into it right away! It's worth the wait.
Part 6: Serving Your Masterpiece – A Symphony of Flavours
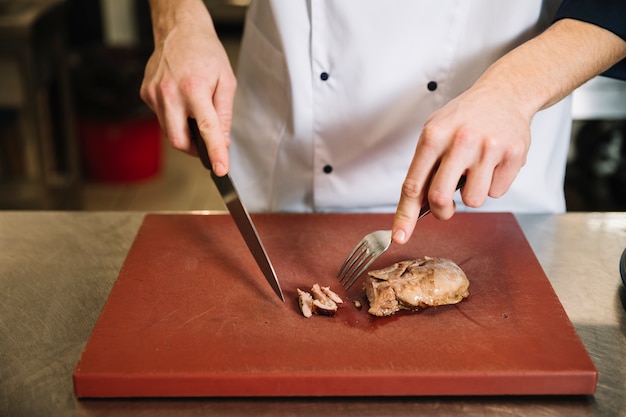
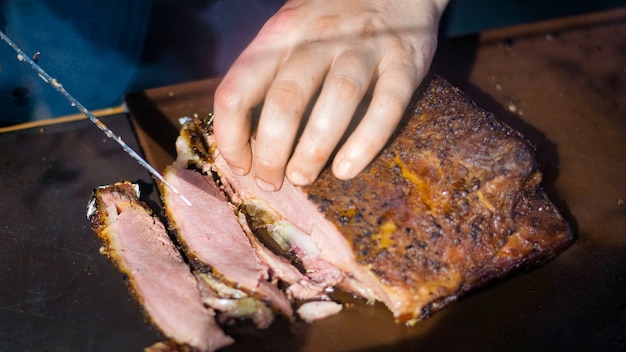
Carving: Unveiling the Beauty
After it's rested, slice your steak against the grain. This helps to break down the muscle fibers, making it even more tender. You'll notice how much easier it is to chew and how much more flavour you'll experience.
Sauces: Enhancing the Experience
Now, for the fun part – the sauces. You can get as fancy as you like, but a simple compound butter or a classic Béarnaise sauce is a perfect accompaniment. A drizzle of good quality olive oil and a squeeze of lemon can also add a burst of flavour and freshness.
Sides: Completing the Feast
And of course, no steak is complete without some delicious sides. Roasted potatoes, asparagus, or a salad are all great options. You can even get creative with some roasted root vegetables or a side of creamy polenta. The possibilities are endless!
Part 7: Beyond the Basics – Taking Your Steak Skills to the Next Level
Marinades: Adding Depth of Flavour
For a more intense flavour, you can marinate the steak for a few hours before cooking. Try a simple marinade with olive oil, garlic, and herbs, or get creative with citrus juices and spices. You can experiment with different flavours, like a tangy balsamic marinade or a smoky paprika marinade.
Steak Rubs: Enhancing the Crust
If you're looking for a bit of extra flavour, try a steak rub. A good steak rub will add a delicious crust to the outside of the steak, enhancing the flavour profile. Experiment with different spice combinations, like a classic garlic and herb rub or a more adventurous cajun-inspired rub.
reverse searing: The Secret to Ultimate Tenderness
For ultimate tenderness, try reverse searing. This technique involves cooking the steak at a low temperature in the oven until it’s almost cooked through, then searing it quickly over high heat to give it a delicious crust. This method produces a steak that's incredibly tender and juicy, with a perfectly caramelized exterior.
Part 8: FAQs – Answering Your Steak Questions
1. Can I use a different cut of steak?
Absolutely! You can use other cuts, such as ribeye, sirloin, or even flank steak, but adjust the cooking time accordingly. Remember, different cuts have different thicknesses and marbling, so be sure to check cooking times and temperatures for your specific cut.
2. What if my steak is too thick?
If your steak is thicker than 1 inch, you might need to increase the oven cooking time slightly. Use a meat thermometer to check the internal temperature and adjust the cooking time as needed.
3. What if my steak is too thin?
For thin steaks, you might want to cook it on the stovetop or grill instead of in the oven. It's easier to control the cooking time and ensure it doesn't overcook.
4. How do I know if my steak is cooked to my liking?
Use a meat thermometer! This is the most reliable way to ensure your steak is cooked to your desired doneness. Don't rely on colour alone, as it can be deceiving. A meat thermometer provides the most accurate reading.
5. What if my steak is overcooked?
Unfortunately, you can't really undo overcooking. However, you can try to salvage it by slicing it thinly and using it in a dish like a steak sandwich or tacos. It won't be as tender, but you can still enjoy it in a different way.
Part 9: Enjoy Your Masterpiece – A Culinary Victory
And there you have it. The ultimate guide to perfectly cooked striploin steak in the oven. Now, go on, give it a try and impress your friends and family with your culinary skills. And most importantly, enjoy every delicious bite!
Remember, cooking is about experimentation and finding what works best for you. Don't be afraid to try new things and discover your own unique style. Happy cooking!
Everyone is watching

Corn on the Cob: The Ultimate Guide to Perfectly Cooked Ears
Healthy MealsAh, corn on the cob. Just the name evokes images of sunny days, barbecues, and that sweet, juicy flavour that ...

Perfect Pork Roast Oven Cooking Time: A Guide to Delicious Results
Healthy MealsThere's something truly satisfying about a perfectly roasted pork. The aroma alone is enough to make your mout...

Ham Cooking Time: How Long to Bake, Smoke, or Boil a Delicious Ham
Healthy MealsAh, ham. It's a classic, isn't it? A real crowd-pleaser, especially around holidays. And when done right, it'...

Scallops: The Ultimate Guide to Perfect Cooking
Healthy MealsAh, scallops. Those delicate, sweet, and utterly delicious morsels of the sea. They hold a special place in my...

Spaghetti Squash: The Ultimate Guide to Cooking and Serving
Healthy MealsRemember that time you saw spaghetti squash at the supermarket, looking all bumpy and strange, and thought, "W...