Ah, the symphony of sizzling steak on the grill. There’s something about that summery aroma that gets everyone’s taste buds dancing and spirits soaring. But achieving that perfect sear, that juicy, melt-in-your-mouth tenderness – that’s where the real art lies. It’s a skill I’ve been honing for years, and trust me, I’ve had my fair share of grilling mishaps (burnt offerings, anyone?). But through those trial-and-error moments, I’ve learned a thing or two.
This guide is my way of sharing my hard-earned knowledge, so you can confidently grill like a pro, and leave your guests wanting more.
(Part 1) Choosing Your Steak

Understanding Cuts: The Anatomy of a Steak
First things first, you need to pick the right cut. The world of steak cuts is vast, but for grilling, you want something with a good amount of marbling – those delicious flecks of fat that keep the steak juicy and flavorful. Think ribeye, sirloin, or even a good old-fashioned rump. These cuts are packed with that essential fat, ensuring they stay succulent and tender even when exposed to the heat of the grill.
Now, each cut has its own unique character. Ribeye, for example, is known for its rich, buttery flavor and its beautifully marbled texture. Sirloin is a bit leaner, offering a more robust taste. And then you’ve got rump, the workhorse of the grill, known for its affordability and hearty flavor.
The Importance of Thickness
Next, consider the thickness of your steak. Thinner cuts cook faster, perfect for a quick meal or if you prefer your steak on the rare side. Thicker cuts, on the other hand, take longer to cook, allowing for that perfect sear on the outside while keeping the inside beautifully pink and juicy. So, if you’re aiming for a rare steak, a thick cut is your best bet.
The Freshness Factor
Finally, freshness is key. A good quality steak, one that has been aged properly, makes all the difference. Look for a steak with a bright red color, a good amount of marbling, and a firm texture. If you can, ask your butcher for advice – they are a wealth of knowledge when it comes to picking the perfect cut.
(Part 2) Getting Ready to Grill: The Tools of the Trade

Choosing Your Grill
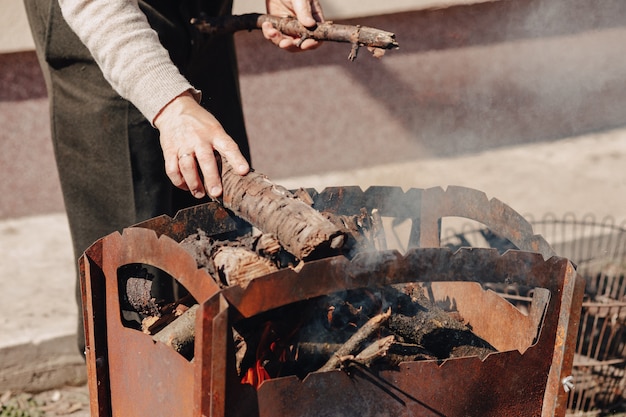
Now, you’ve got your steak, you need the right tools for the job. A good quality grill is essential. While there’s a debate between gas and charcoal grills, I’m a charcoal man through and through. I love the smoky, almost primal flavor it imparts to the steak. But gas grills are great too, especially if you’re looking for more precise temperature control.
Get That Grill Hot!
Before you even think about putting your steak on the grill, crank up the heat. You want those iconic grill marks, that crispy crust, that’s where the real flavour lives. If you’re using charcoal, build a bed of hot coals. For gas grills, preheat to high.
(Part 3) Prepping the Steak: A Simple Approach

Salt and Pepper: The Steak’s Best Friends
This is where many people go wrong. They overseason their steak. Keep it simple. A high-quality steak needs nothing more than a generous sprinkling of salt and pepper. The salt draws out moisture, so it’s best to season your steak about 30 minutes before you grill it. Let the salt work its magic, it’ll make your steak even more flavorful.
A Little Oil, A Long Way
Some folks believe you shouldn’t oil your steak. I beg to differ. A light coating of oil helps prevent the steak from sticking to the grill and gives it a lovely crispy sear. Just a thin layer, no need to drown it.
(Part 4) Grilling Your Steak: The Art of the Cook
Creating That Perfect Sear
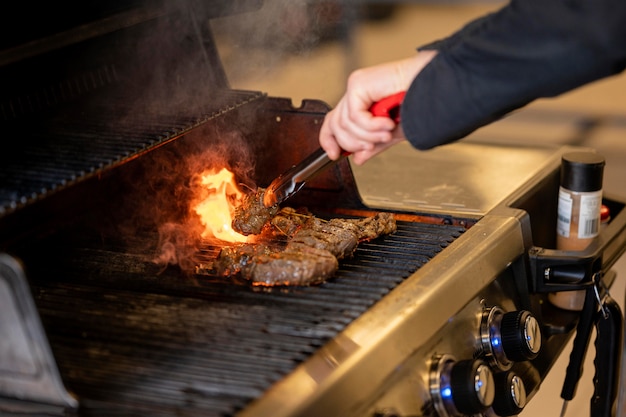
Alright, it’s showtime! You’re going to want to start with a good sear. Place your steak directly over the hottest part of the grill. You want to see those mesmerizing grill marks, those lines of char that tell a story of the flames and the heat.
The Art of the Flip
Once you’ve got that beautiful sear on one side, gently flip the steak. Don’t push it around, just a clean, confident flip. This is where patience comes in. You want to allow the steak to cook evenly, without disturbing the precious sear.
The Watchful Eye
Now, here’s where your keen observation skills come in. You need to keep a close eye on your steak as it cooks. A good rule of thumb is to cook for about 2-3 minutes per side for medium-rare. But remember, this can vary depending on the thickness of your steak and your preferred level of doneness.
The Importance of Rest
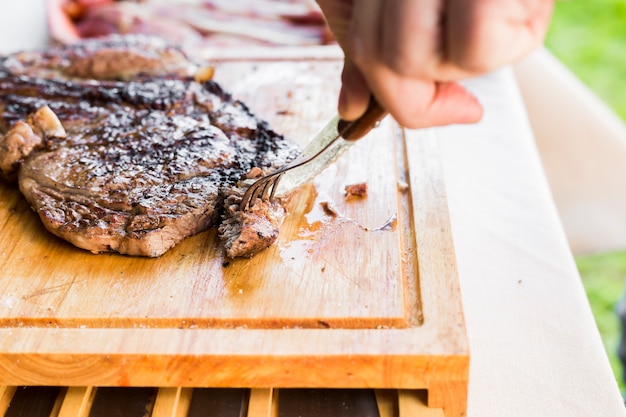
Once your steak is cooked to perfection, take it off the grill and let it rest for about 5-10 minutes. This allows the juices to redistribute throughout the steak, resulting in a more tender and juicy bite. Don’t be tempted to cut into it right away, let it rest and savor the anticipation.
(Part 5) Checking for Doneness: Mastering the Art of the Cook
The Touch Test: Feeling Your Way
One way to check for doneness is by using the touch test. Press your finger on the thickest part of the steak. If it feels soft and squishy like your fingertip, it’s rare. If it feels firmer, like the pad of your thumb, it’s medium-rare. If it feels firm like the back of your hand, it’s medium. And if it feels very firm, it’s well-done. It’s a bit of a tactile experience, but with a bit of practice, you’ll get the hang of it.
The meat thermometer: Precision at Its Best
Another way to check for doneness is with a meat thermometer. This is the most accurate method, but it’s not always necessary. If you’re new to grilling, or if you’re aiming for a specific level of doneness, a meat thermometer is a great tool.
Temperature Guide: Finding Your Perfect Level
Here’s a quick table to guide you through the different temperature ranges for different levels of doneness:
| Doneness | internal temperature (°F) |
|---|---|
| Rare | 125-130 |
| Medium-rare | 130-135 |
| Medium | 140-145 |
| Medium-well | 150-155 |
| Well-done | 160 |
(Part 6) Mastering the Art of Medium-Rare: The Holy Grail of Grilling
Now, I’ve got to say, medium-rare is my personal favorite. That beautiful pink center, the juicy flavor, it’s simply divine. But if you’re a bit hesitant about cooking a steak medium-rare, don’t worry, I’ve got you covered.
Go for a thicker cut: This gives you more time to cook the outside while keeping the inside rare.
Use a meat thermometer: This will give you a more accurate reading of the internal temperature.
Don’t overcook it: Once the steak reaches your desired internal temperature, take it off the grill. It will continue to cook a little bit as it rests.
Don’t be afraid to ask for help: If you’re still unsure, ask a butcher or a grilling pro for some tips. They’re always happy to share their knowledge and help you conquer your grilling fears.
(Part 7) Beyond the Steak: Elevating Your Grilling Game
side dishes: The Perfect Complement
No steak is complete without a good side dish. I’m a big fan of roasted vegetables, bursting with color and flavour. mashed potatoes, creamy and comforting, are another classic. And don’t forget about a simple salad, the perfect refreshing counterpoint to a rich steak.
Sauces and Seasonings: A Symphony of Flavor
And then there are sauces. A good steak sauce can take your grilling experience to the next level. I love a classic chimichurri, with its vibrant herbiness and tangy zest. A bold béarnaise is another favorite, its creamy richness a perfect complement to the steak’s savory notes. And for a simple yet delicious touch, you can’t go wrong with a garlic herb butter, its subtle yet flavorful notes enhancing every bite.
(Part 8) Troubleshooting Common grilling mistakes: Turning Mishaps into Triumphs
The Steak Stuck to the Grill: A Common Dilemma
We’ve all been there. You’ve got a beautiful sear on one side, you go to flip it, and it sticks like glue. Don’t panic! The solution is simple: don’t force it. Let it cool for a minute or two, then try to gently lift it off the grill with a spatula. If it’s still stuck, use a grill brush to loosen it up.
Steak Burning Too Fast: A Hot Situation
If your steak is burning too fast, it’s probably because your grill is too hot. Lower the heat or move the steak to a cooler part of the grill. You can also use a grill screen to create some distance between the steak and the heat source, allowing for more even cooking.
Steak Not Cooking Evenly: A Matter of Balance
If your steak is not cooking evenly, it’s probably because it’s not sitting flat on the grill. Try to find a flat spot on the grill, or use a grill grate to create a more even surface. This ensures that your steak cooks uniformly, achieving that perfect balance of sear and tenderness.
(Part 9) Taking Your Grilling to the Next Level: Beyond the Basics
Experimenting with Different Cuts: Expanding Your Horizons
Once you’ve mastered the basics, it’s time to venture into the world of different cuts. Try a flank steak, a skirt steak, or a ribeye. Each cut has its own unique flavour and texture, and you might discover a new favourite.
Playing Around with Marinades: Adding Depth of Flavor
Marinades can add a whole new dimension to your grilling. Try a simple marinade of olive oil, lemon juice, garlic, and herbs. You can also get creative with spices and ingredients like ginger or chili flakes. Marinades not only infuse the steak with flavor but also tenderize it, making it even more delicious.
Getting Creative with Smoke: Infusing Flavor with Wood
If you’re using a charcoal grill, get creative with your wood chips. Soak the chips in water for about 30 minutes before adding them to the coals. Different woods, like hickory, apple, or mesquite, add distinct flavor profiles to your steak. Experiment with different woods to see which ones best complement your preferred steak cuts.
FAQs: Your Grilling Questions Answered
What’s the best way to clean my grill after grilling?
The best way to clean your grill after grilling is to let it cool down completely. Then, use a grill brush to scrub off any food residue. You can also use a damp cloth to wipe down the grill grates.
How long should I let my steak rest after grilling?
You should let your steak rest for about 5-10 minutes after grilling, so the juices can redistribute throughout the steak. This makes for a more tender and flavorful steak.
What’s the best way to tell if my steak is cooked to my liking?
The best way to tell if your steak is cooked to your liking is to use a meat thermometer. This will give you the most accurate reading of the internal temperature. You can also use the touch test, but this is less accurate.
What’s the best way to avoid flare-ups on my grill?
To avoid flare-ups on your grill, make sure to trim any excess fat from your steak before grilling. You can also use a grill screen to create some distance between the steak and the heat source, reducing the risk of flare-ups and uneven cooking.
What are some good side dishes to serve with grilled steak?
Some good side dishes to serve with grilled steak include roasted vegetables, mashed potatoes, a simple salad, or a loaded baked potato. You can also get creative and experiment with different side dishes, adding a touch of your own personal style to your grilling repertoire.
And there you have it! The ultimate guide to grilling perfect steak every time. So gather your friends, fire up the grill, pick out a nice juicy steak, and get ready to enjoy some delicious grilling!
Everyone is watching

Corn on the Cob: The Ultimate Guide to Perfectly Cooked Ears
Healthy MealsAh, corn on the cob. Just the name evokes images of sunny days, barbecues, and that sweet, juicy flavour that ...

Perfect Pork Roast Oven Cooking Time: A Guide to Delicious Results
Healthy MealsThere's something truly satisfying about a perfectly roasted pork. The aroma alone is enough to make your mout...

Ham Cooking Time: How Long to Bake, Smoke, or Boil a Delicious Ham
Healthy MealsAh, ham. It's a classic, isn't it? A real crowd-pleaser, especially around holidays. And when done right, it'...

Scallops: The Ultimate Guide to Perfect Cooking
Healthy MealsAh, scallops. Those delicate, sweet, and utterly delicious morsels of the sea. They hold a special place in my...

Spaghetti Squash: The Ultimate Guide to Cooking and Serving
Healthy MealsRemember that time you saw spaghetti squash at the supermarket, looking all bumpy and strange, and thought, "W...
