Chicken. It's the culinary chameleon, isn't it? From crispy-skinned roasts to succulent thighs and juicy breasts, it's a versatile star in countless kitchens. But getting it cooked perfectly, that's a whole other story. You've got to nail those internal temperatures, and then there's the whole art of timing, the magic of resting, and oh, those flavor-boosting techniques. It can feel like a culinary tightrope walk sometimes, right? But fear not, my fellow chicken-lovers! I'm here to guide you through the maze of chicken cooking, sharing my personal tips, tricks, and even a few kitchen confessions. Buckle up, because we're about to dive into the world of perfect chicken.
(Part 1) The Essentials: Getting to Know Your Bird
Before we even think about flipping that oven switch, we need to understand the chicken itself. It's not a one-size-fits-all situation, you know. Each cut has its own personality, its own quirks and demands. Let's dissect this feathered friend and get to know its different parts.
1.1 whole chickens: A Roast Masterpiece
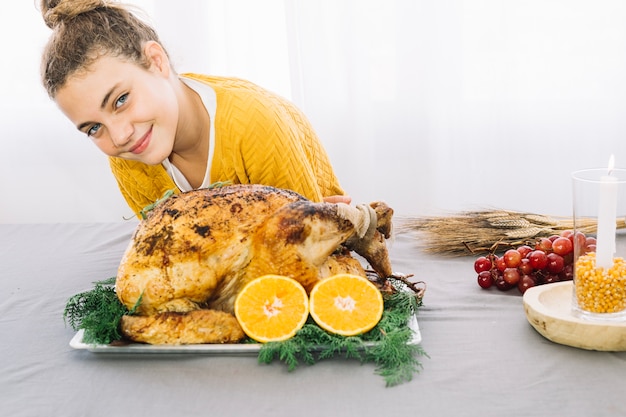
Ah, the whole chicken. A classic for a reason! It's a bit more involved than its parts, but the flavor? Unmatched. A whole chicken typically cooks to an internal temperature of 165°F (74°C). But hold your horses, this is just a guideline. You've got to factor in the size and weight of your bird. A larger chicken will take a bit longer to cook through. Remember, we're aiming for a consistently cooked bird, from the breast to the deepest parts of the thigh.
Here's my personal confession: I always check the temperature in the thickest part of the thigh. You might think the breast is done, but the thigh could still be a tad undercooked. It's a safety thing, you know? You want to be absolutely sure that even the deepest parts of your bird have reached that safe temperature.
1.2 chicken breasts: The Versatile Choice
Chicken breasts are the go-to for quick and easy meals. But let's be real, they can be a little temperamental. They tend to dry out if you overcook them, which is why timing is crucial. The good news is they cook relatively quickly. We're still aiming for that 165°F (74°C) internal temperature, but again, those thermometers are your friends.
My secret weapon? Don't be afraid to use a meat thermometer. It's the best way to ensure your chicken is cooked through without becoming a piece of leather. Trust me, your taste buds will thank you.
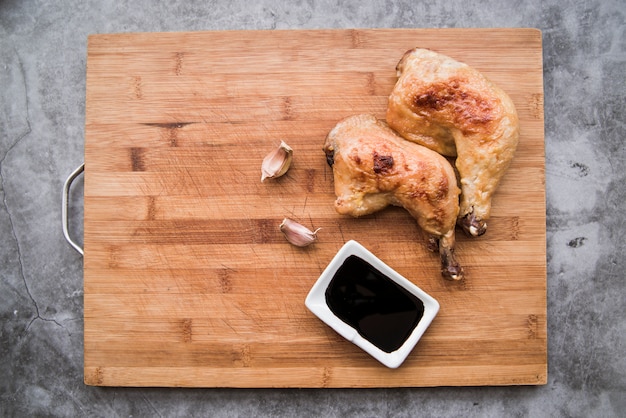
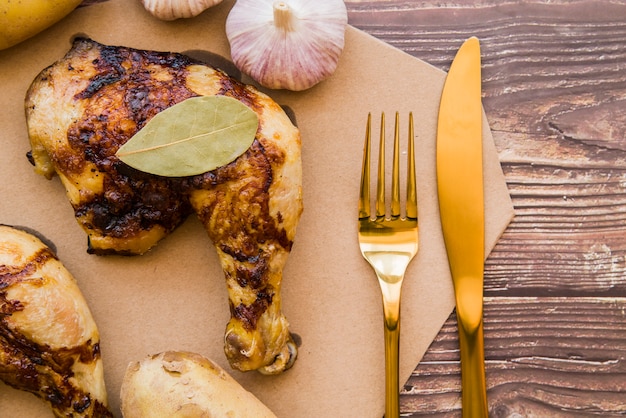
1.3 chicken thighs: The Juicy Winner
Oh, the thighs! These are the dark horses of the chicken world. Full of flavor, incredibly juicy, and remarkably forgiving. They're also the most likely to be safe even if they're a little undercooked, thanks to their natural moisture. Aim for 165°F (74°C) but don't be afraid to check for that lovely firm texture. If it feels firm but not hard, you're in the clear.
1.4 chicken wings: The Party Starters
Chicken wings, those party-starting heroes. They're so versatile, you can fry them, bake them, grill them – the world's your oyster. They still need to reach that 165°F (74°C) internal temperature, but let's be honest, we're all about the crispy skin and juicy meat with wings, right? Just make sure they're cooked through, and you're ready to party.
(Part 2) Cooking Methods: Your Choices
Now that we've got the basics down, let's talk about how we actually cook this wonderful bird. There's a whole world of methods out there, each with its own strengths and weaknesses. Let's explore a few of the most popular.
2.1 Oven: The Classic Approach
The oven is a reliable friend when it comes to cooking chicken. It's easy, consistent, and surprisingly versatile. Whether you're roasting a whole bird, baking chicken breasts, or turning out crispy wings, the oven can handle it all. But, it's a bit of a patient game. You need to preheat that oven, and you need to watch your bird closely. I prefer to roast my chickens at a lower temperature, around 350°F (175°C), for a longer time. It helps ensure the meat stays juicy and the skin gets that lovely crispy finish.
Remember, always use a meat thermometer to check the temperature. It's the only way to be absolutely sure it's cooked through.
2.2 Grill: The Outdoor Option
Ah, the grill. Nothing beats the smoky flavor and charred edges of a perfectly grilled chicken. Grilling is perfect for chicken breasts, thighs, and wings. Just make sure to preheat your grill and keep the heat consistent. I like to use a medium-high heat and grill my chicken for about 5-7 minutes per side.
Don't forget that the chicken needs to be cooked through, just like any other method! Use a meat thermometer to check the temperature. Be careful not to overcook your chicken. It can easily dry out on the grill.
2.3 Skillet: The Fast and Easy Choice
Skillet cooking is a quick and easy way to get dinner on the table. It's perfect for chicken breasts and thighs. I like to use a heavy-bottomed skillet, heat it over medium heat, and sear the chicken for a few minutes on each side. Then, I reduce the heat, cover the pan, and let it cook until the chicken is cooked through.
You can even add vegetables to the skillet for a complete meal. Onions, peppers, and mushrooms are my go-to. Just make sure to cook the chicken all the way through.
2.4 deep fryer: The Crispy Delight
The deep fryer. Now, this is a machine for creating crispy, golden-brown chicken. It's perfect for chicken wings, drumsticks, and tenders. But, it does take a bit of practice to get it just right. You need to heat the oil to the right temperature before adding your chicken, and be careful not to overcrowd the fryer. Give the chicken plenty of room to cook evenly.
Remember, if your oil is too cold, the chicken won't cook through properly. And if it's too hot, the chicken will burn. So, be patient, and you'll get there.
(Part 3) Temperature and Timing: A Balancing Act
So, we've talked about methods and cuts, but let's be real, the heart of perfect chicken lies in getting that temperature just right. Time and temperature go hand-in-hand, and getting them both right is crucial.
Here's a little table to help you out, but remember, these are just guidelines. Always check the temperature with a meat thermometer, especially when cooking a whole chicken or larger cuts.
| Chicken Cut | Internal Temperature (°F) | Internal Temperature (°C) | Approximate cooking time |
|---|---|---|---|
| Whole Chicken | 165 | 74 | 1 hour 30 minutes - 2 hours |
| Chicken Breast | 165 | 74 | 20-30 minutes |
| Chicken Thigh | 165 | 74 | 30-40 minutes |
| Chicken Wings | 165 | 74 | 25-35 minutes |
| Chicken Drumstick | 165 | 74 | 30-40 minutes |
Remember, these are just estimates. Cooking time can vary depending on the size and thickness of your chicken, the heat of your oven or grill, and even the weather if you're grilling outdoors. It's always better to err on the side of caution and cook your chicken a little longer than to risk undercooking it.
(Part 4) The Art of Resting: A Vital Step
Now, here's a tip that a lot of people miss: resting your chicken. It's not just about letting it cool down, it's about letting the juices redistribute. When you cut into a hot chicken, those precious juices immediately spill out, leaving you with dry meat. But if you let the chicken rest, those juices are able to soak back into the meat, resulting in a much juicier, more flavorful chicken.
So, after you've cooked your chicken, let it rest for about 10 minutes before carving or serving. You'll be surprised at the difference it makes. And trust me, your taste buds will thank you for it.
(Part 5) Signs of Doneness: Beyond the Thermometer
Alright, the meat thermometer is our trusty companion, but let's be honest, it's not always available. So, what are some other signs that your chicken is cooked through?
- The Chicken is No Longer Pink: This is probably the most obvious sign of doneness. When chicken is cooked through, the meat will be white or pale yellow, and there will be no trace of pink.
- The Juices Run Clear: When you pierce the thickest part of the chicken with a knife, the juices should run clear, not pink or bloody.
- The Chicken is Firm to the Touch: If the chicken is still jiggly or squishy, it's not done yet. The meat should be firm to the touch, but not hard.
- The Skin is Golden Brown: This is a good indicator that the chicken has been cooked long enough. The skin should be golden brown and crispy, not pale and rubbery.
- The Bone is Easily Separated: If you're cooking a whole chicken or chicken pieces, the bone should be easily separated from the meat when the chicken is done.
Remember, it's always better to err on the side of caution. If you're not sure if the chicken is done, it's better to cook it a little longer. undercooked chicken can be dangerous.
(Part 6) The Dangers of Undercooked Chicken: A Reminder
Right, now, I know we're all about delicious chicken, but let's talk about the serious side for a moment. Undercooked chicken can be a breeding ground for harmful bacteria, which can cause food poisoning. It's not something to be taken lightly. Always make sure your chicken is cooked to a safe internal temperature of 165°F (74°C).
And let's be careful with cross-contamination, too. Always wash your hands thoroughly after handling raw chicken. And keep your raw chicken separate from cooked food. Use different cutting boards and utensils.
You want to enjoy your chicken, not worry about getting sick, right? So, be safe, and cook your chicken thoroughly.
(Part 7) Beyond the Basics: Elevating Your Chicken Game
Okay, we've covered the essentials, but let's get a bit more adventurous! There's a whole world of flavor and texture waiting to be explored.
7.1 Brining: For Juicy and Flavorful Chicken
Ever wondered how those juicy, flavorful roasts are achieved? Brining is the secret! It's a simple process of soaking your chicken in a salt solution. This helps to draw moisture into the meat, resulting in incredibly juicy and tender chicken.
I usually brine my whole chicken for about 4 hours before roasting. You can also brine chicken breasts, thighs, and wings, but adjust the brining time based on the size of the cut.
Here's how to brine chicken:
- Prepare the brine: In a large bowl or container, dissolve 1 cup of salt in 4 cups of water. You can add aromatics like peppercorns, bay leaves, or herbs for added flavor.
- Submerge the chicken: Place the chicken in the brine and make sure it's fully submerged. Cover the container and refrigerate for at least 4 hours, or up to overnight.
- Rinse and pat dry: Before cooking, remove the chicken from the brine, rinse it thoroughly under cold water, and pat it dry with paper towels.
7.2 Marinades: Adding a Burst of Flavour
Marination is another way to infuse your chicken with flavor. You can use a simple marinade of olive oil, lemon juice, and herbs, or get more creative with soy sauce, ginger, garlic, or even honey. The possibilities are endless!
The key is to marinate your chicken for at least 30 minutes, or even overnight for maximum flavor. Just make sure the marinade covers the chicken completely.
Here are some marinade ideas:
- Citrus Herb: Combine olive oil, lemon juice, orange zest, garlic, and fresh herbs like thyme and rosemary.
- Ginger-Soy: Whisk together soy sauce, honey, ginger, garlic, and a touch of sesame oil.
- Spicy Mango: Blend mango puree with chili flakes, lime juice, and a hint of cilantro.
7.3 Dry Brining: A Simpler Approach
If brining seems like too much effort, try dry brining. It's a simpler method that involves rubbing the chicken with salt and spices. This helps to draw moisture to the surface, resulting in a crispy skin and juicy meat.
I usually dry brine my chicken for at least 2 hours before roasting. You can also use a blend of spices, like paprika, garlic powder, and onion powder, for extra flavor.
Here's how to dry brine chicken:
- Pat the chicken dry: Use paper towels to remove excess moisture from the skin.
- Apply the salt: Generously rub kosher salt all over the chicken, making sure to cover the entire surface.
- Refrigerate: Place the chicken in a bowl or container and refrigerate for at least 2 hours, or up to overnight.
7.4 The Power of Rubs: Spiced to Perfection
Rubs are a fantastic way to add a flavorful crust to your chicken. They're simply a mixture of spices, herbs, and sometimes a little bit of salt. You can create your own rub or use a pre-made one from the store.
I like to rub my chicken with a blend of paprika, cumin, chili powder, garlic powder, and onion powder. But feel free to experiment and find your own favorite combination. Just remember to apply the rub generously and rub it into the skin of the chicken.
Here are some rub ideas:
- Classic Herb: Combine dried herbs like thyme, rosemary, oregano, and a touch of garlic powder.
- Spicy Cajun: Mix paprika, cayenne pepper, garlic powder, onion powder, and a pinch of dried thyme.
- Lemon Pepper: Combine black peppercorns, lemon zest, and a touch of dried oregano.
(Part 8) Troubleshooting: Tackling Those Cooking Dilemmas
We all have those moments, right? The chicken isn't browning, it's drying out, or it just doesn't taste right. Don't panic! Here are some common chicken cooking problems and solutions:
8.1 The Chicken Isn't Browning: Boosting the Crisp
If your chicken skin isn't getting that crispy, golden-brown color, you might need to adjust your cooking method or temperature.
- Preheat your oven or grill: A hot oven or grill is key for crispy skin. Make sure your oven is preheated to at least 400°F (200°C) before adding your chicken.
- Pat the chicken dry: Damp skin won't crisp up. Pat the chicken dry with paper towels before cooking.
- Use a roasting rack: This allows air to circulate around the chicken, helping the skin to crisp up.
- Flip the chicken: If you're roasting or grilling a whole chicken, flip it halfway through cooking to ensure even browning.
- Increase the heat: If the skin isn't browning after 20 minutes, increase the heat by 25°F (10°C) and continue cooking.
8.2 The Chicken is Drying Out: Keeping it Juicy
Chicken breasts, in particular, can be prone to drying out. Here are a few tips to keep your chicken moist:
- Cook it at a lower temperature: Cook the chicken at a lower temperature, like 350°F (175°C), for a longer time.
- Don't overcook it: Chicken breasts are done when the internal temperature reaches 165°F (74°C). Don't cook them any longer than that.
- Use a meat thermometer: The best way to ensure your chicken is cooked through without overcooking it is to use a meat thermometer.
- Rest the chicken: Let the chicken rest for 10 minutes before carving or serving. This allows the juices to redistribute and keeps the meat moist.
- Add moisture: You can add moisture to the chicken by basting it with pan juices or butter while it's cooking.
8.3 The Chicken Doesn't Taste Right: Fixing Flavor Issues
Sometimes, no matter how well you cook your chicken, it just doesn't taste right. Here are a few tips to help boost the flavor:
- Season it properly: Don't be afraid to use plenty of salt, pepper, and other spices.
- Marinate or brine the chicken: This helps to infuse the meat with flavor.
- Use a flavorful cooking method: Grilling, roasting, or frying can all add depth of flavor.
- Add herbs and spices: Use fresh herbs like rosemary, thyme, and oregano, or spices like garlic powder, onion powder, and paprika.
- Make a sauce: A simple sauce can elevate the flavor of chicken. Try a lemon-herb sauce, a creamy garlic sauce, or a spicy chili sauce.
(Part 9) FAQs: Answering Your Chicken Cooking Questions
Let's wrap this up with some frequently asked questions.
9.1 How can I tell if chicken is done without a meat thermometer?
While a meat thermometer is the most accurate way to check for doneness, there are a few visual cues: the chicken should be no longer pink, the juices should run clear, and the meat should be firm to the touch. But it's always better to err on the side of caution and cook your chicken a little longer.
9.2 Can I cook chicken to a lower temperature than 165°F (74°C)?
It's not recommended. The USDA recommends cooking chicken to an internal temperature of 165°F (74°C) to ensure it's safe to eat. Cooking chicken to a lower temperature can increase the risk of food poisoning.
9.3 What should I do if I accidentally overcook my chicken?
Overcooked chicken will be dry and tough. There's not much you can do to salvage it. However, you can use it in dishes where it's not the main ingredient, like chicken salad or soup.
9.4 Can I freeze raw chicken?
Yes, you can freeze raw chicken. Just make sure to wrap it tightly in plastic wrap or aluminum foil before freezing. It can be frozen for up to 2 months.
9.5 How long can I keep cooked chicken in the refrigerator?
Cooked chicken can be kept in the refrigerator for up to 3-4 days. Make sure to store it in an airtight container or wrap it tightly in plastic wrap.
So, there you have it! The perfect chicken cooking temperature and a whole lot more. Remember, it's all about practice and confidence. Don't be afraid to experiment and try new things. And most importantly, enjoy the process! Happy cooking!
Everyone is watching

Corn on the Cob: The Ultimate Guide to Perfectly Cooked Ears
Healthy MealsAh, corn on the cob. Just the name evokes images of sunny days, barbecues, and that sweet, juicy flavour that ...

Perfect Pork Roast Oven Cooking Time: A Guide to Delicious Results
Healthy MealsThere's something truly satisfying about a perfectly roasted pork. The aroma alone is enough to make your mout...

Scallops: The Ultimate Guide to Perfect Cooking
Healthy MealsAh, scallops. Those delicate, sweet, and utterly delicious morsels of the sea. They hold a special place in my...

Ham Cooking Time: How Long to Bake, Smoke, or Boil a Delicious Ham
Healthy MealsAh, ham. It's a classic, isn't it? A real crowd-pleaser, especially around holidays. And when done right, it'...

Spaghetti Squash: The Ultimate Guide to Cooking and Serving
Healthy MealsRemember that time you saw spaghetti squash at the supermarket, looking all bumpy and strange, and thought, "W...