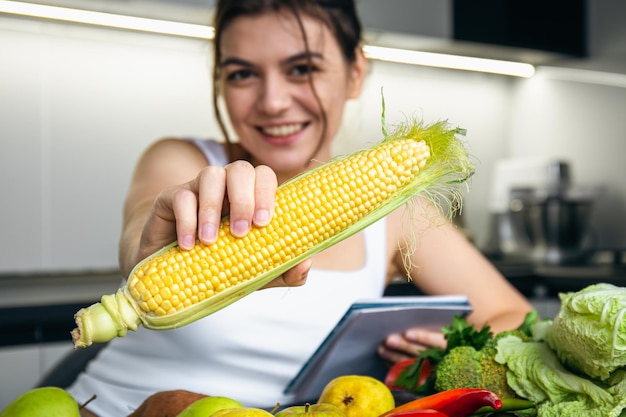
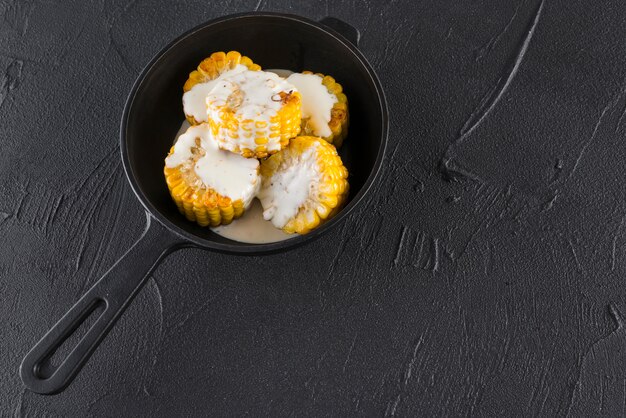
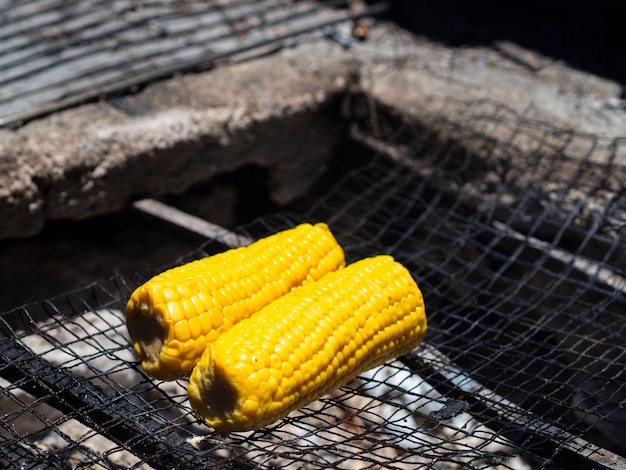
There's a reason why corn on the cob is a summer staple. The sweet, juicy kernels bursting with flavour, the tender yet slightly firm texture, the irresistible aroma that wafts through the kitchen… It's a taste of summer that brings back fond memories of picnics, barbecues, and lazy afternoons spent by the lake. For years, I've been a devoted fan of grilling corn, but recently, I discovered the wonders of stovetop cooking. It's quick, easy, and produces consistently delicious results. I'm going to share my secrets for achieving perfectly cooked corn on the cob every single time. Get ready to level up your corn game!
(Part 1) The Essential Tools

Before we dive into the cooking process, let's gather our tools. You won't need a whole lot, just a few essentials:
1. A Large Pot
Choose a pot that's big enough to comfortably hold your corn cobs without overcrowding. I usually use a 6-quart pot, but you might need a larger one depending on how much corn you're cooking. Make sure the pot is deep enough to allow for plenty of water to cover the cobs. A stockpot or a large dutch oven will work perfectly for this.
2. Cold Water
We're going to be submerging our corn in cold water, so make sure you have enough to cover the cobs completely. This is important because starting with cold water ensures even cooking and prevents the corn from becoming too tough on the outside.
3. Salt
A pinch of salt in the water enhances the flavour of the corn. It isn't about making the corn taste salty, but rather to bring out the natural sweetness and depth of flavour. Don't be shy with the salt – it's a key ingredient in this simple recipe.
4. A Colander
You'll need a colander to drain the corn after cooking. A large one with sturdy handles is ideal, making it easier to lift and drain the hot corn.
5. A Sharp Knife
This is for removing the husks and silks from the corn. A sharp knife allows for a cleaner and more efficient removal of the husks and silks, ensuring that you get the most out of your corn.
6. Butter, Spices, and Other Toppings (Optional)
Once the corn is cooked, you can enhance its flavour with your favourite toppings. I usually go for a generous pat of butter, a sprinkle of salt and pepper, and sometimes a squeeze of lemon juice. Get creative and experiment with different flavours! The best part about corn on the cob is that it's a blank canvas for your culinary creativity.
(Part 2) Selecting the Right Corn

Choosing the right corn is crucial for achieving the perfect bite. Here's what to look for:
1. Freshness
Freshness is key. Look for corn with bright green husks that are tightly wrapped around the cob. The husks should feel damp and slightly sticky, indicating that the corn is still plump and juicy. Avoid corn with dry or wilted husks, as they're likely to be older and not as sweet. If you're unsure about the freshness, give the corn a gentle squeeze. The kernels should feel firm and plump, not soft or shriveled.
2. Size
The size of the cob is a matter of personal preference. Some people prefer smaller cobs for easier handling, while others love the generous portions of larger cobs. Choose the size that best suits your needs and the number of people you're serving.
3. Kernels
Feel the kernels through the husk. They should be plump and firm, indicating that the corn is full of flavour. Avoid cobs with shriveled or soft kernels, as they might be past their prime. The kernels should be tightly packed and feel full, a sign of sweet and juicy corn.
(Part 3) Preparing the Corn

Now that you've got your corn, it's time to prepare it for cooking. This step is pretty straightforward, but it's important to do it right to ensure the best results.
1. Removing the Husks and Silks
Grab a sharp knife and carefully peel back the husks, leaving them attached at the base. The husks can be used for grilling corn if you prefer that method. Gently pull the silks off the cob, being careful not to remove too many kernels in the process. You can also use your fingers to remove the silks, but a knife provides a more precise and efficient approach.
2. Washing the Corn
Once the husks and silks are removed, give the corn a quick wash under cold running water. This removes any lingering dirt or debris and helps to refresh the corn. You can also soak the corn in cold water for a few minutes to help keep the kernels plump and juicy during cooking.
(Part 4) The Art of Stovetop Cooking
Now, for the main event! The stovetop method is incredibly simple and effective. It's all about simmering the corn in a pot of water until it's cooked to perfection. Here's how it works:
1. Filling the Pot
Fill your large pot with enough cold water to completely cover the corn cobs. Don't skimp on the water – it's essential for even cooking. Make sure the water is at least an inch above the corn cobs to allow for a gentle simmering process.
2. Adding Salt
Add a generous pinch of salt to the water. It's just enough to enhance the natural sweetness of the corn. Don't worry about over-salting; you can always adjust the seasoning later. Think of the salt as a subtle flavour enhancer, not a primary seasoning ingredient.
3. Bringing the Water to a Boil
Place the pot on the stove and bring the water to a rolling boil over medium-high heat. This usually takes about 5-7 minutes. The key is to have the water bubbling vigorously, creating a consistent simmering environment for the corn. You want to see large, rolling bubbles in the water, indicating that the water is hot enough for cooking.
4. Simmering the Corn
Once the water reaches a boil, carefully add the corn cobs to the pot. The water level might drop slightly as you add the corn, so make sure it's still covering them completely. Reduce the heat to medium-low and simmer the corn for 5-7 minutes. The exact cooking time depends on the thickness of the cob and your preferred level of doneness. I usually aim for 6 minutes, which results in tender yet slightly firm kernels. The goal is to cook the corn through, but not overcook it.
5. Testing for Doneness
After 5-7 minutes, grab a cob with tongs and carefully test a kernel by pressing it with your thumb. If it yields easily and releases its milky juice, it's ready to go. If it feels firm and resistant, simmer it for another minute or two. This test is a reliable indicator of doneness.
6. Draining the Corn
Once the corn is cooked to your liking, use a colander to drain it thoroughly. I find it helpful to give the corn a gentle shake to remove any excess water. It's essential to drain the corn well to prevent it from becoming soggy or mushy. You want to achieve a balance between tender kernels and a slightly crisp exterior.
(Part 5) Enhancing the Flavour
The corn is cooked, but we're not done yet! Now comes the fun part – enhancing its flavour with your favourite toppings. Here are a few ideas to inspire your culinary creativity:
1. Butter
A classic and crowd-pleasing choice, butter adds richness and creaminess to the corn. I usually go for a generous pat of unsalted butter, allowing the natural sweetness of the corn to shine through. You can also experiment with flavoured butters, like garlic butter or herb butter, to create unique and delicious flavour combinations. Butter is a versatile topping, and you can adjust the amount to suit your taste preferences.
2. Salt and Pepper
A simple but essential addition, a sprinkle of salt and pepper brings out the natural flavours of the corn and adds a touch of depth. I find that a blend of black pepper and a pinch of cayenne pepper adds a nice kick to the overall flavour profile. Experiment with different pepper combinations to find your perfect balance of spice and sweetness.
3. Lemon Juice
A squeeze of fresh lemon juice adds a bright, tangy twist to the sweetness of the corn. It also helps to cut through the richness of the butter and balances out the flavours perfectly. Lemon juice is a refreshing addition that enhances the overall flavour of the corn.
4. spices and herbs
Get adventurous with spices and herbs! A sprinkle of chili powder, smoked paprika, or cumin adds a warm, earthy flavour. Fresh herbs like parsley, cilantro, or chives provide a refreshing and aromatic touch. Experiment with different combinations and see what works best for your taste buds. You can even create your own unique spice blends by combining different spices and herbs to your liking.
5. Cheese
For a cheesy twist, sprinkle some grated Parmesan cheese or cheddar cheese over your corn. The melty cheese adds a savoury element and complements the sweetness of the corn beautifully. You can also try crumbled goat cheese or feta cheese for a more tangy flavour. Choose cheeses that complement the sweetness of the corn and add a unique texture and flavour to your dish.
6. Other Toppings
The possibilities are endless! Try drizzling honey, maple syrup, or sriracha sauce over your corn for a sweet and spicy kick. For a truly decadent experience, top your corn with a dollop of sour cream or crème fra??che. Don't be afraid to get creative and experiment with different toppings to create your own signature corn on the cob dish.
(Part 6) Serving and Storage
Now that your corn is cooked to perfection and adorned with your favourite toppings, it's time to serve and enjoy!
1. Serving
Serve the corn immediately after cooking for the best flavour and texture. I usually serve it hot, but it's also delicious at room temperature. You can serve the corn whole, cut into smaller pieces, or even grill it further for a smoky flavour. It's a versatile dish that can be enjoyed in many ways.
2. Storing
Leftover corn can be stored in an airtight container in the refrigerator for up to 3 days. To reheat, simply microwave it for a few seconds until it's warm. While the flavour and texture might not be as good as fresh, it's still a delicious way to enjoy leftover corn. To preserve the flavour and texture, try to eat leftover corn within 2 days.
(Part 7) Tips for perfect corn
Here are a few additional tips to help you achieve consistently delicious corn on the cob:
1. Don't Overcook
Overcooked corn becomes mushy and loses its sweetness. It's better to err on the side of undercooked, as you can always simmer it for a few more minutes if needed. The goal is to achieve a tender but firm texture.
2. Use a Timer
Set a timer to ensure you don't overcook the corn. It's easy to get distracted in the kitchen, so a timer helps you keep track of the cooking time. This prevents overcooking and ensures a perfect bite every time.
3. Don't overcrowd the Pot
Overcrowding the pot can hinder even cooking. Allow enough space between the cobs for the water to circulate freely. If necessary, cook the corn in batches to ensure they cook evenly. Ensure that the water is able to circulate around the cobs and maintain a consistent temperature.
4. Enjoy fresh corn
Fresh corn is always the best choice. frozen corn can be used as a substitute, but it won't have the same level of sweetness and flavour as fresh corn. If you're using frozen corn, simply defrost it before cooking. For the best results, always choose fresh corn when possible.
(Part 8) FAQs
Here are some frequently asked questions about stovetop corn on the cob:
1. Can I use corn on the cob with the husks on?
You can, but it's not recommended. cooking corn with the husks on can result in uneven cooking and may cause the husks to burn. Removing the husks allows the corn to cook evenly and ensures a delicious, flavourful result. The husks can be used for grilling corn if you prefer that method.
2. What if I don't have a large pot?
If you don't have a large pot that can comfortably hold the corn, you can cook it in batches. Just make sure to have enough water to cover the cobs in each batch. You can also try cooking the corn in a Dutch oven or a large saucepan. Ensure that the water is able to circulate freely around the cobs in the chosen pot.
3. Can I add other vegetables to the pot?
Absolutely! You can add other vegetables to the pot while you're cooking the corn. Potatoes, carrots, and green beans all cook well alongside corn. Just make sure to adjust the cooking time based on the vegetables you're adding. Adding vegetables to the pot adds flavour and creates a delicious, satisfying meal.
4. How do I store leftover corn on the cob?
Leftover corn can be stored in an airtight container in the refrigerator for up to 3 days. To reheat, simply microwave it for a few seconds until it's warm. It's best to eat leftover corn within 3 days for the best flavour and texture. You can also store cooked corn on the cob in the freezer for up to 3 months. To freeze, wrap each cob individually in plastic wrap and then place in a freezer-safe bag.
5. What are some other ways to cook corn on the cob?
There are many other ways to cook corn on the cob, including grilling, roasting, and steaming. Each method has its unique benefits and flavour profiles. Experiment with different techniques to discover your favourite way to cook corn. Grilling corn adds a smoky flavour, roasting brings out a caramelized sweetness, and steaming retains the natural sweetness and juiciness of the corn.
Conclusion
cooking corn on the cob on the stovetop is a simple and rewarding experience. It's a method that allows you to achieve consistently delicious results, bringing out the sweetness and flavour of the corn while preserving its tender texture. With a few essential tools, a touch of culinary creativity, and a little bit of patience, you can create a truly satisfying and flavourful side dish that's sure to impress your guests and delight your taste buds. So, get your corn, gather your tools, and get ready to enjoy the magic of perfectly cooked corn on the cob!
Everyone is watching

Corn on the Cob: The Ultimate Guide to Perfectly Cooked Ears
Healthy MealsAh, corn on the cob. Just the name evokes images of sunny days, barbecues, and that sweet, juicy flavour that ...

Perfect Pork Roast Oven Cooking Time: A Guide to Delicious Results
Healthy MealsThere's something truly satisfying about a perfectly roasted pork. The aroma alone is enough to make your mout...

Scallops: The Ultimate Guide to Perfect Cooking
Healthy MealsAh, scallops. Those delicate, sweet, and utterly delicious morsels of the sea. They hold a special place in my...

Ham Cooking Time: How Long to Bake, Smoke, or Boil a Delicious Ham
Healthy MealsAh, ham. It's a classic, isn't it? A real crowd-pleaser, especially around holidays. And when done right, it'...

Spaghetti Squash: The Ultimate Guide to Cooking and Serving
Healthy MealsRemember that time you saw spaghetti squash at the supermarket, looking all bumpy and strange, and thought, "W...
