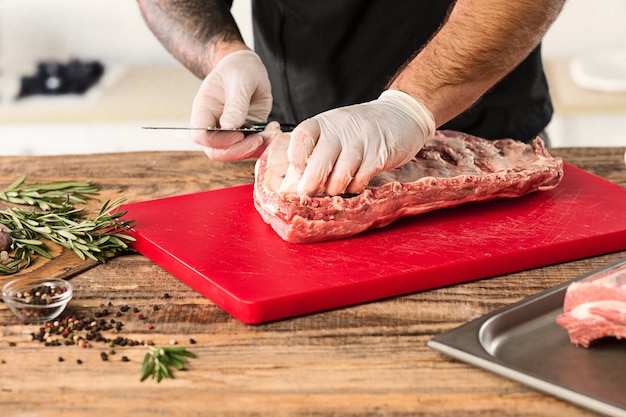
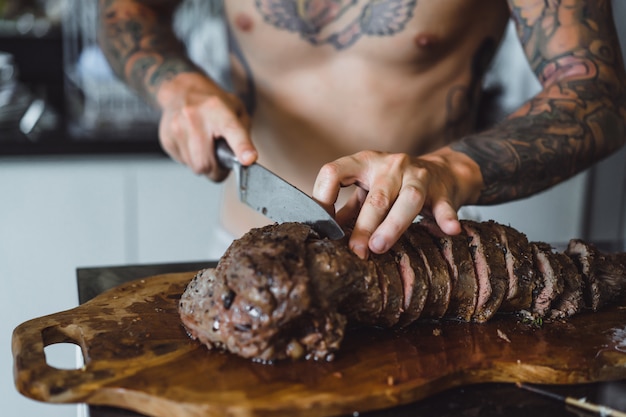
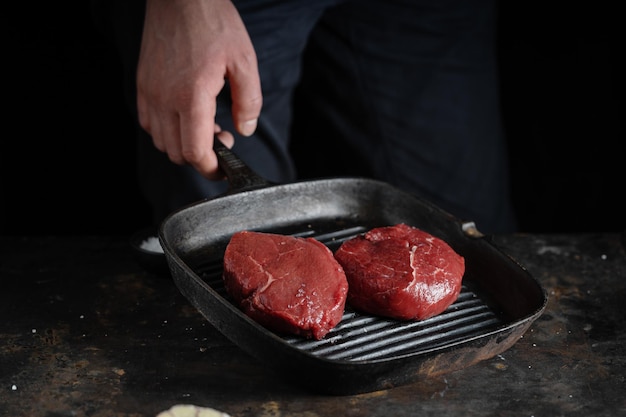
There's something truly satisfying about a perfectly cooked steak. That gorgeous sear, the juicy pink center, and the satisfying crunch – it's a culinary experience that's hard to beat. But for those who aren't seasoned grill masters, achieving steak perfection can feel like a daunting task. Fear not, my fellow carnivore! This guide is your roadmap to steak nirvana. We'll be exploring every aspect of the journey, from choosing the right cut to mastering those final finishing touches. I'll be sharing my personal experiences, favorite techniques, and a few handy tips I've picked up along the way. So grab a glass of your favorite beverage, settle in, and let's embark on this delicious adventure!
(Part 1) The Meat of the Matter: Choosing Your Steak

The first step towards steak perfection is selecting the right cut. It's a crucial decision that will impact everything from tenderness and flavor to cooking time. So how do you choose? It all comes down to your personal preferences and what you're looking for in a steak.
The Classic Cuts:
Sirloin: This versatile cut is a popular choice for beginners. It offers a good balance of flavor and tenderness, making it a reliable choice for various cooking methods. It's often a good starting point for those who aren't sure where to begin.
Rib-eye: Ah, the rib-eye! This is a real crowd-pleaser, known for its rich, buttery flavor and abundant marbling. The marbling, essentially the intramuscular fat, contributes significantly to its juicy, melt-in-your-mouth texture. You might have to pay a bit more for this premium cut, but it's worth it for the experience.
Fillet: Also known as tenderloin, the fillet is the undisputed king of tenderness. It's incredibly soft and delicate, making it a perfect choice for those who prefer a luxurious and melt-in-your-mouth experience.
The Lesser-Known Delights:
Bavette: Often called "flank steak," this long, thin cut has a unique texture and rich, beefy flavor. It's ideal for thin slicing, grilling, or searing, and often used in delicious dishes like steak fajitas.
Hanger Steak: Don't be fooled by the name! This cut is surprisingly flavorful and tender, with a slightly chewy texture. It has a unique, slightly sweet flavor that makes it perfect for grilling or pan-frying.
flat iron steak: This cut is gaining popularity for good reason. It's a fantastic alternative to ribeye, offering a similar flavor profile but with a more budget-friendly price tag.
The Thickness Factor:
The thickness of your steak plays a significant role in your cooking method. A thicker cut, like a thick-cut rib-eye, will require a longer cooking time and is better suited for slow and low methods like roasting or reverse searing. These methods allow the steak to cook evenly throughout without overcooking the outside. Thinner cuts, on the other hand, are perfect for quick grilling or pan-frying, as they cook through faster.
The Grading Game:
In the UK, beef is graded by the Meat and Livestock Commission (MLC) based on its marbling and fat content. This grading system helps you understand the quality and flavor you can expect from a particular steak.
Grade 1: This is the highest grade, boasting a generous amount of marbling. This translates to a richer, more flavorful steak with a succulent texture.
Grade 2: Offers a good balance of flavor and tenderness, making it a versatile choice for various cooking methods.
Grade 3: This grade has less marbling, resulting in a leaner, less flavorful steak. While it's still a good option for grilling, it might not be as juicy or rich as higher grades.
My Personal Preference:
I'm a devoted fan of rib-eye, particularly when it comes to a thick cut. The rich flavor and abundant marbling are simply irresistible. However, I encourage you to experiment with different cuts and discover your own personal favorites. After all, the world of steak is vast and full of delicious surprises.
(Part 2) The Preparation Ritual: Prepping Your Steak for Success

You've chosen your steak, and now it's time to give it the royal treatment. Proper preparation is essential for achieving that perfect sear and juicy, flavorful interior.
The Temperature Tango:
First things first, take your steak out of the fridge and let it come to room temperature. This might seem like a small detail, but it makes a big difference in the cooking process. Allowing the steak to warm up ensures even cooking and helps you achieve that coveted, crispy crust. I typically take my steak out of the fridge about 30 minutes before I start cooking. This gives it enough time to come up to temperature without becoming too warm.
Seasoning Savvy:
Salt is your secret weapon when it comes to seasoning steak. It's not just about adding flavor; it actually draws out moisture from the steak's surface, creating a more flavorful and juicy result. I prefer to use coarse sea salt, but any high-quality salt will work.
The Art of the Rub:
Don't limit yourself to just salt and pepper. Experiment with creating your own custom spice rubs! I often use a combination of paprika, garlic powder, onion powder, black pepper, and a touch of cayenne pepper for a little kick. The possibilities are endless, so feel free to get creative and tailor your rub to your own taste preferences.
The Fat Factor:
If you're working with a leaner cut like flank steak or flat iron, consider adding a little fat to the mix. A thin layer of olive oil or butter rubbed on the steak before cooking helps create a delicious, crispy crust and adds a rich, buttery flavor.
Rest is Best:
After you've seasoned your steak, resist the urge to immediately throw it on the grill. Instead, let it rest for a few minutes before cooking. This allows the salt to penetrate the meat, creating a more flavorful crust and allowing the steak to cook evenly.
(Part 3) The Heat of the Moment: Choosing Your Cooking Method

Now it's time to get down to business! The cooking method you choose will dramatically impact the final result of your steak.
The Sizzling Grill:
Grilling is a classic way to cook steak, and for good reason. The high heat creates a beautiful char and sear, adding depth of flavor and a satisfyingly crispy exterior. It's also a method that allows for control, letting you achieve different levels of doneness, from a juicy rare to a well-done steak.
The Pan-Frying Phenomenon:
Pan-frying is a quick and easy way to cook a steak, perfect for busy weeknight meals. With a hot pan and a little oil, you can create a delicious crust and cook your steak to your desired doneness. This method is particularly useful for thinner cuts that cook quickly.
The Oven's Embrace:
For a more even and consistent cook, try roasting your steak in the oven. This method is especially good for thicker cuts, allowing the heat to penetrate the meat thoroughly. It also requires minimal supervision, making it a convenient choice.
The Reverse Sear:
This technique involves a two-stage approach to cooking: first, the steak is cooked slowly at a low temperature, followed by a quick sear over high heat. This method allows the meat to cook evenly throughout, resulting in a tender and juicy steak with a flavorful crust.
My Personal Go-To:
My go-to method is using a trusty cast-iron skillet. It heats up quickly and evenly, creating a beautiful sear and locking in the juices. This method is versatile, allowing for both quick pan-frying and slower cooking techniques.
(Part 4) The Doneness Dilemma: Understanding Your Steak's Temperature
Knowing how to cook your steak to your desired doneness is essential for achieving steak perfection.
The Temperature Chart:
| Doneness | internal temperature (℉) | Internal Temperature (°C) |
|---|---|---|
| Rare | 125-130 | 52-54 |
| Medium-rare | 130-135 | 54-57 |
| Medium | 135-140 | 57-60 |
| Medium-well | 140-145 | 60-63 |
| Well-done | 145-150 | 63-65 |
The Finger Test:
If you don't have a meat thermometer handy, you can use the finger test to estimate doneness. However, it's important to note that this method is less precise than using a thermometer.
Rare: Press the center of your palm. The steak should feel similar to the soft flesh below your thumb.
Medium-rare: Press the area between your thumb and forefinger. The steak should feel like the soft flesh below your thumb and forefinger.
Medium: Press the tip of your thumb. The steak should feel like the flesh below your index finger.
Medium-well: Press the top of your thumb. The steak should feel like the flesh below your middle finger.
Well-done: Press your thumb against your little finger. The steak should feel like the flesh below your pinkie.
(Part 5) The Sear's Significance: Mastering the Art of the Crust
The sear is the defining characteristic of a truly exceptional steak. It's the crispy, caramelized exterior that adds a depth of flavor and a satisfyingly crunchy texture.
The Heat is On:
The key to a perfect sear is high heat. Use a cast-iron skillet, grill, or a well-seasoned griddle. These surfaces allow for even heat distribution, creating a consistent and beautiful sear.
The Oil Factor:
A thin layer of oil is essential for creating a nice, even sear. I prefer to use a neutral oil like grapeseed or canola, as they have a high smoke point and won't impart an overpowering flavor. However, you can also use olive oil or butter if you prefer.
The Timing Game:
Once your pan is scorching hot, sear the steak for about 2-3 minutes per side, depending on the thickness. Don't be tempted to move the steak around too much. Let it develop a nice, crispy crust before flipping it.
The Flipside:
You can also sear the sides and edges of the steak for added flavor and texture. This helps create a more evenly cooked steak and enhances the overall visual appeal.
(Part 6) The Resting Ritual: Allowing Your Steak to Relax
After you've cooked your steak to perfection, it's time to let it rest. This allows the juices to redistribute throughout the meat, resulting in a more tender and juicy steak.
The Resting Time:
Let your steak rest for about 5-10 minutes before slicing and serving. The exact time will vary depending on the thickness of the steak.
The Covering Factor:
Cover the steak loosely with foil to keep it warm and prevent it from drying out. This creates a mini-steam chamber, helping to retain moisture and ensure the steak remains juicy and flavorful.
(Part 7) The Finishing Touches: Elevating Your Steak to New Heights
You've cooked your steak to perfection, but there's always room for improvement. Add a few finishing touches to take your steak to the next level.
The Herb Factor:
A sprinkle of fresh herbs can add a burst of flavor to your steak. I like to use a mix of rosemary, thyme, and parsley, which complement the rich flavor of beef perfectly. But feel free to experiment with other herbs like oregano, sage, or even a pinch of chili flakes for a bit of heat.
The Sauce Sensation:
A good steak sauce can elevate the flavor profile of your steak. My go-to sauce is a classic béarnaise, but you can also use a chimichurri (a vibrant Argentinian sauce made with herbs, oil, and vinegar) or a simple compound butter.
The Sidekicks:
Choose sides that complement the flavor of your steak. I love to serve mine with roasted vegetables, mashed potatoes, or a simple green salad. Consider the overall flavor profile you're aiming for and select sides that will enhance the steak's taste without overwhelming it.
(Part 8) The End of the Journey: Slicing and Serving Your Masterpiece
Your steak is ready to be unveiled!
The Slicing Technique:
Slice your steak against the grain, which will help to tenderize the meat and make it easier to chew. This means slicing perpendicular to the direction of the muscle fibers.
The Presentation:
Arrange your steak slices on a platter with your chosen sides. Consider using a cutting board or a decorative platter to add visual appeal to your presentation.
The Feast:
Enjoy your steak perfection!
(Part 9) FAQs: Your Steak Questions Answered
1. How long should I cook a steak?
The cooking time will depend on the thickness of the steak and your desired doneness. A general rule of thumb is to cook a 1-inch thick steak for 4-5 minutes per side for medium-rare. However, it's always best to use a meat thermometer to ensure accurate results.
2. Can I use a meat thermometer?
Absolutely! A meat thermometer is the most reliable way to ensure your steak is cooked to your desired doneness. It takes the guesswork out of the equation and allows for precise results.
3. What if I overcook my steak?
Don't fret! Even if you overcook your steak, there are ways to salvage it. Try adding a little sauce or a sprinkle of herbs to enhance the flavor. You can also try slicing the steak thinly to make it more tender.
4. What's the best way to store leftover steak?
Store leftover steak in an airtight container in the refrigerator for up to 3-4 days.
5. Can I freeze steak?
Yes, you can freeze steak. Wrap it tightly in plastic wrap or aluminum foil and store it in the freezer for up to 3-4 months. However, freezing can slightly affect the texture of the steak. To minimize this, defrost the steak slowly in the refrigerator before cooking.
Remember, cooking the perfect steak is a journey, not a destination. With practice and a little experimentation, you'll be able to master the art of steak perfection. Happy grilling!
Everyone is watching

Corn on the Cob: The Ultimate Guide to Perfectly Cooked Ears
Healthy MealsAh, corn on the cob. Just the name evokes images of sunny days, barbecues, and that sweet, juicy flavour that ...

Scallops: The Ultimate Guide to Perfect Cooking
Healthy MealsAh, scallops. Those delicate, sweet, and utterly delicious morsels of the sea. They hold a special place in my...

Spaghetti Squash: The Ultimate Guide to Cooking and Serving
Healthy MealsRemember that time you saw spaghetti squash at the supermarket, looking all bumpy and strange, and thought, "W...

Salmon Cooking Times: Perfect Guide for Every Recipe
Healthy MealsLet me tell you, cooking salmon is an art form. It's all about getting that perfect balance: juicy and tender,...

Wolf Meat Cooking Guide: Recipes and Tips
Healthy MealsSo, you're curious about wolf meat, eh? It's not your everyday supermarket find, that's for sure. But let me ...
