ribeye steak—the very name evokes images of juicy, tender meat, rich in flavor and begging to be devoured. It's a cut that demands respect, a centerpiece worthy of any special occasion. I've spent years honing my ribeye grilling skills, and I'm excited to share what I've learned. So grab a cold beverage, put on your apron, and let's embark on a culinary adventure! This is your comprehensive guide to crafting the perfect ribeye, from choosing the right cut to achieving that coveted, melt-in-your-mouth tenderness.
Part 1: Choosing the Perfect Ribeye

The journey begins with a stellar piece of meat. Not just any ribeye will do. It's about understanding the subtle nuances of the cut, the marbling, and even the butcher's expertise.
The Cut: A Tale of Two Ribeyes
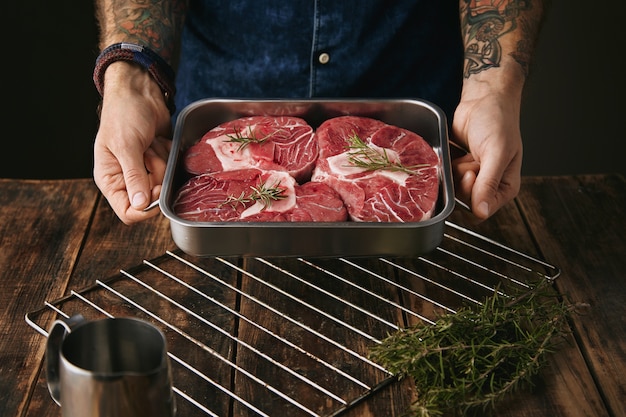
Bone-In: The Flavorful Classic For me, there's nothing quite like a bone-in ribeye. The bone acts as a natural insulator, ensuring the steak cooks evenly and retains its moisture. It also adds a delightful rustic charm to the presentation. Plus, who can resist that savory, melt-in-your-mouth bone marrow?
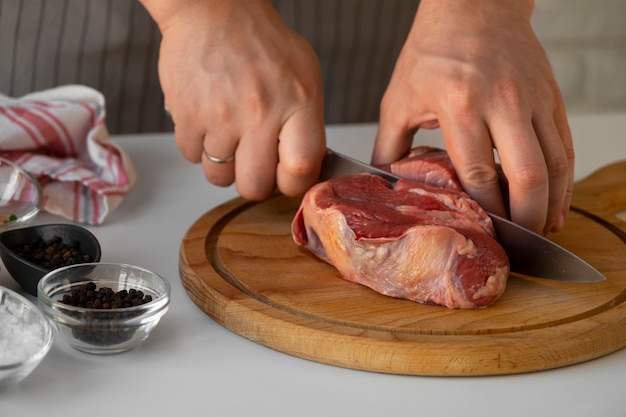
Boneless: Simplicity and Ease Boneless ribeye offers convenience and ease of cutting and grilling. It's a fantastic choice if you're looking for a straightforward approach, perfect for weeknight dinners.
The Marbling: The Key to Juiciness
The fat streaks running through the ribeye, known as marbling, are the secret to its succulence. Look for a cut with good marbling, but avoid extremes. Too much marbling can result in a greasy, overly fatty steak. The ideal ribeye balances fat and lean, creating a symphony of flavors and textures.
The Butcher: A Partner in Culinary Excellence
If you're fortunate to have a skilled butcher in your vicinity, don't hesitate to consult them. A knowledgeable butcher can guide you toward the perfect ribeye, sharing their expertise on cut, marbling, and even cooking techniques. They can become your culinary confidant, helping you elevate your steak game.
Part 2: Prepping the Ribeye for Grilling

With your prize-winning ribeye secured, it's time to prepare it for its starring role on the grill. This seemingly simple step is crucial for achieving that perfect sear and tender interior.
The Temperature: Letting the Steak Breathe
Bring your ribeye to room temperature before grilling. This allows for even cooking and prevents the steak from being shocked by the intense heat of the grill. Remove it from the refrigerator about 30 minutes before you plan to cook.
Seasoning the Steak: A Flavor Symphony
This is where your creativity shines! A classic salt and pepper combination is a timeless classic. I often elevate my seasoning game with a pinch of garlic powder and onion powder, adding layers of complexity and depth. Experiment! There are no hard and fast rules. Find what sings to your taste buds.
The Rub: Amplifying Flavor with a dry rub
For an extra dimension of flavor, consider a dry rub. This blend of spices and herbs is rubbed onto the steak before grilling, creating a flavorful crust. You can find pre-made rubs at your local grocery store, or craft your own unique blend. I love a mix of paprika, garlic powder, onion powder, cumin, and chili powder for a touch of spice and smokiness.
Part 3: Getting the Grill Ready: The Foundation of Success

The grill is your canvas, the stage for your culinary masterpiece. Get it ready to create that perfect sear and smoky aroma that elevates the ribeye to new heights.
The Grill Type: Gas or Charcoal?
Gas Grill: Controlled Heat and Versatility If you're using a gas grill, preheat one side to high heat, creating a hot zone for searing and a cooler zone for finishing the cooking process. This gives you greater control over the cooking environment.
charcoal grill: Authentic Flavor and Smoke For those who crave the authentic smoky flavor of charcoal, light your coals and allow them to burn until covered in white ash. You'll achieve a consistent, even heat ideal for grilling.
The Grill Grates: Cleanliness is King
Clean grill grates are essential for a successful grilling experience. Remove any remnants of previous cookings with a wire brush, and give them a final wipe with a damp cloth. You want your steak to be the only flavor on the grill!
The Heat Test: Ensuring Optimal Searing
Always test the heat of your grill before placing the steak on it. Hold your hand a few inches above the grates. If you can only hold it there for a second or two, your grill is ready for searing.
Part 4: The Art of Searing: Crafting the Perfect Crust
Searing is a critical step in transforming a ribeye from ordinary to extraordinary. It's about creating that beautiful, crispy crust on the outside while maintaining the juicy, tender interior.
The First Side: Building the Foundation
Place the ribeye on the hottest part of the grill. Let it sear for 3-4 minutes per side, resisting the urge to move it. Allow the steak to develop a rich, golden-brown crust. Too much movement will disrupt the searing process, resulting in an uneven crust.
The Second Side: Achieving Evenness
Flip the steak and repeat the searing process on the other side. This ensures an even crust all around, enhancing the visual appeal and enhancing the flavors. Keep a watchful eye, making sure the steak doesn't burn. Adjust the heat on your gas grill if necessary.
The Sides: A Complete Transformation
Once the top and bottom are beautifully seared, it's time to attend to the sides. Rotate the steak 90 degrees and sear each side for 1-2 minutes. You want a perfect sear without overcooking the meat. Remember, patience is key!
Part 5: Finishing the Cook: Mastering Doneness
The steak is now beautifully seared on all sides. Now, it's time to move it to a cooler part of the grill and finish the cooking process. This is where patience and precision come into play.
The Time Factor: Finding Your Perfect Doneness
The length of time you cook the steak determines the level of doneness. Here's a handy chart to guide your grilling:
| Doneness | internal temperature (°F) | cooking time (Minutes) |
|---|---|---|
| Rare | 125-130 | 4-6 minutes per side |
| Medium Rare | 130-135 | 5-7 minutes per side |
| Medium | 135-140 | 6-8 minutes per side |
| Medium Well | 140-145 | 7-9 minutes per side |
| Well Done | 145-150 | 8-10 minutes per side |
The meat thermometer: Your Culinary Compass
Always use a meat thermometer to determine the internal temperature of the steak. It's the only way to guarantee your desired level of doneness. Insert the thermometer into the thickest part of the steak, avoiding any bone contact.
Resting the Steak: Releasing Flavor and Tenderness
Once the steak is cooked to your liking, remove it from the grill and let it rest for 5-10 minutes before slicing. This allows the juices to redistribute throughout the steak, resulting in a more tender, flavorful, and juicy masterpiece.
Part 6: Serving the Steak: A Culinary Symphony
The moment of truth has arrived. Your ribeye is cooked to perfection, rested, and ready to be enjoyed. But before you dive in, let's add some finishing touches to elevate the experience.
The Presentation: A Feast for the Eyes
Plate the steak on a warm plate and arrange your chosen side dishes around it. I love the combination of roasted vegetables, creamy mashed potatoes, or a simple salad. A dollop of butter or a drizzle of sauce adds an extra touch of decadence.
The Garnish: Adding Visual Delight
Don't underestimate the power of a garnish! A sprig of rosemary, a few slices of lemon, or a sprinkle of fresh parsley enhances the visual appeal and adds a touch of elegance.
The Sauce: A Complementary Touch (Optional)
While a well-seasoned, perfectly cooked ribeye often requires no sauce, I understand the temptation to add a touch of something special. If you choose to, a classic béarnaise sauce, vibrant chimichurri, or a simple red wine reduction are excellent choices.
Part 7: Tips and Tricks: Elevating Your Steak Game
Over years of grilling, I've learned some tricks that take ribeye cooking to a whole new level. Here's a glimpse into my culinary arsenal:
The reverse sear: Tenderness and Flavor Fusion
This technique involves cooking the steak slowly over low heat until it reaches your desired internal temperature, then searing it over high heat for a few minutes to create a crispy crust. This ensures even cooking throughout and results in a more tender, juicy steak.
The Salt Bath: Juiciness and Flavor Enhancement
For an extra juicy, flavorful steak, soak it in a salt bath before grilling. Dissolve a cup of salt in a large bowl of water, and submerge the steak for 30 minutes. This helps to season the meat and retain moisture, resulting in a more succulent ribeye.
The Butter Basted: A Rich, Buttery Indulgence
A classic technique for adding rich, buttery flavor, this involves melting a knob of butter in a small saucepan and brushing the melted butter over the steak during the final minutes of cooking. You can also infuse the butter with herbs for added flavor.
Part 8: FAQs: Answering Your Burning Questions
What's the best way to store leftover ribeye steak?
Leftover ribeye should be stored in an airtight container in the refrigerator for up to 3-4 days. Reheat it in a preheated oven at 350°F for 10-15 minutes, or until heated through.
What are some good side dishes for ribeye steak?
The possibilities are endless! Classic options include mashed potatoes, roasted vegetables, asparagus, green beans, and macaroni and cheese.
Can I grill ribeye steak on a gas grill?
Absolutely! A gas grill is a fantastic option for grilling ribeye steak. Preheat one side to high heat for searing, and use a meat thermometer to check the internal temperature.
Can I freeze ribeye steak?
Yes, you can freeze ribeye steak for up to 3-4 months. Wrap it tightly in plastic wrap, then place it in a freezer-safe bag. Thaw it in the refrigerator overnight before cooking.
What's the best way to cut a ribeye steak?
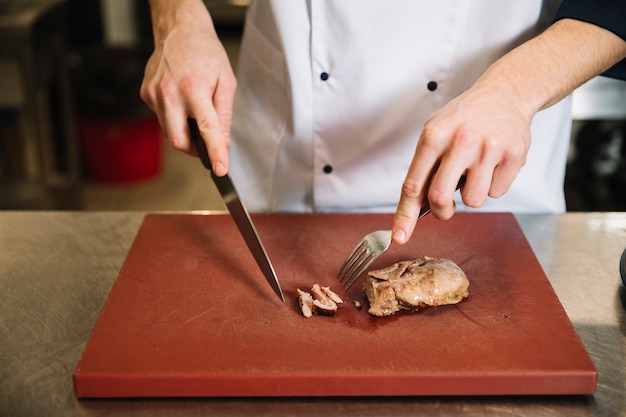
Always slice against the grain to tenderize the meat and make it easier to chew. Use a sharp knife and cut the steak into thin slices. You can also cut it into thicker slices, depending on your preference.
Conclusion: Embrace the Journey, Savor the Reward
There you have it—the ultimate guide to cooking a perfect ribeye steak! It's a journey, an adventure, and a delicious reward for your efforts. So, put on your apron, gather your ingredients, and get ready to impress your friends and family with your culinary mastery. Happy grilling!
Everyone is watching

Corn on the Cob: The Ultimate Guide to Perfectly Cooked Ears
Healthy MealsAh, corn on the cob. Just the name evokes images of sunny days, barbecues, and that sweet, juicy flavour that ...

Perfect Pork Roast Oven Cooking Time: A Guide to Delicious Results
Healthy MealsThere's something truly satisfying about a perfectly roasted pork. The aroma alone is enough to make your mout...

Ham Cooking Time: How Long to Bake, Smoke, or Boil a Delicious Ham
Healthy MealsAh, ham. It's a classic, isn't it? A real crowd-pleaser, especially around holidays. And when done right, it'...

Scallops: The Ultimate Guide to Perfect Cooking
Healthy MealsAh, scallops. Those delicate, sweet, and utterly delicious morsels of the sea. They hold a special place in my...

Spaghetti Squash: The Ultimate Guide to Cooking and Serving
Healthy MealsRemember that time you saw spaghetti squash at the supermarket, looking all bumpy and strange, and thought, "W...
