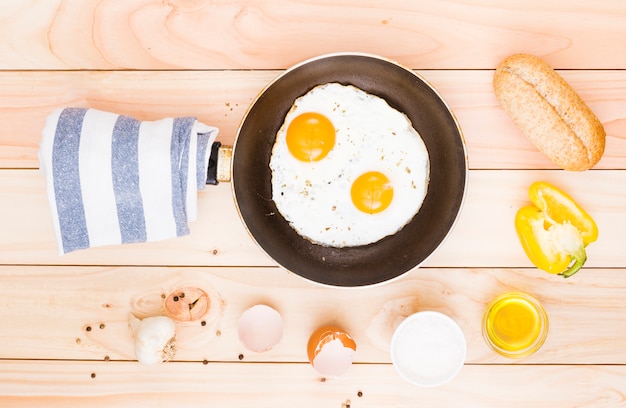
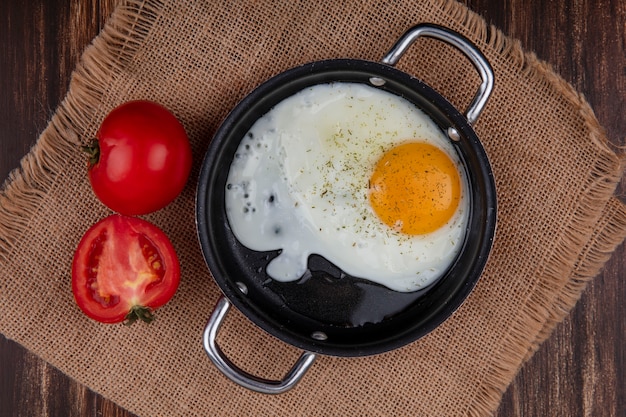
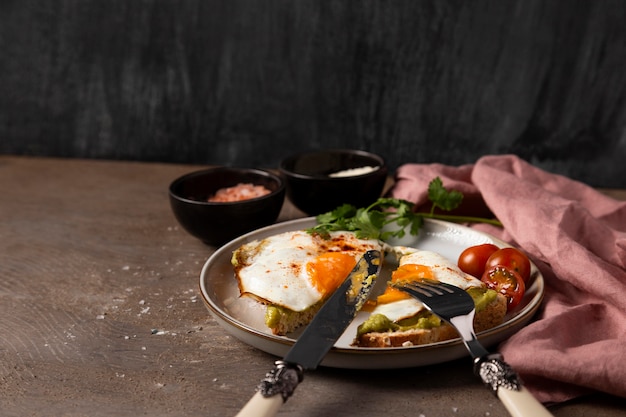
Let’s face it, there’s nothing quite like a perfectly cooked sunny side up egg. That glistening golden yolk, the crisp, brown edges, and the silky smooth white are pure breakfast perfection. But mastering this simple dish can feel like a culinary climb for some beginners. Don't worry, you’re not alone! I've been there, battling burnt edges, runny whites, and the dreaded rubbery yolk. It's a journey, but one we can conquer together.
This guide is your ultimate companion to sunny side up success, from picking the right pan to mastering the flip. I'm sharing my personal experiences, along with tried-and-true tips, tricks, and even a few of my favorite recipes. So grab a cuppa, settle in, and let's embark on this egg-cellent adventure!
(Part 1) The Foundation: Choosing Your Weapons

Before we dive into the cooking process, we need to equip ourselves with the right tools. Trust me, having the right gear makes a world of difference in achieving those picture-perfect sunny side up eggs.
1. The Pan: Your Egg-cellent Canvas
First things first, you need a reliable non-stick pan. Not just any pan will do, you need one designed for delicate eggs. Look for a pan with a thick base and even heat distribution. This will prevent your eggs from sticking and burning, ensuring a smooth, effortless cooking experience. My personal go-to is a trusty cast iron pan, but a high-quality stainless steel pan will also do the trick.
2. The Heat: Finding the Goldilocks Zone
Now, let's talk about the often overlooked aspect of cooking eggs – heat. This is where many beginners stumble. Too high a heat and your egg will burn before the white even sets. Too low, and it’ll take forever, resulting in a rubbery mess. The key is finding that sweet spot, that Goldilocks zone of perfect heat.
How to Test the Heat
The Water Test: Drip a few drops of water onto the pan. If the water sizzles and evaporates rapidly, your pan is at the right temperature. If it takes a while to evaporate, you need to crank up the heat a tad.
3. The Oil: A Little Lubrication Goes a Long Way
Finally, we need a touch of oil to help the egg slide around smoothly. This is where my personal preference comes in. I love using butter, as it adds a delicious flavor and a beautiful golden hue to the egg's edges. However, if you're looking for a healthier option, opt for a light oil like olive oil or sunflower oil.
How Much Oil?
A Gentle Swirl: You don't need a lot. Just a thin layer coating the bottom of the pan is enough. I find using a brush or a piece of kitchen paper to apply the oil is the easiest way to avoid using too much.
(Part 2) Crackin' the Code

Alright, you’ve got your pan, your heat, and your oil – now it's time to crack those eggs open!
1. Crackin' It Right: A Gentle Approach
The Gentle Tap: Crack the egg gently on the edge of the pan, not too hard. You want to avoid breaking the yolk.
The Thumb Trick: Use your thumb to gently pry apart the egg halves. This helps prevent any rogue eggshells from falling into the pan.
The Clean Separation: This is where the art comes in. Gently separate the egg white and yolk into the pan with a smooth, controlled movement. This will ensure a beautiful, even cook.
2. The First Cook: The Foundation of Perfection
Now, let's get those eggs cooking.
Low and Slow: Remember, low and slow is the name of the game. Let the egg cook on low heat for a few minutes until the white sets and the yolk begins to firm up slightly.
The Tell-Tale Signs: You'll know it's time to flip when the edges of the egg start to turn a beautiful golden brown and the white is no longer runny.
(Part 3) The Art of the Flip: A Gentle Dance

This is where the real magic happens – the flip. It can be a bit intimidating at first, but I promise, with a little practice, you'll be a flipping master in no time.
1. The Gentle Slide: A Spatula's Grace
The secret to a perfect flip? A gentle, smooth slide. This is where a high-quality spatula comes in. Choose a spatula with a thin, flexible blade that glides easily underneath the egg.
2. The Perfect Timing: A Patient Approach
Timing is everything. Wait until the white has just set, but the yolk is still runny. You can check this by gently lifting one edge of the egg with your spatula. If it doesn't stick to the pan, you're ready to flip.
3. The Flip: A Moment of Truth
Now, this is where the fun begins. With a quick, confident motion, slide your spatula underneath the egg and flip it over. Make sure you lift the egg completely off the pan and flip it in one smooth movement.
4. The Final Cook: Achieving Your Desired Doneness
Once flipped, let the egg cook on the other side for a minute or two, until the yolk is cooked to your liking.
(Part 4) Timing is Everything: Doneness Delights
The beauty of sunny side up eggs is that you can cook them to your perfect level of doneness.
1. runny yolk: The Classic Choice
The Classic: For a classic, runny yolk, cook for about 2-3 minutes on each side. The yolk will be soft and jiggly, perfect for dipping into a toasty slice of bread.
2. Medium Yolk: A Balanced Delight
The Crowd-Pleaser: If you prefer a slightly firmer yolk, cook for a bit longer, about 4-5 minutes on each side. The yolk will still be runny, but a bit more set, offering a delightful balance of textures.
3. Firm Yolk: The Adventurous Choice
The Adventurous: For a firm yolk, cook for 6-7 minutes on each side. The yolk will be completely cooked and won't be runny at all, perfect for those who prefer a less runny experience.
4. The Trick: Adjusting the Heat
Remember, you can always add a little more time if you want a firmer yolk. Just keep a watchful eye and adjust the heat as needed.
(Part 5) Don't Be Afraid to Experiment: Flavour Fusion
Now that you've got the basics down, it's time to unleash your creativity and add your own personal touch to your sunny side up eggs.
1. The Flavour Boost: A Symphony of Taste
Salt and Pepper: The classics are always a winner. A sprinkle of salt and pepper enhances the egg's natural flavors.
Herbs: Fresh herbs like chives, parsley, and dill add a burst of freshness to your eggs.
Spices: A pinch of paprika, cumin, or even cayenne pepper can add a delightful kick to your breakfast.
Cheese: Sprinkle some grated cheese on top for a touch of cheesy goodness.
2. The Presentation: A Visual Feast
The Classic Plate: Keep it simple with a plate, a piece of toast, and a side of your favorite breakfast items.
The Creative Approach: Want to get fancy? Serve your eggs on a bed of sautéed spinach, a hash brown, or even a dollop of avocado.
(Part 6) sunny side up egg recipes: From Classic to Creative
Now that you've mastered the basics, here are a few of my favorite sunny side up egg recipes to inspire your culinary journey.
1. Classic Sunny Side Up Eggs with Toast: A Timeless Delight
Ingredients:
2 eggs
2 slices of bread
Butter
Salt and pepper to taste
Instructions:
1. Toast the bread to your liking.
2. Heat a non-stick pan over medium heat.
3. Add a small amount of butter to the pan.
4. Crack the eggs into the pan and cook for 2-3 minutes on each side, or until the whites are set and the yolks are runny.
5. Season with salt and pepper to taste.
6. Serve immediately with the toast.
2. Sunny Side Up Eggs with Sauteed Spinach and Feta: A Mediterranean Twist
Ingredients:
2 eggs
1 cup of spinach
1 tablespoon of olive oil
1/4 cup of feta cheese
Salt and pepper to taste
Instructions:
1. Heat the olive oil in a pan over medium heat.
2. Add the spinach and cook until wilted.
3. Season with salt and pepper to taste.
4. Add the eggs to the pan and cook for 2-3 minutes on each side, or until the whites are set and the yolks are runny.
5. Sprinkle with feta cheese.
6. Serve immediately.
3. Sunny Side Up Eggs with Avocado Toast: A Healthy and Delicious Option
Ingredients:
2 eggs
1 slice of bread
1/2 avocado
1 tablespoon of olive oil
Salt and pepper to taste
Instructions:
1. Toast the bread to your liking.
2. Mash the avocado and spread it on the toast.
3. Heat the olive oil in a pan over medium heat.
4. Crack the eggs into the pan and cook for 2-3 minutes on each side, or until the whites are set and the yolks are runny.
5. Season with salt and pepper to taste.
6. Serve immediately with the avocado toast.
(Part 7) The Perfect Sunny Side Up Egg: Tips and Tricks for Success
Remember, practice makes perfect! Here are a few tips and tricks to help you nail those sunny side up eggs every time.
Keep it Cool: Make sure your eggs are cold from the fridge. This helps them hold their shape better when cooking.
Don't Crowd the Pan: Give your eggs ample space to cook evenly. If you're cooking multiple eggs, cook them in batches.
Use a Spatula: A good quality spatula is essential for flipping your eggs.
The Right Temperature: Don't be afraid to adjust the heat as needed. If your eggs are cooking too quickly, reduce the heat. If they're taking too long to cook, increase the heat.
The Perfect Doneness: Experiment with different cooking times to find your ideal level of doneness.
Get Creative: Don't be afraid to add your own flavor combinations to your eggs.
(Part 8) FAQs: Answering Your Sunny Side Up Questions
1. What is the best way to store eggs?
The best way to store eggs is in the fridge, in their original carton. This helps to keep them fresh and prevents them from absorbing odours.
2. How long do eggs last in the fridge?
Eggs can last for up to 3-4 weeks in the fridge. However, it's best to use them within 2 weeks for optimal freshness.
3. How can I tell if an egg is bad?
You can tell if an egg is bad by performing the float test. Place the egg in a bowl of cold water. If the egg sinks to the bottom, it's fresh. If it floats, it's bad.
4. Why do my eggs stick to the pan?
Eggs can stick to the pan if it's not hot enough, or if it's not properly greased. You can also try using a non-stick spray or cooking spray to prevent sticking.
5. Can I use a microwave to cook sunny side up eggs?
It's not recommended to cook sunny side up eggs in the microwave. They will cook unevenly and won't have the same texture as eggs cooked on the stovetop.
Remember, everyone has their own way of cooking sunny side up eggs. There's no one right way. Don't be afraid to experiment and find what works best for you. So, grab a pan, get crackin', and enjoy those perfect sunny side up eggs! Happy cooking!
Everyone is watching

Corn on the Cob: The Ultimate Guide to Perfectly Cooked Ears
Healthy MealsAh, corn on the cob. Just the name evokes images of sunny days, barbecues, and that sweet, juicy flavour that ...

Perfect Pork Roast Oven Cooking Time: A Guide to Delicious Results
Healthy MealsThere's something truly satisfying about a perfectly roasted pork. The aroma alone is enough to make your mout...

Ham Cooking Time: How Long to Bake, Smoke, or Boil a Delicious Ham
Healthy MealsAh, ham. It's a classic, isn't it? A real crowd-pleaser, especially around holidays. And when done right, it'...

Scallops: The Ultimate Guide to Perfect Cooking
Healthy MealsAh, scallops. Those delicate, sweet, and utterly delicious morsels of the sea. They hold a special place in my...

Spaghetti Squash: The Ultimate Guide to Cooking and Serving
Healthy MealsRemember that time you saw spaghetti squash at the supermarket, looking all bumpy and strange, and thought, "W...
