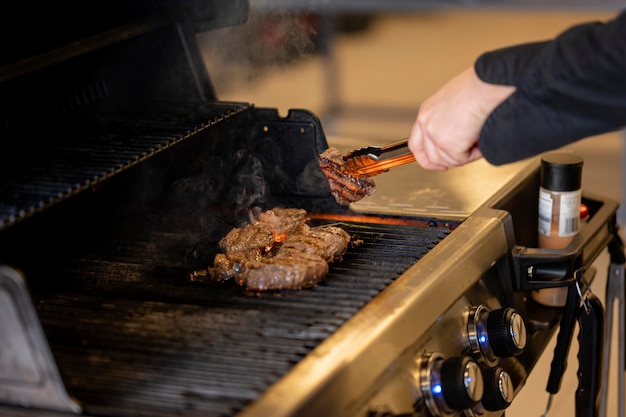
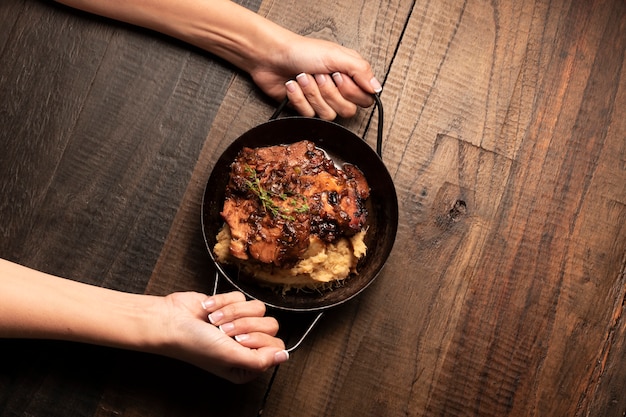
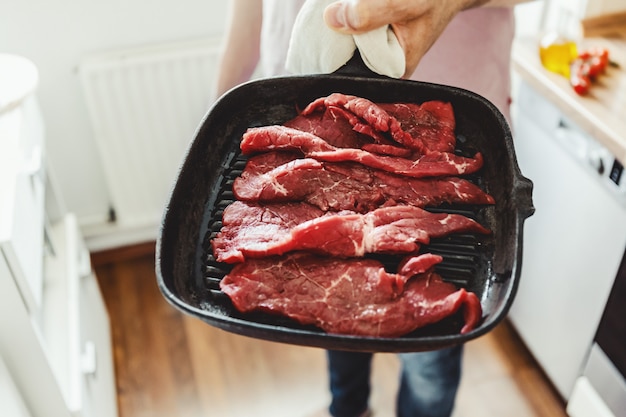
There's something undeniably satisfying about a perfectly cooked ribeye steak. It's the kind of meal that makes you feel like you're dining at a fancy restaurant, even if you're just at home in your comfy clothes. And the best part? It's surprisingly easy to achieve that restaurant-quality result right in your own kitchen. I've been cooking steak for years, and I've learned a thing or two about getting it just right. So, grab your favourite bottle of red, put on your apron, and let's dive into the world of steak mastery together!
(Part 1) The Steak - choosing the right cut

The Ribeye: A King Among Steaks
First things first, you need to choose the right cut. And for me, there's only one choice for a truly satisfying steak experience: the ribeye. It's known for its rich marbling, those lovely little streaks of fat that run throughout the meat. This marbling translates to intense flavour and a melt-in-your-mouth texture. It's basically the superstar of the steak world, with a flavour that's hard to resist.
Prime vs. Select: What's the Difference?
Now, you'll find ribeye in different grades, from Select to Prime. Prime is the highest grade, boasting more marbling and, as a result, a richer, more intense flavour. It's like the Rolls Royce of ribeye, the one you go for when you really want to treat yourself. But don't worry if you can't find Prime – a good quality Select will still deliver a delicious steak. Just be sure to ask your butcher for their recommendations. They're the experts, so trust their judgement!
Thickness: The Key to Perfect Cooking
Next, you need to consider the thickness of your steak. For stovetop cooking, I prefer a steak that's about 1.5 to 2 inches thick. This allows for a beautiful sear on the outside while keeping the inside perfectly tender and juicy. You can certainly cook thinner steaks on the stove, but you'll need to be extra careful to avoid overcooking. It's a little more of a dance, but it can be done.
(Part 2) Getting Ready: Preparing Your Steak for Success

Letting the Steak Relax
Before you even think about turning on the stove, it's crucial to let the steak come to room temperature. I know, it sounds a bit odd, but trust me, it makes a world of difference. A cold steak won't cook evenly, and you'll end up with a tough, chewy centre. So, take it out of the fridge about 30 minutes before you plan to cook it. This gives the steak time to warm up and cook evenly throughout. It's a simple step, but it really helps to unlock the best flavour and texture.
(Part 3) Seasoning: A Symphony of Flavour

Salt: The Unsung Hero
Okay, now that your steak is at room temperature, it's time to season it. And here's my golden rule: salt is king. It's not just about adding flavour; it actually brings out the natural flavours of the steak and helps to create a beautiful crust. I use kosher salt, but sea salt works just as well. Generously season both sides of the steak about 30 minutes before cooking. This allows the salt to penetrate the meat and draw out moisture, resulting in a more flavourful and tender steak. It's like a little magic trick, but it really works!
Black Pepper: The Classic Counterpoint
Once your steak has been generously salted, you can add black pepper. I always use freshly ground black pepper, as it has a more intense flavour. Grind it generously over the steak, but don't go overboard. You want the pepper to complement the steak, not overpower it. It's all about balance, my friend.
Experimenting with Other Seasonings
Feel free to experiment with other seasonings. Garlic powder, onion powder, paprika, or even a sprinkle of herbs like thyme or rosemary can add a lovely touch to your steak. But remember, less is more. You don't want to mask the natural flavour of the steak with too many spices. It's all about letting the steak shine.
(Part 4) The Stovetop Setup: Creating the Perfect Environment
Choosing the Right Pan: Cast Iron Reigns Supreme
Time for the stovetop! A cast iron pan is my go-to for steak. It heats up quickly and evenly, and it creates a beautiful sear, that crispy, caramelized crust that makes your mouth water. You can also use a heavy-bottomed stainless steel pan, but make sure it's well-seasoned. If you're not sure about seasoning, ask your butcher or do a quick Google search – there are plenty of resources out there to guide you.
High Heat: The Key to a Beautiful Sear
The key to a perfect sear is high heat. You want your pan to be very hot before you add the steak. I usually heat the pan over medium-high heat for about 5 minutes, but it can vary depending on your stove. You'll know the pan is ready when a drop of water sizzles and evaporates immediately. It's like a little test to make sure your pan is up to the task.
Oil of Choice: A Smooth and Flavorful Base
Once your pan is hot, add a good quality oil. I like to use grapeseed oil because it has a high smoke point, meaning it can handle high heat without burning. Olive oil is also a good option, but make sure it's extra virgin. You don't want the flavour of the oil to overpower the steak. It's all about letting the steak be the star of the show.
(Part 5) The Searing Process: Building the Perfect Crust
Time to Sear: A Dramatic Introduction
Now, carefully place the steak in the hot pan. You'll hear a satisfying sizzle as it hits the pan. Don't move the steak for at least 3 minutes. This allows the bottom to develop a nice crust. I always like to give the steak a gentle nudge after a couple of minutes just to check for any sticking. If it sticks, it's not quite ready, so let it cook a bit longer. It's like a little dance, checking in every now and then to make sure things are going smoothly.
Flipping the Steak: A Gentle Turn
Once the bottom is nicely seared, carefully flip the steak. Don't worry about poking and prodding it too much, just a quick flip is all you need. Now, sear the other side for another 3 minutes. You're basically creating a delicious, crispy shield on both sides of the steak.
Searing the Sides: A Touch of Elegance
For a truly beautiful crust, you can sear the sides of the steak for about 1 minute per side. This gives the steak a lovely, even sear all around. It's a little extra step, but it adds a touch of finesse to your steak. It's like putting the finishing touches on a masterpiece.
(Part 6) Cooking to Your Desired Doneness: Mastering the internal temperature
Internal Temperature: The Key to Perfection
Alright, your steak is nicely seared, but we're not done yet. It's time to cook the steak to your desired doneness. The best way to do this is to use a meat thermometer. You can get a good one for about ??10 and it's an absolute must-have for any serious steak cook. Stick the thermometer into the thickest part of the steak, avoiding any bone, to get an accurate reading. This is your secret weapon for making sure your steak is cooked to perfection, no matter your preference.
Doneness Chart: A Guide to Your perfect steak
Here's a guide to internal temperatures for different levels of doneness:
| Doneness | Internal Temperature (°C) | Description |
|---|---|---|
| Rare | 47-49 | A cool red centre, with a warm outer ring. |
| Medium Rare | 52-55 | A warm red centre, with a pink outer ring. |
| Medium | 57-63 | A warm pink centre, with a brown outer ring. |
| Medium Well | 65-68 | A light brown centre, with a dark brown outer ring. |
| Well Done | 71 | Completely brown throughout. |
Remember, these are just guidelines, and your personal preference for doneness may vary. It's your steak, so cook it the way you like it! The important thing is to use the meat thermometer to make sure it's cooked safely and to your desired temperature.
Resting: The Secret to Tenderness and Juiciness
Once your steak reaches your desired doneness, take it off the heat and let it rest for 5-10 minutes before cutting into it. This gives the juices a chance to redistribute throughout the steak, resulting in a juicier, more tender cut. It's like giving the steak a little spa treatment, letting it relax and settle in after its time on the stovetop. And it's worth every minute of waiting.
(Part 7) Delicious Sides: Completing the Meal
While the steak is resting, it's time to think about what you'll serve it with. There are endless possibilities, but here are a few of my favourites that complement the richness of a perfectly cooked ribeye:
- Roasted vegetables: I love the sweetness of roasted carrots and parsnips, or the earthy flavour of roasted asparagus. The combination of sweet and savoury is just heavenly with steak.
- Creamy mashed potatoes: You can't go wrong with classic mashed potatoes. They're the perfect pairing for a juicy steak, providing a comforting and creamy contrast to the meaty richness.
- Garlic butter: A simple but delicious addition to any steak. Simply melt butter in a pan with a few cloves of garlic and drizzle it over the steak. The garlic adds a pungent aroma and flavour that's just heavenly with the steak.
- Green salad: A refreshing and healthy addition to your steak dinner. It adds a touch of lightness and freshness to the meal, balancing the richness of the steak and sides.
(Part 8) The Finishing Touches: Adding Elegance and Flavour
Herb Butter: A Touch of Magic
Before slicing and serving your steak, I like to add a final touch of flavour. I usually use a little bit of butter and herbs, like thyme or rosemary. Just melt the butter in a pan over low heat, then add the herbs and spoon the mixture over the steak. The heat from the steak will melt the butter and infuse the herbs, creating a delicious and aromatic sauce. It's a simple touch, but it makes a world of difference.
Slicing the Steak: Against the Grain
Now, it's time to slice the steak. For the best presentation and the most tender texture, slice it against the grain. This means cutting across the muscle fibres, which makes the steak easier to chew. The thickness of the slices is a personal preference. I prefer thinner slices, but if you like thicker cuts, go for it. It's all about enjoying it the way you like it best.
Plating and Serving: A Feast for the Eyes
Finally, it's time to plate and serve. Arrange your steak slices on a platter with your chosen sides. Don't forget a good dollop of the herb butter. Now, you're ready to enjoy a delicious and satisfying steak dinner. It's all about enjoying the fruits of your labor and savoring every bite.
(Part 9) FAQs: Answering Your Questions
Q1: What's the best way to clean a cast iron pan after cooking steak?
Cleaning a cast iron pan is a little different from cleaning other pans. It's best to avoid using soap as it can strip the pan of its seasoning. Instead, simply scrub the pan with hot water and a stiff brush to remove any food particles. If there are any stubborn bits stuck on, you can use a bit of salt and a damp paper towel to scrub them away. Once the pan is clean, dry it thoroughly over low heat on the stovetop. This helps to preserve the seasoning and keep your cast iron pan in tip-top shape.
Q2: Can I cook a steak to medium rare on the stovetop if I prefer it that way?
Absolutely! You can cook a steak to any doneness you like on the stovetop, as long as you use a meat thermometer to ensure it's cooked to your desired temperature. It's all about personal preference, so don't be afraid to experiment and find what you enjoy most.
Q3: What are some alternative seasonings for steak besides salt and pepper?
You can experiment with a variety of seasonings to add flavour to your steak, such as garlic powder, onion powder, paprika, thyme, rosemary, or even a blend of herbs. Just remember to use sparingly so you don't overwhelm the natural flavour of the steak. It's all about adding a touch of flavour, not masking the steak's natural goodness.
Q4: How do I know if my steak is cooked to the right temperature without using a meat thermometer?
It's always best to use a meat thermometer for accurate results. However, if you don't have one, you can use the "finger test" as a rough guide. Press your thumb into the fleshy part of your palm. The feel of your palm will roughly correspond to the doneness of a steak. A rare steak will feel soft, a medium-rare steak will feel like the tip of your nose, a medium steak will feel like your cheekbone, and a well-done steak will feel very firm. This is a handy trick if you're in a pinch, but it's not as accurate as using a thermometer.
Q5: Can I cook a smaller, thinner steak on the stovetop?
Yes, you can cook a smaller, thinner steak on the stovetop, but it will cook much faster. You'll need to keep a close eye on it and cook it for a shorter amount of time to avoid overcooking. It's a little trickier, but with practice, you'll be able to master the art of cooking even thinner steaks to perfection.
Everyone is watching

Corn on the Cob: The Ultimate Guide to Perfectly Cooked Ears
Healthy MealsAh, corn on the cob. Just the name evokes images of sunny days, barbecues, and that sweet, juicy flavour that ...

Scallops: The Ultimate Guide to Perfect Cooking
Healthy MealsAh, scallops. Those delicate, sweet, and utterly delicious morsels of the sea. They hold a special place in my...

Spaghetti Squash: The Ultimate Guide to Cooking and Serving
Healthy MealsRemember that time you saw spaghetti squash at the supermarket, looking all bumpy and strange, and thought, "W...

Salmon Cooking Times: Perfect Guide for Every Recipe
Healthy MealsLet me tell you, cooking salmon is an art form. It's all about getting that perfect balance: juicy and tender,...

Ham Cooking Time: How Long to Bake, Smoke, or Boil a Delicious Ham
Healthy MealsAh, ham. It's a classic, isn't it? A real crowd-pleaser, especially around holidays. And when done right, it'...
