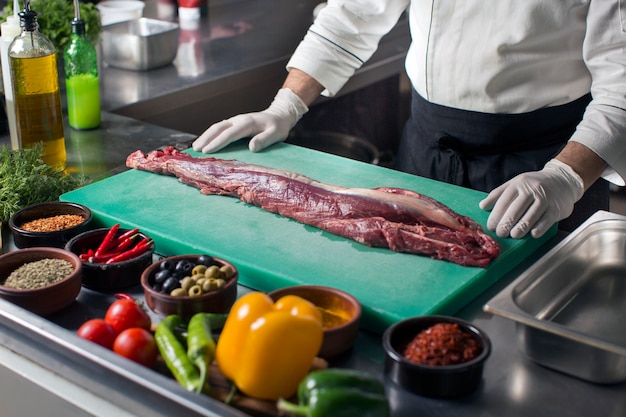
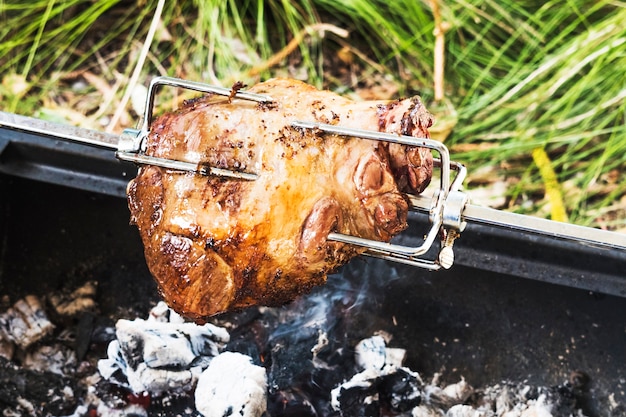
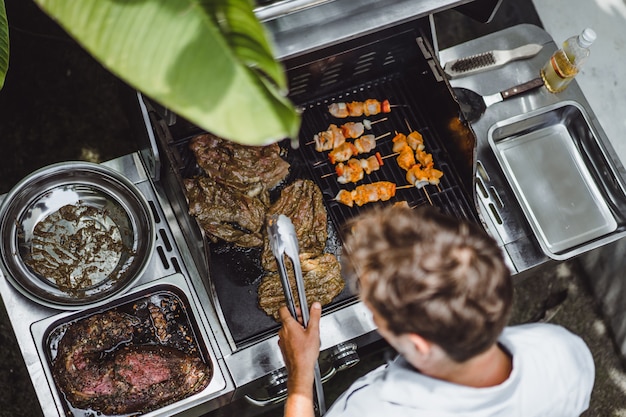
Let's talk prime rib, shall we? There's something undeniably grand about it, isn't there? The glistening, rosy-pink centre, the rich, savoury aroma that fills the air... It's a dish that screams celebration and makes you feel like a culinary magician. But let's be real, it can seem a bit daunting for those who haven't mastered the art of roasting. Don't worry, I'm here to break it down for you, step-by-step. This guide is more than just a recipe – it's a culmination of my own cooking journey, from early stumbles to current triumphs. Grab a glass of something delicious, relax, and let's journey into the world of perfect prime rib together.
Part 1: Choosing the Right Prime Rib

The Star of the Show
The first step, as with any great dish, is selecting the right ingredients. And when it comes to prime rib, the star of the show is the cut of beef. My go-to is always a standing rib roast, which is essentially a bone-in cut with a beautiful marbling of fat. That marbling, those streaks of glistening white throughout the red flesh, is crucial – it's what gives prime rib its incredible richness and flavour. Forget those dry, lean cuts – we're after a balance, a gorgeous marbling that adds richness without being overly greasy.
Size Matters
Now, let's talk size. Prime rib is a generous dish, a feast perfect for a crowd. For a smaller gathering, a 3-bone roast is a good choice, serving around 6-8 people. For a larger group, a 7-bone roast is a winner, but if you really want to make a statement, a 9-bone roast will feed 12-15 people with ease. Keep in mind that cooking times vary with size. A 3-bone roast takes about 2 hours, a 7-bone closer to 3 hours, and a 9-bone roast can take up to 4 hours.
The Butcher's Expertise
Don't be afraid to ask your butcher for advice. They're the experts! They can guide you towards the best cuts, advise on size, and even help you with the prep work, like tying the roast or trimming excess fat. It's always a good idea to have a chat with them, especially if you're not familiar with different cuts of beef.
Part 2: Prepping the Prime Rib

The Salt Cure: A Culinary Magic Trick
This is where the magic begins, folks. I've experimented with all sorts of fancy rubs and marinades over the years, but nothing beats a good old-fashioned salt cure. Salt, it turns out, is a culinary magician. It draws moisture from the meat, creating a more concentrated flavour and leading to a tender, juicy roast. I use kosher salt, but sea salt works just as well. Generously rub the salt all over the roast, ensuring you get into all the crevices and nooks. Then, cover it and pop it in the fridge for 24 hours. Don't worry about it drying out – that's all part of the process.
The Power of Patience
You might be wondering, "Why 24 hours?" Well, it's all about patience. The salt draws moisture out, creating a brine-like effect. That moisture then gets reabsorbed back into the meat, resulting in a more tender and flavourful roast. It's like a little culinary magic trick, and it's worth every minute of the wait. You can certainly add other seasonings like black pepper, garlic powder, or herbs, but I prefer to keep it simple with just salt. The natural flavour of the beef is the real star of the show.
A Final Prep: Removing the Salt
After the 24 hours are up, it's time to give the roast a good rinse under cold water. The salt has done its magic, so we want to remove any excess. Pat the roast dry with paper towels – we want a nice dry surface for browning.
Part 3: The Big Bake

Oven Ready
Alright, it's time for the main event – the oven. Preheat it to 450°F (230°C). If you're using a roasting pan, place it in the oven while it's preheating. This helps heat it up so the roast cooks evenly. Now, remove the roast from the fridge and pat it dry with paper towels. The salt has drawn out some moisture, so we want to remove any excess for optimal browning.
The Searing Technique: A Crust of Deliciousness
This is a crucial step, folks. We want a beautiful, caramelized crust on our roast, a flavour barrier that adds depth and richness. Grab your trusty cast-iron skillet or roasting pan and place it over high heat. Then, carefully place your roast in the hot pan. Sear all sides, getting a nice, deep brown crust. Don't be afraid to let it get a little smoky – that's just the deliciousness brewing.
Avoiding a Dry Roast
Here's a little tip: to prevent your roast from becoming dry, try adding a cup of beef broth or red wine to the bottom of the roasting pan before placing the roast in the oven. This creates a steamy environment, helping to keep the roast moist and tender. The liquid will also create the base for a luscious gravy later on.
Part 4: Cooking the Roast
Low and Slow: The Secret to Tenderness
Once the roast is seared, it's time to move it to the oven. Reduce the oven temperature to 325°F (160°C) and place the roast in the preheated roasting pan. This is where the low and slow magic happens. We want to cook the roast gently and evenly, allowing the internal temperature to rise gradually, leading to a tender, juicy, and flavorful centre.
Cooking Time and Doneness
The cooking time for prime rib depends on the size of the roast. As a general rule of thumb, cook it for about 15-20 minutes per pound for medium-rare. For medium, add another 5-10 minutes. For well-done, add another 10-15 minutes. But remember, every oven is different, so it's always best to use a meat thermometer to ensure your roast is cooked to your desired doneness.
The Meat Thermometer: Your Culinary Ally
A meat thermometer is your best friend when it comes to prime rib. Insert it into the thickest part of the roast, making sure it doesn't touch any bone. For medium-rare, aim for an internal temperature of 130°F (54°C). For medium, it's 140°F (60°C), and for well-done, aim for 150°F (65°C). Remember, the roast will continue to cook a bit after you remove it from the oven, so it's always better to err on the side of slightly undercooked.
Part 5: Resting and Carving
The Rest is Key: Letting the Juices Redistribute
You've waited patiently, you've followed all the steps, and now the moment of truth is upon you. But before you grab your carving knife, there's one more crucial step: resting. The roast needs time to relax, to redistribute the juices that have accumulated during cooking. Cover the roast loosely with foil and let it rest for at least 30 minutes. While it's resting, you can prepare your gravy or sides – anything that can be done ahead of time.
The Art of Carving: Thin Slices of Delight
After the roast has rested, it's time to carve. If you're using a bone-in roast, start by carving the meat away from the bone. Work in thin slices, cutting against the grain of the meat. This will help to ensure tender, juicy slices. You can also use a sharp carving knife to carve the roast into smaller portions. Be careful – those knives are sharp!
Part 6: Serving and Enjoying
The Grand Reveal: A Culinary Masterpiece
Finally, it's time to reveal your masterpiece. Place those beautiful slices of prime rib on a platter, and don't forget the rich, delicious gravy! Serve it with your favourite sides – roasted vegetables, creamy mashed potatoes, or a crisp salad. This is a feast to remember, so don't be afraid to go all out!
A Feast for the Senses: Enjoy Your Creation
There's nothing quite like the satisfaction of serving a perfectly cooked prime rib. The aroma fills the room, the sight of those rosy pink slices is simply gorgeous, and then there's the taste. It's a flavour explosion in your mouth – rich, juicy, and oh-so-satisfying. And the best part is that everyone always raves about it, making you feel like a culinary rockstar.
Part 7: Troubleshooting Tips
The Roast is Dry: A Common Issue
You've done everything right, but your roast comes out a little dry? Don't despair! It happens, even to the best of us. Next time, try adding a cup of beef broth or red wine to the bottom of the roasting pan, as mentioned earlier. This will create a steamy environment, keeping the roast moist and tender. You can also use a meat thermometer to check the internal temperature more frequently – a little overcooked is better than dry.
The Roast is Undercooked: A Quick Fix
If you've taken the roast out of the oven and it's still a little undercooked, no worries! Just pop it back in the oven for another 5-10 minutes. Keep a close eye on the internal temperature and use the thermometer to make sure it reaches your desired doneness. Remember, it's always better to cook it a little longer than to undercook it.
Part 8: FAQs
Q1: Can I Use a Different Cut of Beef for Prime Rib?
While a standing rib roast is the traditional choice for prime rib, you can use other cuts of beef if you prefer. For a more economical option, you can try a chuck roast or a ribeye roast. Just keep in mind that these cuts may require different cooking times and temperatures. Consult your butcher for advice on cooking techniques for these cuts.
Q2: Can I Cook the Prime Rib in a slow cooker?
While a slow cooker is great for other cuts of meat, it's not ideal for prime rib. The slow cooker's lower temperature can result in a tough, dry roast. For the best results, stick to the oven method for prime rib. You'll thank me later!
Q3: How Long Can I Keep the Prime Rib in the Fridge After Salting?
You can keep the prime rib in the fridge for up to 3 days after salting. Just make sure it's covered and refrigerated at 40°F (4°C) or lower. You can also freeze the roast for up to 3 months. Just be sure to thaw it in the refrigerator for a few days before cooking. Never thaw a roast at room temperature – that can lead to bacterial growth.
Q4: What Can I Do with the Leftovers?
You've got delicious prime rib leftover, now what? You can use it for sandwiches, salads, or even stir-fries! I love slicing it up and adding it to a hearty salad with greens, roasted vegetables, and a creamy dressing. It's a delicious way to use up those leftovers and enjoy the flavour again.
Q5: What Sides Go Well with Prime Rib?
Prime rib is a versatile dish, so there's a lot of flexibility when it comes to sides. I like to keep it classic with roasted vegetables, like asparagus, carrots, and potatoes. But you can also get creative with creamy mashed potatoes, cheesy potatoes au gratin, or a simple green salad. It's all about your preference and what you're in the mood for!
Q6: What is the Best Way to Make Gravy?
A good gravy is essential for a perfect prime rib. To make a delicious gravy, start by scraping the bottom of the roasting pan to collect the browned bits, or "fond." Add beef broth or red wine to the pan, scraping the fond into the liquid. Simmer until the gravy thickens. You can also add herbs and spices to enhance the flavour.
Part 9: A Final Word
And there you have it – my guide to perfect prime rib in the oven. It's a dish that takes a little bit of time and patience, but the result is truly worth it. So, gather your ingredients, put on your apron, and get ready to impress your family and friends with a culinary masterpiece. Happy cooking!
Everyone is watching

Corn on the Cob: The Ultimate Guide to Perfectly Cooked Ears
Healthy MealsAh, corn on the cob. Just the name evokes images of sunny days, barbecues, and that sweet, juicy flavour that ...

Perfect Pork Roast Oven Cooking Time: A Guide to Delicious Results
Healthy MealsThere's something truly satisfying about a perfectly roasted pork. The aroma alone is enough to make your mout...

Ham Cooking Time: How Long to Bake, Smoke, or Boil a Delicious Ham
Healthy MealsAh, ham. It's a classic, isn't it? A real crowd-pleaser, especially around holidays. And when done right, it'...

Scallops: The Ultimate Guide to Perfect Cooking
Healthy MealsAh, scallops. Those delicate, sweet, and utterly delicious morsels of the sea. They hold a special place in my...

Spaghetti Squash: The Ultimate Guide to Cooking and Serving
Healthy MealsRemember that time you saw spaghetti squash at the supermarket, looking all bumpy and strange, and thought, "W...
