Let's face it, there's something undeniably luxurious about a perfectly pan-seared filet mignon. That crisp, golden crust, the blushing pink interior, the melt-in-your-mouth tenderness... It's a culinary symphony that elevates any dinner party or romantic evening. But achieving that coveted perfection can feel like a culinary quest, especially when you're navigating conflicting advice and overwhelming techniques.
As a seasoned foodie who's spent years perfecting my own pan-searing game, I'm here to share my secrets and guide you through the process. We'll cover everything from selecting the right cut to mastering the art of searing, leaving you with the confidence to create a filet mignon that will leave everyone speechless.
(Part 1) Choosing Your Weapon: The Perfect Filet
Let's start with the foundation of our masterpiece: the filet mignon itself. Imagine it as choosing the right canvas for a painting. You need a high-quality one to truly bring your vision to life.
The Cut That Makes the Difference
The term "filet mignon" can be a bit misleading, as it's not just about the cut, but also the grade. You're looking for a tender, lean piece of beef from the tenderloin. But just any tenderloin won't do. You want a filet mignon, which is the most tender and flavorful section of the tenderloin, typically the thickest part, often referred to as the "center cut."
Look for a piece of beef that’s well-marbled, meaning it has a good amount of intramuscular fat, which contributes to its tenderness and flavor. Ideally, your filet mignon should be between 1 and 1.5 inches thick for even cooking. This thickness allows for a beautiful sear on the outside while ensuring the inside cooks evenly to your desired doneness.
Going for Grade A: Understanding Beef Grades
You'll often see beef graded in supermarkets, which reflects the quality and marbling of the meat. Understanding these grades can help you choose the best filet for your culinary masterpiece:
- Select: This is the most common grade, known for its leanness, but may lack flavor. It's not ideal for searing, as it might become dry and tough.
- Choice: A good balance of leanness and marbling, making it a great choice for searing. You'll find most filet mignons in this grade, offering a good combination of tenderness and flavor.
- Prime: The highest grade, offering the most marbling and flavor, often available at specialty butchers. This grade is known for its rich, buttery flavor and exceptional tenderness.
Ultimately, the choice of grade depends on your budget and personal preference. If you're looking for the best possible flavor and tenderness, opt for Prime. But don’t be afraid to experiment with Choice—it's a great option for delicious results, especially if you're on a budget.
(Part 2) Prepping for Success: Getting Ready to Sear
Now that you've got your filet, it's time to get prepped. Think of this as the warm-up before a big race—it sets you up for success.
Patting Away Moisture: The Key to a Crisp Crust
The first step is to pat your filet dry with paper towels. This might sound simple, but it's crucial. Any moisture on the surface of the meat will prevent a beautiful, crispy crust from forming. The heat will steam the moisture instead of searing, resulting in a soggy surface.
Seasoning Like a Pro: Less is More
When it comes to seasoning, less is more. Remember, you're aiming to highlight the natural flavor of the filet, not mask it. I recommend a simple combination of salt and freshly ground black pepper.
Don't be shy with the salt! Salt draws out moisture, which then re-absorbs into the meat, enhancing its flavor and tenderness. Apply a generous amount, ensuring all surfaces are evenly coated. The salt will create a flavorful crust, adding depth and complexity to the dish.
A Touch of Magic: The Herb and Spice Trick
To add a touch of elegance, consider using a rub of dried herbs, like rosemary, thyme, or oregano. But remember, just a light dusting! You want a subtle aroma, not an overwhelming flavor. A sprinkle of herbs can add a fragrant complexity that complements the beef without overshadowing its natural taste.
For a more adventurous touch, try a pinch of smoked paprika, chili flakes, or garlic powder. Just be mindful of the heat level and choose spices that complement the natural flavor of the beef. Experiment with different combinations to find your perfect flavor profile.
(Part 3) Getting Pan-Hot: The Foundation of Success
Now comes the crucial stage: getting your pan hot. This is where the real magic happens, so don't rush it.
Choosing the Right Pan: Cast Iron or Stainless Steel?
You have two main contenders for this task: cast iron and stainless steel. Both have their pros and cons:
- Cast iron: Known for its incredible heat retention and even cooking. It's ideal for searing, creating a beautiful crust. However, it can be heavy and requires proper seasoning. cast iron pans also tend to heat up more slowly, so it's important to give them ample time to reach the desired temperature.
- Stainless steel: Lighter and more versatile, but it doesn't hold heat as well as cast iron. You may need to increase the heat to achieve that crispy crust. stainless steel pans are also more prone to sticking, so using a good quality oil and ensuring the pan is properly preheated is essential.
My personal preference leans towards cast iron. Its ability to distribute heat evenly is unmatched, ensuring a consistently browned and flavorful filet. Plus, the seasoned cast iron adds a subtle depth to the flavor.
Heat Up, Heat Up: The Importance of Proper Temperature
Here's the golden rule: your pan needs to be smoking hot! This intense heat is what creates the coveted crust and ensures a perfectly cooked interior. It's the key to achieving that beautiful sear that locks in the juices and creates a flavorful crust.
Use high heat, preferably on your stovetop's highest setting. If you have a cast iron pan, let it heat for at least 5 minutes. For stainless steel, a slightly shorter heating time might suffice. You know it's ready when you can see a wisp of smoke coming from the pan. This indicates that the pan is hot enough to sear the filet effectively.
The Oil Test: Ensuring Perfect Heat
To check if your pan is hot enough, add a drop of oil to the pan. It should sizzle immediately and start to smoke. This is a sure sign your pan is ready to receive the filet. If the oil doesn't sizzle or smoke, your pan isn't hot enough, and you risk the filet steaming instead of searing.
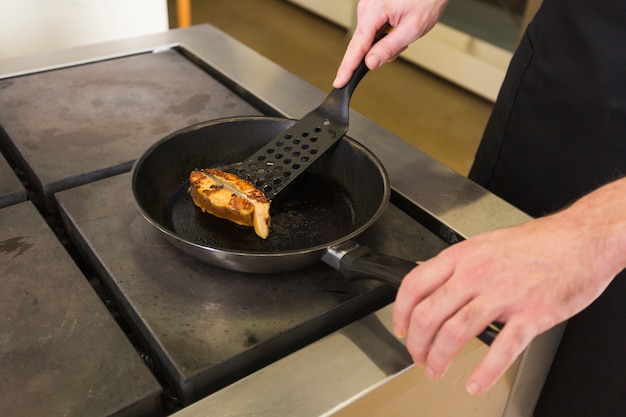
(Part 4) The Searing: A Dance Between Time and Heat
This is the moment we've been waiting for—the pan-searing itself. It's a delicate dance between timing and heat, and it takes a little practice to master.
Laying Down the Law: How to Place the Filet
First, add a generous amount of oil to the hot pan. I prefer grapeseed oil or avocado oil for their high smoke point. These oils can withstand high temperatures without breaking down, ensuring they don't burn and impart an unpleasant flavor to the filet. As soon as the oil starts to shimmer, gently place the filet in the pan.
Avoid overcrowding the pan. If you're cooking multiple filets, do it in batches to ensure each piece has ample space to sear evenly. Crowding the pan will lower the temperature, making it difficult to achieve a proper sear and potentially resulting in uneven cooking.
Timing is Everything: Searing the Filet to Perfection
Now comes the tricky part. The exact time you need to sear each side will vary depending on the thickness of your filet and your desired level of doneness.
For a rare filet: Sear each side for 1-2 minutes. For a medium-rare filet: Sear each side for 2-3 minutes.For a medium filet: Sear each side for 3-4 minutes.For a medium-well filet: Sear each side for 4-5 minutes.For a well-done filet: Sear each side for 5-6 minutes.
Remember, these are just guidelines. You'll want to adjust the searing time based on your preferences and the thickness of your filet. Use a meat thermometer to check the internal temperature of the filet for the most accurate doneness reading.
Resisting the Urge: Don’t Move the Filet Too Early
The temptation to move the filet around too early is strong, but resist! Let the filet develop a beautiful crust on the first side before flipping it over.
Use tongs or a spatula to gently check if the crust is forming. If it's starting to brown nicely, it's ready to be flipped. Patience is key here! Allowing the crust to form properly on each side ensures a delicious and flavorful sear.
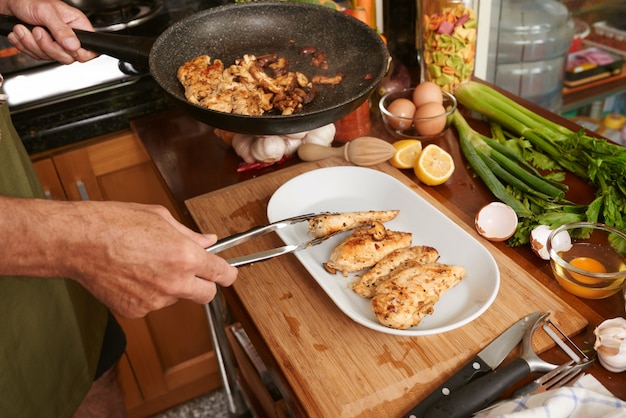
(Part 5) Resting: The Secret Ingredient
After the searing, we've got a golden crust and a rosy interior. Now it's time to let the magic happen: resting. This crucial step allows the juices to redistribute throughout the meat, resulting in a more tender and flavorful filet.
Ten Minutes of Calm: Let the Meat Settle
Transfer the seared filet to a cutting board and cover it loosely with aluminium foil. Let it rest for at least 10 minutes before slicing and serving.
During this time, the internal temperature will continue to rise slightly, ensuring even cooking. The resting period also allows the juices to settle back into the meat, resulting in a juicier and more flavourful final product. If you slice the filet immediately after searing, you'll lose all those precious juices, resulting in a dry and flavorless dish.
(Part 6) The Finishing Touches: Elevate Your Filet
The filet is resting, but let’s not forget about those finishing touches that elevate your dish from good to extraordinary.
The Finishing Touch: A Delicious Butter Sauce
A simple butter sauce adds an extra layer of richness and flavor. While your filet is resting, melt a tablespoon of butter in the pan you used for searing.
Add a clove of garlic, a sprig of rosemary, and a squeeze of lemon juice. Let it cook for a few minutes, stirring occasionally, until the garlic is fragrant and the butter has started to brown. Pour the sauce over the rested filet, ensuring every inch is covered. The butter sauce will add a touch of luxurious decadence, complementing the savory flavors of the filet.
A Splash of Elegance: Wine Sauce
For a more sophisticated touch, try a wine sauce. Deglaze the pan with a little red wine and let it simmer until it reduces to a syrupy consistency. Then, whisk in a knob of butter and a pinch of fresh herbs. The red wine adds a rich depth of flavor, while the butter adds creaminess, creating a sauce that perfectly complements the filet.
The Art of Garnish: Adding a Touch of Visual Appeal
A simple garnish can elevate your filet's presentation, adding a pop of color and visual interest. Consider these options:
- Fresh herbs: A sprig of rosemary, thyme, or parsley adds color and aroma.
- Lemon wedges: A squeeze of lemon adds brightness to the dish, cutting through the richness of the filet and the sauce.
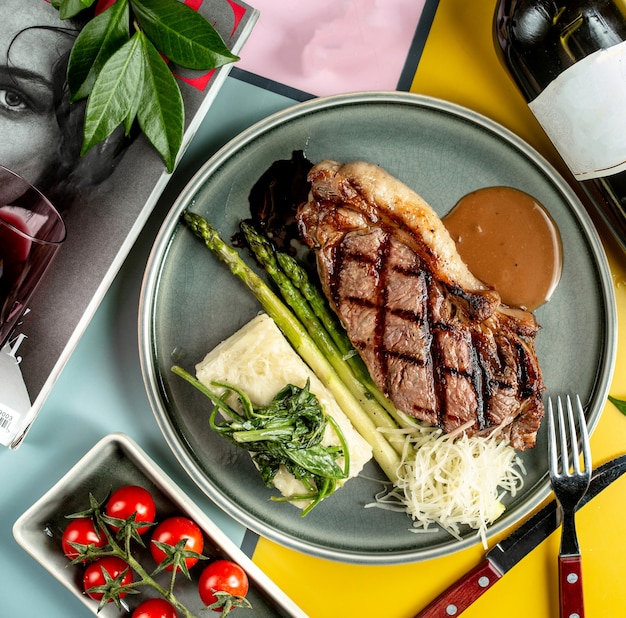
- Roasted vegetables: A side of roasted asparagus, Brussels sprouts, or potatoes complements the richness of the filet and provides a balanced meal.
(Part 7) Serving Up the Masterpiece: A Culinary Triumph
The moment has arrived! Your filet mignon is ready to be served.
Slicing to Perfection: A Visual Feast
Gently slice the filet against the grain to ensure tenderness. Serve it on a plate with the sauce, and arrange the garnish alongside.
Enjoy the beautiful pink interior, the crispy crust, and the burst of flavor that only a perfectly pan-seared filet mignon can deliver.
(Part 8) FAQs: Your Filet Mignon Questions Answered
Q: Can I use frozen filet mignon?
While you can use frozen filet mignon, it's not ideal. The texture and flavour won't be as good as if you use fresh. The freezing process can alter the texture of the meat, making it tougher and less flavorful. If you do need to use frozen filet, make sure it's thawed completely before searing. Thaw it in the refrigerator overnight for the best results.
Q: How do I know if my filet is cooked to my desired level of doneness?
You can use a meat thermometer to ensure your filet is cooked to your preference. Here are the recommended internal temperatures:
| Level of Doneness | Internal Temperature (F) | Internal Temperature (C) |
|---|---|---|
| Rare | 125-130°F | 52-54°C |
| Medium-Rare | 130-135°F | 54-57°C |
| Medium | 140-145°F | 60-63°C |
| Medium-Well | 150-155°F | 65-68°C |
| Well-Done | 160°F or higher | 71°C or higher |
Q: What should I serve with my filet mignon?
Filet mignon pairs beautifully with a variety of sides, depending on your taste preferences. Here are some suggestions:
- Classic: mashed potatoes, creamed spinach, asparagus
- Modern: roasted brussels sprouts, risotto, roasted root vegetables
- Elegant: Polenta, sautéed mushrooms, grilled artichokes
Q: Can I reheat my filet mignon?
While reheating a filet mignon won't give you the same crisp crust as the original sear, you can still enjoy a delicious meal. The best way to reheat it is in a preheated oven at 300°F (150°C) for 10-15 minutes, or until heated through. This method will help to reheat the filet evenly and prevent it from becoming dry.
Q: What are some tips for storing leftover filet mignon?
To store leftover filet mignon, let it cool completely, then wrap it tightly in plastic wrap or aluminum foil and refrigerate it for up to 3 days. You can also freeze it for up to 3 months. When ready to eat, defrost it in the refrigerator overnight and reheat it according to the instructions above.
Remember, practice makes perfect. Don't be discouraged if your first attempt isn't perfect. With each filet you sear, you'll gain more confidence and a deeper understanding of this culinary masterpiece.
So, gather your ingredients, fire up your pan, and get ready to impress yourself (and anyone lucky enough to share your creation) with the most delectable pan-seared filet mignon you've ever tasted.
Everyone is watching

Corn on the Cob: The Ultimate Guide to Perfectly Cooked Ears
Healthy MealsAh, corn on the cob. Just the name evokes images of sunny days, barbecues, and that sweet, juicy flavour that ...

Perfect Pork Roast Oven Cooking Time: A Guide to Delicious Results
Healthy MealsThere's something truly satisfying about a perfectly roasted pork. The aroma alone is enough to make your mout...

Ham Cooking Time: How Long to Bake, Smoke, or Boil a Delicious Ham
Healthy MealsAh, ham. It's a classic, isn't it? A real crowd-pleaser, especially around holidays. And when done right, it'...

Scallops: The Ultimate Guide to Perfect Cooking
Healthy MealsAh, scallops. Those delicate, sweet, and utterly delicious morsels of the sea. They hold a special place in my...

Spaghetti Squash: The Ultimate Guide to Cooking and Serving
Healthy MealsRemember that time you saw spaghetti squash at the supermarket, looking all bumpy and strange, and thought, "W...