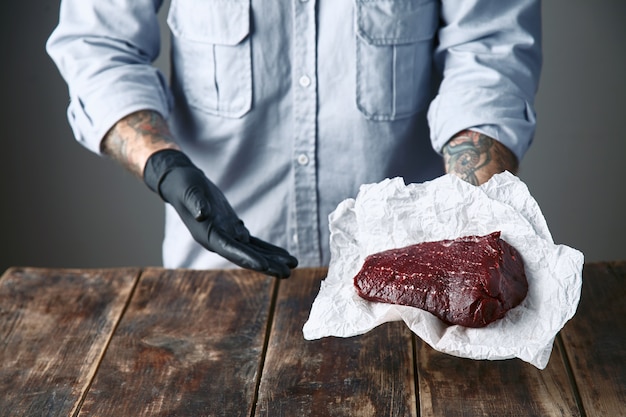
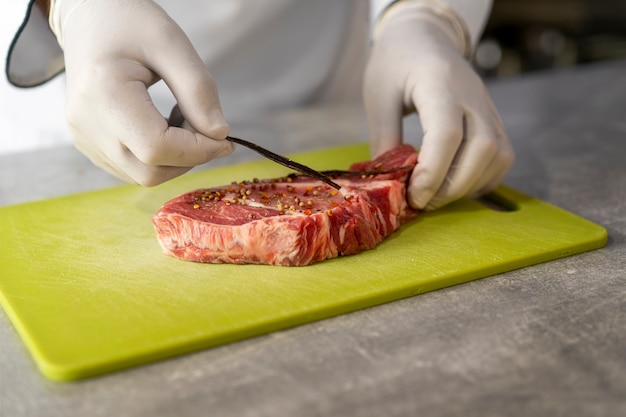
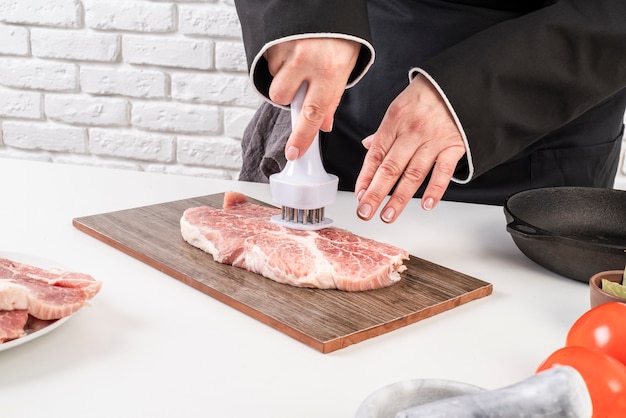
Let's face it, there's nothing quite like a perfectly cooked steak. That juicy, tender, and flavorful piece of meat, seared to a beautiful golden brown, is a culinary delight. But achieving that elusive "medium" can feel like a culinary gamble, leaving you with either a dry, overcooked disappointment or a raw center that sends shivers down your spine. I've been there, trust me! Through countless kitchen experiments and a few charred casualties along the way, I've finally mastered the art of consistently delivering a medium steak that's both impressive and delicious. In this guide, I'll share my secrets, from choosing the right cut to nailing the perfect sear, so you can confidently elevate your steak game.
Part 1: Choosing Your Steak: The Foundation of Flavor

The first step, and perhaps the most crucial, is selecting the right cut of beef. This isn't just any old piece of meat; it's the foundation of your culinary masterpiece. The cut you choose will directly impact the flavor, tenderness, and overall cooking experience. So, let's delve into the world of cuts, exploring the best options for achieving a medium steak with that signature juicy bite.
1.1 The Classic Trio: Ribeye, new york strip, and Sirloin
When it comes to steak, these three cuts are true icons. They've been gracing plates for generations and for good reason – they offer a balance of flavor, tenderness, and marbling.
- Ribeye: Often hailed as the "king of the grill," the ribeye is renowned for its generous marbling, which translates to a rich, intense flavor and a juicy texture that practically melts in your mouth. It's a bit of a splurge, but the culinary rewards are undeniable.
- New York Strip: This cut is leaner than the ribeye, making it a popular choice for those who prefer a bit less fat. It boasts a distinct, almost nutty flavor, with a firm texture that holds its shape beautifully on the grill.
- Sirloin: A great all-rounder, the sirloin offers a good balance of flavor and tenderness without the hefty price tag of the ribeye. It's a versatile cut that works well for grilling, pan-frying, or even baking.
1.2 Beyond the Familiar: Flank and skirt steaks
If you're looking for a culinary adventure, consider exploring some less conventional cuts like flank and skirt steak. These are leaner options with a distinct flavor profile and unique textures. Be warned, they can be a bit tougher than the classics, but they reward you with a depth of flavor.
- flank steak: This long, lean cut is a popular choice for grilling or stir-frying. It's packed with flavor and has a great texture, but it needs to be sliced thinly to avoid being tough.
- Skirt Steak: Often used for fajitas, this cut is another long and lean option. It's full of flavor and tender, but it can be a bit tougher than other cuts. Like flank steak, it's best enjoyed thinly sliced.
1.3 The Importance of Thickness
Don't forget the thickness! A thicker steak takes longer to cook, which is essential for achieving even cooking and that perfect "medium" throughout. Aim for a steak that's at least 1.5 inches thick. The extra time allows the heat to penetrate deeply, resulting in a more evenly cooked steak.
Part 2: Preparing the Steak: The Art of Pre-Game

Now that you've chosen your perfect cut, it's time to prepare it for its culinary debut. Think of this as the pre-game warm-up; it's not just about seasoning, it's about setting the stage for a successful steak experience.
2.1 Salt, the Unsung Hero: The Science of Flavor
Let's talk about salt, because it's not just about seasoning; it's a science of flavor enhancement. Salting your steak before cooking helps to draw out moisture, which is then reabsorbed, making the meat more tender and juicy. This process also creates a flavorful crust that seals in the juices during cooking.
You can salt the steak as soon as you take it out of the fridge, but I find it's more effective to salt it about 30 minutes before cooking. This gives the salt ample time to work its magic, drawing out moisture and enhancing the flavor. Just sprinkle generously on both sides, don't be shy!
2.2 The Importance of Rest: Letting the Steak Relax
After salting, let the steak rest at room temperature for at least 30 minutes. This allows the steak to come to room temperature, ensuring even cooking. It also helps to relax the muscle fibers, leading to a more tender steak. While waiting, you can prepare your grill or pan, ensuring you're ready for the main event.
Part 3: The Big Grill Show: Searing Perfection

Now comes the exciting part: cooking the steak! While I'm a grill enthusiast, if you prefer a cast iron pan, that's equally valid. The key is to achieve a scorching hot surface, ideal for creating that beautiful sear and locking in the flavor.
3.1 The Heat is On: Preheating Your Grill (or Pan)
Preheat your grill to high heat. You want to create those classic grill marks, and that means a good sear. You can test the heat by holding your hand a few inches above the grill grate. If it gets too hot to hold for more than 3 seconds, you're good to go. For a cast iron pan, heat it over high heat until it's smoking hot.
3.2 Sealing the Flavor: The Art of Searing
Place the steak on the hot grill or pan and resist the urge to touch it for at least 2-3 minutes per side. You want that beautiful, dark sear, which is crucial for both flavor and moisture retention. This intense heat creates a delicious crust that seals in the juices and prevents them from escaping during the rest of the cooking process.
3.3 Flip It, Don't Drop It: Flipping and Repeating
Once you've achieved those perfect grill marks, flip the steak and repeat the process on the other side. You're aiming for a beautiful golden brown crust on both sides. The sear should be even, with no raw patches. It's an indication that the steak is cooking properly and developing a rich, flavorful crust.
Part 4: The Temperature Check: Mastering Doneness
This is where the magic truly happens. We're talking about the internal temperature of the steak, the ultimate determinant of its level of doneness. This is crucial for ensuring that your steak is cooked to your liking, from a juicy rare to a well-done masterpiece.
4.1 Your New Best Friend: The meat thermometer
Forget about guessing or relying on visual cues – get a meat thermometer! It's your trusted guide to steak perfection. Don't be tempted to wing it, as relying on feel or visual cues can be inaccurate. A meat thermometer provides precise readings, ensuring your steak is cooked to your exact specifications.
4.2 Target Temperatures: A Guide to Doneness
Here's a handy breakdown of internal temperatures for different levels of doneness, ensuring you achieve your desired level of cooking:
| Doneness | Internal Temperature (°F) |
|---|---|
| Rare | 125-130°F |
| Medium-Rare | 130-135°F |
| Medium | 135-140°F |
| Medium-Well | 140-145°F |
| Well-Done | 145-150°F and above |
For a juicy medium steak, you're aiming for an internal temperature between 135°F and 140°F. Remember, the steak will continue to cook for a few minutes after you remove it from the heat (a process called carryover cooking), so take this into account when aiming for your desired doneness.
4.3 Don't Overdo It: Timing Is Key
Once you've reached your desired internal temperature, immediately remove the steak from the grill or pan. The carryover cooking effect will continue to raise the temperature slightly. Overcooking can lead to a dry, tough steak, so timing is crucial.
Part 5: Resting the Steak: Allowing the Juices to Redistribute
The steak is cooked, but the culinary journey isn't over yet. This is the crucial resting stage, a vital step in the steak's transformation. Think of it as allowing the steak to breathe and relax, ensuring a tender, juicy outcome.
5.1 The Power of Rest: A Delicious Transformation
Transfer the steak to a cutting board and cover it with aluminum foil. Let it rest for at least 10 minutes. This allows the juices to redistribute throughout the steak, resulting in a more tender, juicy cut. The fibers relax, and the juices flow more freely, creating a more evenly tender and flavorful steak.
5.2 Patience is a Virtue: Resist the Urge to Dive In
I know the anticipation is building, but resist the urge to cut into the steak right away. The longer you wait, the better the results. The resting period allows the steak to truly relax and the juices to settle, making the final result even more delicious.
Part 6: Slicing and Serving: The Final Touches
The steak has rested, the juices have redistributed, and now it's time for the final stage: slicing and serving.
6.1 The Art of Slicing: Against the Grain
Cut the steak against the grain. This means slicing across the muscle fibers, making it easier to chew and more tender. Slice it about 1/2 inch thick, ensuring each slice is evenly cooked and juicy.
6.2 The Garnish: Adding the Finishing Touches
Now comes the fun part: adding the finishing touches. This is where you can get creative and personalize your steak. I prefer to keep it simple: a sprinkle of salt and pepper, a knob of butter, or a drizzle of olive oil. For a touch of citrusy brightness, add a squeeze of lemon juice, or for a burst of freshness, sprinkle some chopped herbs like parsley, chives, or rosemary.
Part 7: The Sidekick: Complementary Flavors
No steak is complete without a worthy companion. The perfect side dish complements the steak, creating a harmonious culinary symphony.
7.1 Classic Combinations: Tried and True Pairings
There are some classic pairings that always work, creating a timeless balance of flavors:
- mashed potatoes: A creamy and comforting accompaniment that perfectly complements the richness of a juicy steak.
- Roasted Vegetables: Asparagus, broccoli, or Brussels sprouts offer a fresh and vibrant counterpoint to the steak.
- Green Salad: A refreshing and tangy contrast to the richness of the steak, offering a healthy balance.
7.2 Stepping Beyond the Ordinary: Exploring New Pairings
Don't be afraid to experiment with different sides. You can add a touch of sweetness with roasted sweet potatoes, a smoky kick with grilled corn, or a spicy punch with roasted peppers. The possibilities are endless, allowing you to create your own unique and delicious combinations.
Part 8: FAQs: Addressing Common Steak Dilemmas
I understand that cooking a steak can seem daunting, especially when aiming for that perfect "medium." So, here are some frequently asked questions to guide you through the process and address any lingering doubts.
8.1 Can I use a pan instead of a grill?
Absolutely! A cast iron pan is a fantastic alternative to a grill. Just make sure it's super hot before adding the steak to achieve that beautiful sear.
8.2 How do I know if my steak is cooked through without a meat thermometer?
If you don't have a meat thermometer, you can use the "finger test." Press on the center of the steak: if it feels firm and springy, it's medium. If it feels soft, it's rare. However, remember that this is not as accurate as using a thermometer.
8.3 What happens if I overcook my steak?
While not ideal, it's not the end of the world! An overcooked steak will be tougher, but you can still salvage it by slicing it thinly and adding a flavorful sauce to add moisture and flavor.
8.4 What are some good sauces to go with steak?
The world is your oyster! From classic Béarnaise to tangy chimichurri, there's a sauce for every steak. I personally love a simple garlic butter sauce or a spicy peppercorn sauce. You can also experiment with red wine reduction, balsamic glaze, or even a creamy blue cheese sauce.
8.5 Can I cook a steak ahead of time?
You can cook a steak ahead of time, but it's best to eat it as soon as it's cooked. The longer it sits, the less juicy it will be. If you're planning to cook it ahead, cook it to medium-rare and then reheat it gently in a pan. Be careful not to overcook it during reheating.
Part 9: The Final Bite: Embracing the Steak Journey
There you have it! My step-by-step guide to mastering the perfect medium steak. It's not rocket science, but it takes a bit of practice, a touch of intuition, and a willingness to experiment. Remember to have fun with it, explore different cuts and seasonings, and most importantly, enjoy the process of creating your own delicious masterpiece. Happy grilling!
Everyone is watching

Corn on the Cob: The Ultimate Guide to Perfectly Cooked Ears
Healthy MealsAh, corn on the cob. Just the name evokes images of sunny days, barbecues, and that sweet, juicy flavour that ...

Perfect Pork Roast Oven Cooking Time: A Guide to Delicious Results
Healthy MealsThere's something truly satisfying about a perfectly roasted pork. The aroma alone is enough to make your mout...

Ham Cooking Time: How Long to Bake, Smoke, or Boil a Delicious Ham
Healthy MealsAh, ham. It's a classic, isn't it? A real crowd-pleaser, especially around holidays. And when done right, it'...

Scallops: The Ultimate Guide to Perfect Cooking
Healthy MealsAh, scallops. Those delicate, sweet, and utterly delicious morsels of the sea. They hold a special place in my...

Spaghetti Squash: The Ultimate Guide to Cooking and Serving
Healthy MealsRemember that time you saw spaghetti squash at the supermarket, looking all bumpy and strange, and thought, "W...
