Let's be honest, we all love a good breakfast, and there's something truly satisfying about perfectly cooked eggs. But sometimes, the thought of standing over a stovetop, meticulously watching the clock, can be a bit of a drag. And let's face it, the last thing you want on a busy morning is a rubbery, overcooked mess. Enter the Dash rice cooker! This little marvel isn't just for rice, you know. It's also a secret weapon for whipping up delicious, perfectly cooked eggs.
I've been there, folks. I've tried every method under the sun to achieve that dreamy, creamy yolk and perfectly set white. But it wasn't until I discovered the magic of my Dash rice cooker that I truly cracked the code (pun intended!). So, get ready to level up your breakfast game. This is your ultimate guide to achieving egg-cellence in your Dash rice cooker, and trust me, it's easier than you think!
(Part 1) The Egg-cellent Foundation: Choosing Your Ingredients
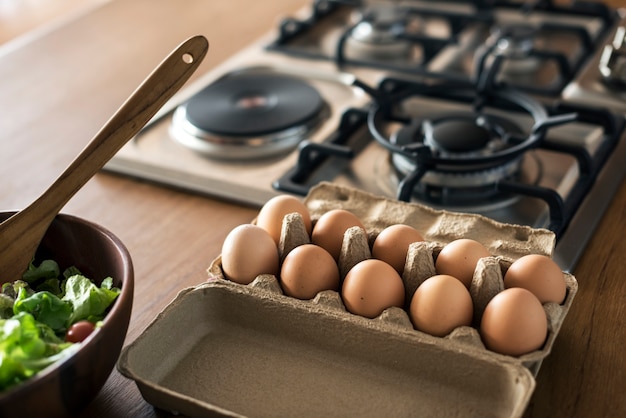
It all starts with the right ingredients, and when it comes to eggs, the choices can seem overwhelming. But don't fret! I'm here to guide you through it.
egg size Matters (It's Not Just About Semantics)
The first thing to consider is egg size. Now, I'm a firm believer that medium-sized eggs are the gold standard for rice cooker cooking. They're just the right size for a single serving and tend to cook evenly, which is crucial for that perfect texture. If you're feeling adventurous, you can certainly use large eggs, but be prepared for a slightly longer cooking time.
fresh eggs: The Secret to Stellar Texture
Here's the thing: freshness matters. It's not just a myth. Fresh eggs have a stronger yolk and a thicker white, which translates into a better shape and texture during cooking. Think of it this way: the fresher the egg, the more likely it is to hold its shape and not spread out too much in the rice cooker. If you're using older eggs, you might notice a bit more spreading, which can result in a less appealing, less perfect egg.
Brown vs. White: A Matter of Taste
Let's be real, this one's entirely up to you. Brown eggs and white eggs are essentially the same, just with different colored shells. It's a matter of personal preference. I personally enjoy the occasional brown egg for a bit of visual flair, especially when I'm feeling fancy.
(Part 2) Setting the Stage: Preparing Your Rice Cooker
Now that you've got your eggs sorted, let's talk about the heart of the operation: your Dash rice cooker. A little preparation goes a long way, trust me.
Cleanliness is Key: A Clean Rice Cooker, a Happy Egg
It might seem like a no-brainer, but a clean rice cooker is essential. Any lingering bits of rice or other food can affect the cooking process and, quite frankly, just aren't very hygienic. A quick rinse with warm water and a good wipe down will ensure a fresh start for your egg-cooking adventure.
Water Level: Less is More
Here's where things get interesting. We're not making rice, remember? We're cooking eggs, and that means a different approach to water. Instead of filling your rice cooker to the usual rice-cooking level, you only need a small amount at the bottom. Think of it as a gentle steam bath for your eggs. One or two inches of water should do the trick.
Finding the Right Mode: Steam Power for Perfect Eggs
Your trusty Dash rice cooker likely has various cooking modes. For egg cooking, you want to choose the "Steam" or "Steamer" setting. This ensures a gentle, even cooking process that won't leave you with overcooked or rubbery eggs.
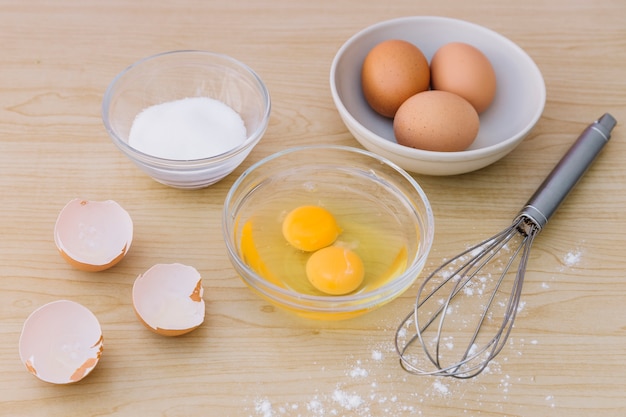
(Part 3) The Art of Cracking: Mastering the Technique
Now, it's time for the delicate dance of cracking. It's a crucial step, and it all comes down to technique.
The Gentle Tap: No Yolk Explosions Here
Remember, we're not going for a yolk explosion. We want a neat crack. Tap the egg gently on a flat surface, like the edge of your counter. This creates a tiny crack, which you can then carefully widen to separate the two halves.
Transferring the White: A Delicate Ballet
Here's where it gets a bit trickier. You want to transfer the egg white into your rice cooker without letting the yolk sneak in. Gently tilt the egg shell, allowing the white to flow slowly into the rice cooker. If you're feeling extra cautious, you can use a spoon to help guide the white.
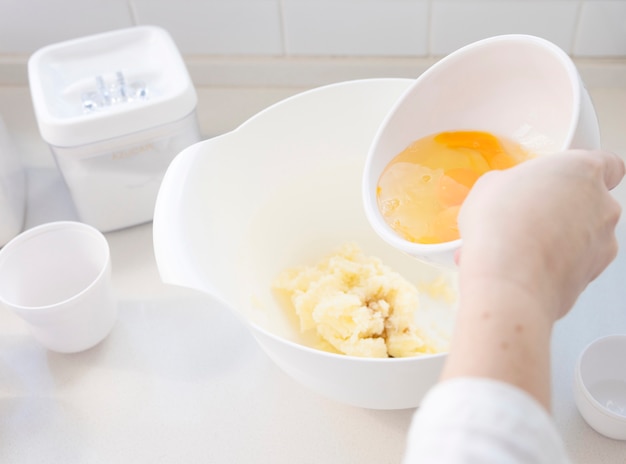
Yolk Placement: A Gentle Touch
And now, it's time for the yolk. You can either add it to the rice cooker directly, or you can use a small bowl to gently lower it in. I prefer the bowl method because it gives me a bit more control and ensures that the yolk stays intact.
(Part 4) The Cooking Time Conundrum: Finding Your Perfect Doneness
We're almost there! Now, we need to find that perfect cooking time. It all depends on the level of doneness you're after.
Soft-Boiled: runny yolks and a Hint of Creaminess
For a dreamy, runny yolk and a slightly firm white, aim for 4-5 minutes. This is a classic choice for those who appreciate that creamy, indulgent texture.
Medium-Boiled: The Balanced Approach
For a firmer yolk and a slightly rubbery white, go for 6-7 minutes. This is the quintessential balanced approach, appealing to a wide range of egg lovers.
Hard-Boiled: For Slicing, Salads, and More
For a completely solid yolk and a firm, bouncy white, cook for 8-9 minutes. This is perfect for egg salad or slicing.
(Part 5) Seasoning to Perfection: Flavour Explosions
Now, it's time to bring out the flavour! One of the beautiful things about cooking eggs in a rice cooker is their versatility.
Salt and Pepper: The Classic Duo
A classic for a reason. Salt and pepper enhance the natural flavours of the egg, bringing out their richness.
Herbs and Spices: A culinary adventure
Get creative! A sprinkle of paprika adds a smoky touch, while chives bring a refreshing burst of flavour.
Cheese: A Decadent Indulgence
If you're feeling luxurious, sprinkle on some cheese. Cheddar, parmesan, feta - the choice is yours!
(Part 6) The Big Reveal: Checking for Perfection
The rice cooker will let you know when the cooking time is up. Now, it's time for the moment of truth!
The Egg Test: A Gentle Poke
Gently poke the egg with a fork. If it feels firm, you've achieved egg-cellence! If it's still a bit soft, pop it back in the rice cooker for another minute or two.
(Part 7) Serving and Savoring: Time to Enjoy!
Congratulations! You've cooked the perfect egg. Now, it's time to indulge in your creation.
Topping Ideas: Adding That Extra Zing
Get creative with your toppings! Some of my personal favorites include chopped avocado, a sprinkle of chili flakes for a bit of heat, or a dollop of sour cream for a touch of richness.
Pairing Suggestions: Breakfast Harmony
Eggs pair beautifully with a variety of breakfast items. Toast, bagels, muffins, even a bowl of fruit - the possibilities are endless!
(Part 8) Tips and Tricks: Expert Insights
Over the years, I've learned a few tricks of the trade when it comes to rice cooker egg cooking. Here are some insights to elevate your game.
The Small Bowl Trick: Protecting Your Yolk
For extra yolk protection, use a small bowl to gently lower the yolk into the rice cooker. This minimizes the risk of a yolk casualty.
A Pinch of Salt: Even Cooking
Adding a pinch of salt to the water can help the eggs cook more evenly. It's a simple trick that can make a significant difference.
Experimenting with Time: Finding Your Sweet Spot
Don't be afraid to experiment with cooking time until you find the perfect level of doneness for your taste buds. Every rice cooker is slightly different, so finding that sweet spot is key.
(Part 9) Troubleshooting: When Things Go Awry
Not every egg-cooking adventure goes perfectly. Here are some common issues and solutions to keep you on track.
Overcooked Eggs: The Rubber Band Effect
If your eggs are overcooked, they'll be rubbery and dry. This is usually a result of cooking them for too long. Next time, try reducing the cooking time by a minute or two.
Eggs Sticking to the Rice Cooker: Not Enough Water
If your eggs are sticking to the rice cooker, it's likely because you didn't add enough water. Ensure you add at least an inch or two of water to the bottom of the rice cooker.
(Part 10) FAQs: Answers to Your Egg-cellent Questions
Let's answer some common questions about cooking eggs in your Dash rice cooker.
Can I Cook Multiple Eggs in My Rice Cooker?
Absolutely! Just make sure to leave enough space between the eggs so that they can cook evenly.
Can I Cook Other Things in My Rice Cooker Besides Eggs?
Absolutely! Your Dash rice cooker is a versatile appliance. You can steam vegetables, make porridge, even bake a cake.
What if My Rice Cooker Doesn't Have a Steamer Setting?
Don't worry! You can still cook eggs in your rice cooker. Use the "Cook" setting and set the timer for the desired cooking time.
What Kind of Eggs Are Best for Rice Cooker Cooking?
Medium-sized eggs are ideal, but you can use large eggs if you prefer.
What Should I Do if My egg yolks Are Runny?
If your egg yolks are runny, you can cook the eggs for a few minutes longer to achieve a firmer yolk.
(Part 11) Final Thoughts: Embrace the Egg-cellence
There you have it, my comprehensive guide to cooking perfect eggs in your Dash rice cooker. Remember, it's all about a little practice and experimentation. Once you find your perfect egg-cooking technique, you'll be a breakfast hero!
Now, go forth and conquer those mornings with delicious, perfectly cooked eggs. You've got this!
(Part 12) Egg-cellent Bonus: A Guide to Cooking Times
Here's a handy table to summarize the cooking times for different levels of doneness:
| Egg Doneness | Cooking Time (minutes) |
|---|---|
| Soft-Boiled | 4-5 |
| Medium-Boiled | 6-7 |
| Hard-Boiled | 8-9 |
Happy egg-cooking!
Everyone is watching

Corn on the Cob: The Ultimate Guide to Perfectly Cooked Ears
Healthy MealsAh, corn on the cob. Just the name evokes images of sunny days, barbecues, and that sweet, juicy flavour that ...

Scallops: The Ultimate Guide to Perfect Cooking
Healthy MealsAh, scallops. Those delicate, sweet, and utterly delicious morsels of the sea. They hold a special place in my...

Spaghetti Squash: The Ultimate Guide to Cooking and Serving
Healthy MealsRemember that time you saw spaghetti squash at the supermarket, looking all bumpy and strange, and thought, "W...

Salmon Cooking Times: Perfect Guide for Every Recipe
Healthy MealsLet me tell you, cooking salmon is an art form. It's all about getting that perfect balance: juicy and tender,...

Ham Cooking Time: How Long to Bake, Smoke, or Boil a Delicious Ham
Healthy MealsAh, ham. It's a classic, isn't it? A real crowd-pleaser, especially around holidays. And when done right, it'...