Alright, let's talk chicken breasts. I know what you're thinking - boring. But hold on! These little guys can be a total game-changer if you know how to handle them. Pan-searing is my go-to method for chicken breasts. It's quick, it's easy, and it delivers a juicy, flavorful result every single time.
So, grab a notepad and let's dive into the world of pan-seared chicken breasts!
(Part 1) Choosing the Right Chicken Breast

The first step to pan-searing perfection is choosing the right chicken breast. You want one that’s plump and juicy, not dry and shriveled. Think of it like a good piece of fruit – it should feel firm, with a little bit of spring to it when you press on it.
Size Matters (Seriously)
When it comes to pan-searing, size matters. A large, thick breast takes longer to cook through, leading to an uneven cooking experience and, unfortunately, a dry, overcooked mess. My advice? Opt for thinner, smaller breasts, or if you're working with thicker ones, slice them in half horizontally to create two even pieces.
Skin On or Skin Off?
I'm a firm believer in the skin-on chicken breast. The skin adds a layer of flavor and helps keep the meat moist during cooking. It also crisps up beautifully, creating a delicious textural contrast. But hey, if you're watching your fat intake, feel free to remove the skin before cooking. Just be prepared that the meat might dry out a little faster.
(Part 2) The Prep Work

Before you even think about hitting the pan, you need to get your chicken prepped. It’s all about setting yourself up for success!
Pat It Dry
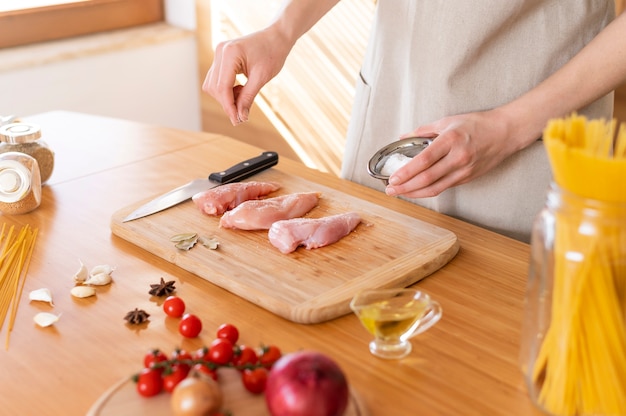
This might seem obvious, but it's essential! Excess moisture on the chicken can cause steam instead of a nice, crispy sear. So, grab some paper towels and pat your chicken breasts dry. Make sure they’re completely dry before you move on to the next step.
Seasoning Secrets
Now for the fun part – seasoning! This is where you can truly get creative, but I always keep a few staples on hand:
Salt and Pepper: The absolute basics, but don't underestimate their power! You want to season generously, ensuring the salt and pepper penetrate the chicken.
Paprika: Adds a beautiful color and a subtle sweetness, with a touch of smokiness.
Garlic Powder: Infuses the chicken with an irresistible aroma.
Onion Powder: Adds depth and complexity to the flavor profile.
Other Options
Don’t be afraid to experiment! Other herbs and spices that work beautifully with chicken include:
Thyme: Earthy and aromatic, complements chicken wonderfully.
Rosemary: Adds a slightly peppery, pine-like flavor.
Oregano: A classic pairing with chicken, offers a slightly bitter note.
Cayenne Pepper: For a touch of heat, use a pinch for a subtle kick.
(Part 3) The Pan-Searing Process

Alright, let's get cooking! This is where the magic happens.
The Right Pan
For pan-searing, you need a heavy-bottomed pan that can distribute heat evenly. Cast iron is a classic choice, but a good quality stainless steel pan will also do the trick.
Heating Up
Before adding your chicken, heat your pan over medium-high heat. You want it hot, but not smoking. You can test it by adding a few drops of water. If they sizzle and evaporate quickly, you're good to go!
Adding the Chicken
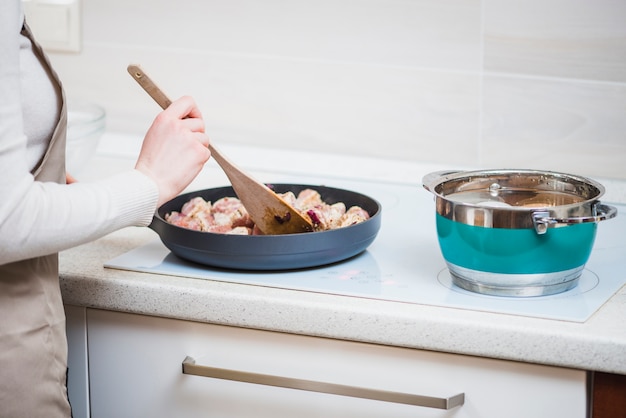
Now, gently place your seasoned chicken breasts in the hot pan. Don't overcrowd the pan – it's best to cook them in batches if necessary. If you add too much chicken, it won't sear properly and will likely steam instead.
Don't Touch!
This is crucial: resist the urge to move the chicken around! Let it develop a nice crust on the first side, which should take about 3-4 minutes, depending on the thickness of the breast. It’s all about patience.
(Part 4) The Flip Side
Once that side is golden brown and beautifully seared, you're ready to flip. You'll know it's ready when you can easily lift the chicken from the pan without it sticking.
Reduce the Heat
After flipping, reduce the heat to medium-low. This will help the chicken cook through evenly without drying out.
Cook to Perfection
Cook the chicken for another 3-4 minutes on the second side.
Check for Doneness
The best way to check for doneness is to use a meat thermometer. The internal temperature should reach 165°F (74°C). If you don't have a thermometer, you can cut into the thickest part of the chicken. The juices should run clear, and the meat should be white throughout.
(Part 5) Resting Time
Don't just dive right into eating! Give your chicken a few minutes to rest. This allows the juices to redistribute, ensuring a moist and flavorful result.
Cover It Up
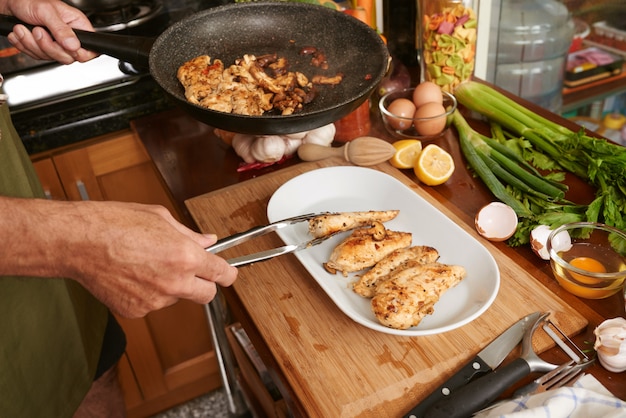
Transfer the cooked chicken to a cutting board and cover it loosely with aluminum foil. Let it rest for about 5-10 minutes before slicing and serving.
(Part 6) Delicious side dishes
Pan-seared chicken breasts are incredibly versatile. They pair perfectly with so many delicious side dishes.
Vegetable Power
Roasted Vegetables: Asparagus, broccoli, Brussels sprouts, carrots, or even potatoes – the possibilities are endless! Roasting vegetables brings out their natural sweetness and creates a lovely caramelized texture.
Sautéed Greens: Spinach, kale, or a simple side salad provide a light and refreshing contrast to the richer chicken.
mashed potatoes: Creamy and comforting, mashed potatoes are always a crowd-pleaser.
Carb Combos
Rice: Basmati, brown rice, or wild rice – a healthy and satisfying choice.
Couscous: Quick, fluffy, and incredibly versatile.
Pasta: A classic pairing with a creamy sauce, like Alfredo or a pesto.
Beyond the Basics
fruit salad: A refreshing and light side dish, especially in the summer.
Bread: A crusty loaf for dipping into flavorful sauces.
(Part 7) Sauce It Up
A little sauce can take your pan-seared chicken breasts to the next level.
Lemon-Herb Sauce
Combine olive oil, lemon juice, fresh herbs (like parsley, thyme, or oregano), salt, and pepper.
Drizzle over the cooked chicken. This simple sauce adds a bright and zesty flavor.
Creamy Garlic Sauce
Saute?? minced garlic in olive oil.
Add heavy cream and simmer until thickened.
Season with salt, pepper, and a pinch of nutmeg.
Spoon over the chicken. This sauce provides a rich and creamy base that is incredibly versatile.
Honey-Soy Glaze
Whisk together soy sauce, honey, ginger, and garlic.
Pour over the chicken during the last few minutes of cooking. This glaze creates a sticky and flavorful coating that adds a touch of sweetness.
(Part 8) Leftover Love
Pan-seared chicken breasts are a meal prep dream! You can easily make a big batch on the weekend and enjoy delicious leftovers throughout the week.
Store It Right
Once the chicken is fully cooled, transfer it to an airtight container and store in the refrigerator for up to 3 days.
Reheat with Care
You can reheat your chicken in the oven, microwave, or even on the stovetop. But be careful not to overcook it! Aim for a gentle, even reheat.
(Part 9) Beyond the Basics: Mastering the Techniques
Let's take your pan-searing skills to the next level with some advanced techniques.
The Power of Brining
brining chicken breasts before cooking is a game-changer for achieving juicy and flavorful results. Simply soak them in a salt water solution for a few hours. This method helps to retain moisture and tenderize the meat.
The Art of Pan-Frying
For a crispy, golden brown crust, pan-fry your chicken breasts in a small amount of oil. It's a quicker cooking method that delivers exceptional results.
Chicken Breast Variations
Explore different flavors by adding herbs, spices, or citrus zest to your chicken breasts before pan-searing. Experiment with lemon-pepper chicken, rosemary chicken, or even a spicy paprika rub.
(Part 10) FAQs
What happens if my chicken breast is still pink in the middle?
Don't panic! It's a common misconception that chicken needs to be cooked all the way through to a solid white color. As long as the internal temperature has reached 165°F (74°C), it's safe to eat. You might just have a slightly pink hue in the center.
Can I pan-sear frozen chicken breasts?
Technically you can, but it's not ideal. The chicken will take longer to cook and won't get that nice sear. It's best to defrost your chicken completely before cooking.
What's the secret to getting a crispy crust?
Hot pan, high heat, and avoid overcrowding! Make sure your pan is screaming hot before adding the chicken and give it space to sear properly.
Can I use butter instead of oil for pan-searing?
Absolutely! Butter adds a fantastic flavor and richness. Just be careful not to let it burn.
How do I prevent my chicken breast from drying out?
The key is to avoid overcooking. Use a meat thermometer to ensure the internal temperature reaches 165°F (74°C) without going any higher. Rest the chicken for 5-10 minutes after cooking to allow the juices to redistribute.
Remember, everyone has their go-to recipe. Mine? Pan-seared chicken breast with a lemon-herb sauce, served over a bed of roasted vegetables. It's simple, it's delicious, and it's a real crowd-pleaser. And who knows, maybe you'll discover your own favourite pan-searing masterpiece along the way!
Everyone is watching

Corn on the Cob: The Ultimate Guide to Perfectly Cooked Ears
Healthy MealsAh, corn on the cob. Just the name evokes images of sunny days, barbecues, and that sweet, juicy flavour that ...

Perfect Pork Roast Oven Cooking Time: A Guide to Delicious Results
Healthy MealsThere's something truly satisfying about a perfectly roasted pork. The aroma alone is enough to make your mout...

Ham Cooking Time: How Long to Bake, Smoke, or Boil a Delicious Ham
Healthy MealsAh, ham. It's a classic, isn't it? A real crowd-pleaser, especially around holidays. And when done right, it'...

Scallops: The Ultimate Guide to Perfect Cooking
Healthy MealsAh, scallops. Those delicate, sweet, and utterly delicious morsels of the sea. They hold a special place in my...

Spaghetti Squash: The Ultimate Guide to Cooking and Serving
Healthy MealsRemember that time you saw spaghetti squash at the supermarket, looking all bumpy and strange, and thought, "W...
