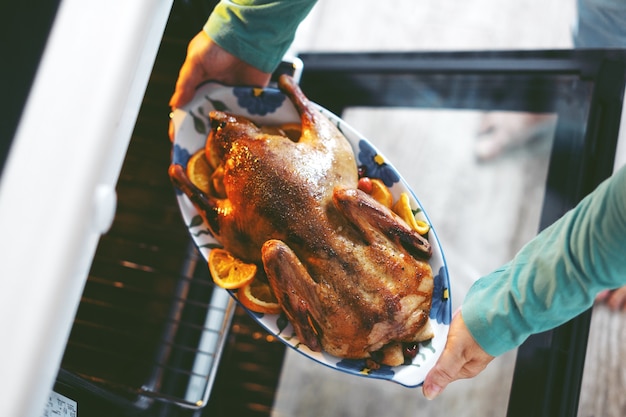
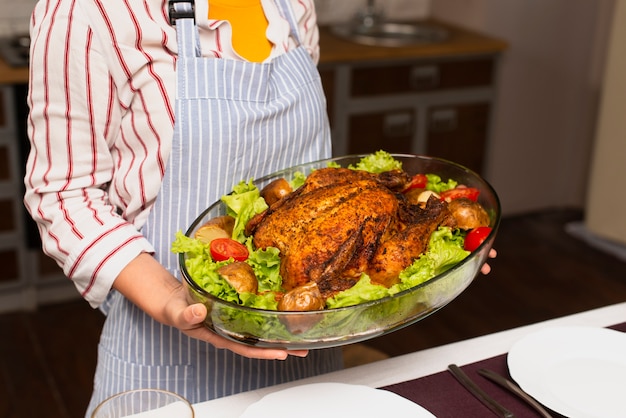
The aroma of a slow-cooked chuck roast fills my kitchen with a sense of warmth and comfort. It's a dish that evokes memories of family dinners and cozy evenings spent around the table. But let's be honest, even the most seasoned cooks can find themselves intimidated by the thought of roasting a chuck roast. How long do I cook it? What temperature is best? Will it be dry or tough?
Well, my friends, fear not! After years of trial and error, I've learned the secrets to perfectly roasted chuck roast. It's not as complicated as it seems. With a little patience and the right technique, you can transform this humble cut of beef into a truly spectacular meal. Get ready to experience fork-tender, melt-in-your-mouth goodness, the kind that makes you sigh with contentment.
(Part 1) Why Choose Chuck Roast?
Now, you might be wondering, why chuck roast? It's not the most glamorous cut of beef, but it's a real gem for home cooks. It's incredibly affordable and packs a punch of flavour. The reason for its robust taste and tender potential? It's all in the marbling and connective tissue.
A Cut of Character: The Story of Chuck Roast
Chuck roast comes from the shoulder area of the cow, a part that gets a lot of exercise. This means the muscles in this area are packed with connective tissue, which gives chuck roast its characteristic chewiness. But, here's the magic: when cooked slowly, the connective tissue transforms into gelatin, creating that incredibly tender texture we crave.
Marbling: The Secret to Juiciness
Chuck roast is also known for its marbling, those little streaks of intramuscular fat that run throughout the meat. These tiny pockets of flavour melt during cooking, adding juiciness and richness to every bite. Think of it as a natural, built-in flavour enhancer.
(Part 2) Understanding Cooking Times: Navigating the Roast
Okay, now let's get down to the nitty-gritty: cooking times. This can be a bit tricky, but I'm here to break it down for you. The key is to remember that the size and thickness of your chuck roast will significantly affect how long it takes to cook. There's no one-size-fits-all answer.
A General Guideline for Success
Here's a handy guide to give you a starting point:
| Roast Size | Cooking Time (at 325°F/165°C) |
|---|---|
| 3-4 lbs | 2.5 - 3 hours |
| 4-5 lbs | 3 - 3.5 hours |
| 5-6 lbs | 3.5 - 4 hours |
Remember, this is a guideline. Your specific roast might need a little more or less time. This is where your trusty meat thermometer comes in.
The Importance of Doneness: Reaching the Perfect Temperature
Doneness is crucial when it comes to beef. We want to ensure our roast is cooked to a safe internal temperature and avoid any unwanted pinkness. A meat thermometer is your best friend in this process!
For medium-rare, aim for an internal temperature of 145°F (63°C). Personally, I prefer medium, which is 160°F (71°C).
(Part 3) The Art of Seasoning: Elevating the Flavor
Now, let's get those taste buds tingling! Seasoning is where you can really make your chuck roast sing. It's all about creating a symphony of flavors that complement the natural richness of the beef.
My Go-To Seasoning Blend: Simple Yet Effective
I'm a firm believer in keeping things simple. My go-to seasoning blend is a classic combination of salt, pepper, and garlic powder. It's a winning formula that always delivers.
- 1 tablespoon kosher salt
- 1 teaspoon black pepper
- 1 teaspoon garlic powder
- 1 teaspoon onion powder (optional)
- 1 teaspoon dried thyme (optional)
This blend adds a lovely depth of flavour, but feel free to experiment! Add a touch of paprika, oregano, or even a pinch of cayenne pepper for a kick.
(Part 4) The Secret to Tenderness: Searing for Success
This is a critical step. Searing your chuck roast before roasting is a little magic trick that elevates the flavour and texture. It's like a flavour hug for your beef.
The Searing Technique: Creating a Flavorful Crust
Grab a large cast iron skillet or oven-safe dutch oven and crank up the heat to medium-high. Pour in a generous amount of oil and let it get nice and hot. You'll know it's ready when the oil shimmers.
Carefully add your seasoned roast to the hot pan and sear for about 3-5 minutes per side. You're aiming for a beautiful golden-brown crust that will lock in those precious juices. Don't forget to sear the ends too!
Why Searing Matters
The searing process not only adds flavor, but it also creates a protective barrier that helps keep the roast juicy during the roasting process. Think of it as a little armor for your beef, keeping those delicious juices where they belong.
(Part 5) roasting time: The Perfect Oven Environment
We're almost there! It's time to let the oven work its magic. We want to create a slow and steady environment for our chuck roast to transform into a culinary masterpiece.
The Ideal Oven Temperature: Gentle Heat for Tenderness
My go-to temperature for roasting chuck roast is 325°F (165°C). This gentle heat allows the connective tissue to break down and the fat to render beautifully, resulting in that incredibly tender and flavourful texture we crave.
Oven Placement: Even Heating for Consistent Results
Position your roast on the middle rack of your oven. This ensures even heat distribution and prevents the roast from over-browning on the bottom.
(Part 6) Adding Moisture: The Power of Liquids
Now, for a touch of culinary alchemy. We're going to add some liquid to the bottom of the roasting pan. This creates a steamy environment that helps keep the roast moist and tender.
My Favourite Liquid Options: Flavorful Options
I love using a combination of beef broth and red wine for added depth of flavor. It's a classic pairing that complements the beef perfectly. But, don't be afraid to get creative!
- chicken broth
- Water
- Red wine
- Beer
- Apple cider
Choose a liquid that speaks to your tastebuds and enhances the overall flavour profile of your dish.
The Right Amount of Liquid: A Shallow Pool
Pour enough liquid into the bottom of your roasting pan to create a shallow pool, about 1/2 inch deep. This will be enough to create steam without drowning the roast.
(Part 7) The Art of Patience: Resting Time
We're in the home stretch! After the roast has reached your desired doneness, resist the urge to carve it right away. Let it rest for at least 15 minutes before carving. This is a crucial step in achieving that melt-in-your-mouth texture.
The Importance of Resting: Redistributing Juices
Think of resting as a little timeout for your beef. During this time, the heat trapped inside the roast continues to cook it, and the juices have a chance to redistribute throughout the meat. This is how we achieve that tender, succulent result.
The Right Way to Rest: Keeping It Warm and Juicy
Transfer your roasted chuck roast to a cutting board and cover it loosely with foil. This keeps the roast warm and prevents it from drying out. While it's resting, you can prepare your sides or make a delicious gravy from the pan juices.
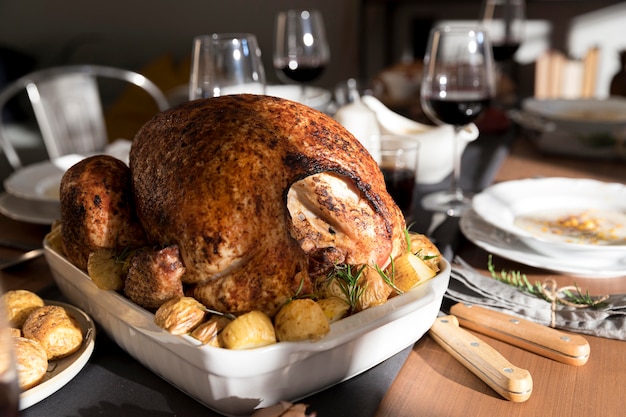
(Part 8) Carving and Serving: The Grand Finale
It's time for the grand finale! We're about to savor the fruits of our labor.
Carving Tips: Slicing Against the Grain
Use a sharp carving knife to slice the roast against the grain. This will create tender, bite-sized pieces that are easier to chew and enjoy.
Serving Suggestions: Complementary Sides
I love to serve my roasted chuck roast with creamy mashed potatoes, rich gravy, roasted vegetables, and a simple green salad. But, feel free to get creative and choose your favorite sides to create a symphony of flavours.
(Part 9) FAQs
1. What if my chuck roast is too big?
No problem! You can easily cut a larger chuck roast in half and roast each half separately. Just make sure to adjust the cooking time accordingly. You might need to add a little extra time for each half, depending on their size.
2. Can I cook a chuck roast in a slow cooker?
Absolutely! Slow cookers are a fantastic way to cook chuck roast. Simply brown the roast in a skillet and transfer it to your slow cooker with your chosen liquids and seasonings. Cook on low for 6-8 hours or on high for 4-6 hours.
3. What if my chuck roast is not well-marbled?
If you have a less marbled chuck roast, don't fret! You can compensate by adding a little extra fat to the roasting pan. For example, you can add a few tablespoons of butter or bacon fat to the pan before roasting. This will help keep the roast juicy and flavorful.
4. How do I make gravy from the pan juices?
Once you've removed the roast from the pan, pour the pan juices into a saucepan. Skim off any excess fat and bring the juices to a simmer. Add a tablespoon of cornstarch or flour, whisking constantly until the gravy thickens. Season to taste and serve hot over your roast and sides.
5. Can I freeze leftover chuck roast?
Yes, you can freeze leftover chuck roast. Simply wrap it tightly in plastic wrap and then in aluminum foil. Freeze for up to 3 months. Thaw overnight in the refrigerator before reheating.
Everyone is watching

Corn on the Cob: The Ultimate Guide to Perfectly Cooked Ears
Healthy MealsAh, corn on the cob. Just the name evokes images of sunny days, barbecues, and that sweet, juicy flavour that ...

Perfect Pork Roast Oven Cooking Time: A Guide to Delicious Results
Healthy MealsThere's something truly satisfying about a perfectly roasted pork. The aroma alone is enough to make your mout...

Ham Cooking Time: How Long to Bake, Smoke, or Boil a Delicious Ham
Healthy MealsAh, ham. It's a classic, isn't it? A real crowd-pleaser, especially around holidays. And when done right, it'...

Scallops: The Ultimate Guide to Perfect Cooking
Healthy MealsAh, scallops. Those delicate, sweet, and utterly delicious morsels of the sea. They hold a special place in my...

Spaghetti Squash: The Ultimate Guide to Cooking and Serving
Healthy MealsRemember that time you saw spaghetti squash at the supermarket, looking all bumpy and strange, and thought, "W...