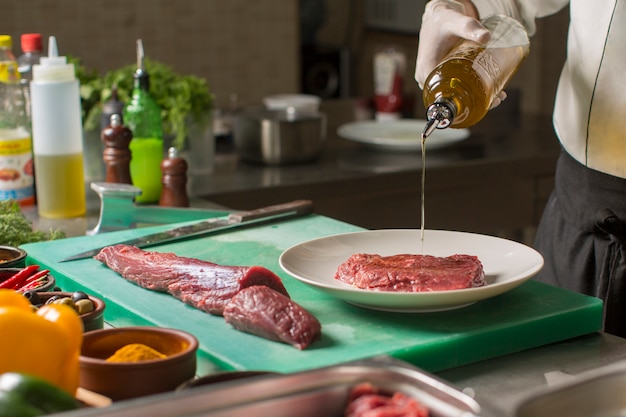
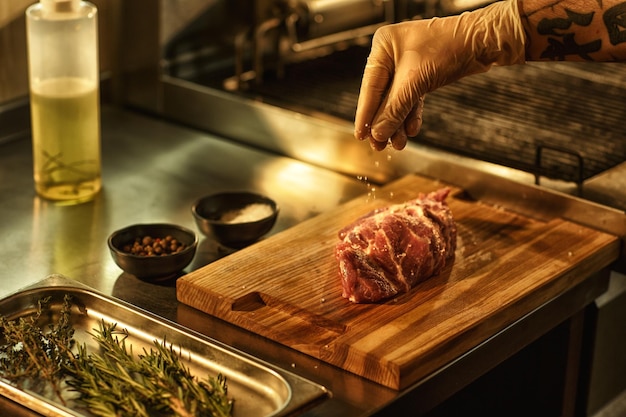
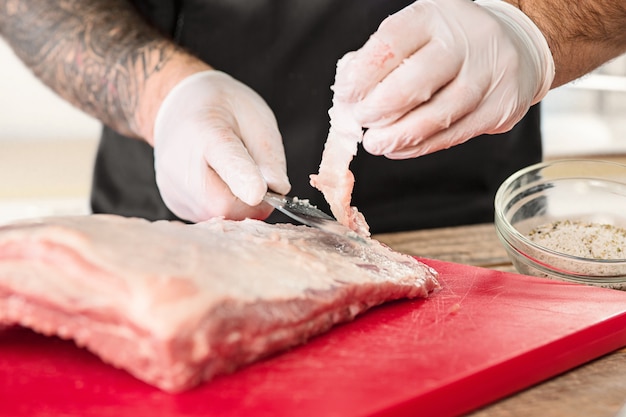
There’s something about a perfectly cooked new york strip steak that just makes my heart sing. Maybe it’s the juicy, tender texture, the rich, savory flavor, or the way it practically melts in your mouth. I’ve been obsessed with this cut of meat for years, trying out different techniques, experimenting with seasonings, and basically making a career out of perfecting that crispy exterior and melt-in-your-mouth interior. And I’m not just talking about grilling it – I’m talking about pan-searing, oven-roasting, you name it! Now, I’m ready to share my secrets with you, from choosing the right steak to nailing the perfect sear, so you can become a master steak chef in your own kitchen.
(Part 1) Choosing the Right Steak: A Butcher’s Tale

First things first, you need to find a decent steak. And by decent, I mean a steak that sings with quality. Now, you can head to the supermarket, but I personally prefer the butcher’s shop. There’s a personal touch, a sense of tradition, and you get to pick out the very best cuts. Plus, they’ll often give you great tips and advice!
The Look and Feel
When I’m choosing a New York strip, I’m looking for a certain kind of beauty. Here’s what I keep an eye out for:
- Colour: A good New York strip should have a deep, rich red color, almost purplish, with a nice marbling of fat. That fat, my friends, is what makes the steak juicy, tender, and full of flavor. Don’t be shy about asking the butcher for a steak with good marbling. It’s worth it!
- Texture: The surface should be firm and springy, like a well-toned muscle. You shouldn't see any signs of mushiness or slime. It’s also a good idea to check for any blemishes or discoloration. A little bit of trimming is fine, but anything too extensive is a sign that the steak might not be as fresh as it could be.
- Thickness: Ideally, you want a steak that’s at least 1-inch thick. This ensures a good sear and allows the steak to cook evenly, without drying out.
Grading: The USDA System
Let’s get a little bit technical for a moment. The USDA grading system for beef is based on the amount of marbling in the meat. The highest grade is Prime, followed by Choice, Select, and Standard. For your New York strip, you’ll want to aim for either Prime or Choice. You’ll taste the difference, I promise!
(Part 2) The Pre-Game: Preparing Your Steak for Success

Now that you’ve got your masterpiece, let’s prep it for the spotlight! This is where a bit of love and attention goes a long way.
Pat It Dry: The Secret to a Crisp Sear
First things first, pat the steak dry with paper towels. You want to remove any excess moisture, because it can steam the steak instead of letting it sear properly. This little detail is key to achieving that perfect crust, the one that makes you say “ooh la la”!
Salt and Pepper: A Flavorful Symphony
Now, let’s get the seasoning game strong. I like to season my steak liberally with kosher salt and freshly ground black pepper about 30 minutes before cooking. This gives the salt time to penetrate the meat and draw out moisture, resulting in a more flavorful and tender steak. And don’t be afraid to experiment with other spices! I also like to add a pinch of garlic powder and onion powder for an extra boost of flavor.
Let It Rest: A Moment of Zen
After seasoning, it’s time to let the steak chill out. I pop it in the fridge for at least 30 minutes, but you can leave it longer if you want. This gives the seasoning time to work its magic and allows the meat to come to room temperature before cooking. This will help the steak cook more evenly. Don’t skip this step; it’s worth it!
(Part 3) mastering the sear: The Art of Controlled Fire

Okay, here’s where the magic happens. The perfect sear is all about precision, heat, and a touch of flair. It’s the key to that beautiful, crispy crust that makes your steak sing with flavor.
Hot, Hot, Hot: The Essentials of a Sizzling Success
We’re talking scorching hot, my friends! Preheat your grill, pan, or oven to high heat. If you’re using a grill, aim for medium-high heat. For a pan, get it nice and smoking. The goal is to get that steak sizzling as soon as it hits the surface. Trust me, the sizzle is a good thing!
Sizzle Time: Let the Steak Do Its Thing
Now, it’s showtime! Place the steak on your preheated surface, ensuring it’s nice and flat. Don’t touch it for at least 3-4 minutes, unless you want to risk disturbing the sear. It takes time for that crust to form, and trust me, you’ll be rewarded with a beautiful, crispy surface that’s irresistible!
Flip It: The Second Half of the Equation
After about 3-4 minutes, flip the steak over. Repeat the process on the other side, making sure to get a good sear on both sides. Again, patience is key. Resist the urge to flip it too early. You want that beautiful caramelization and that lovely golden-brown colour.
(Part 4) Cooking to Perfection: Knowing Your Steak's Doneness
Okay, so you’ve nailed the sear, but you’re not done yet! Now, we need to cook the steak to your desired level of doneness.
Doneness Chart: A Guide to steak perfection
This is where knowing your steak game comes into play. We’re going to use a handy chart to figure out the perfect internal temperature:
| Level of Doneness | Internal Temperature (°F) | Internal Temperature (°C) |
|---|---|---|
| Rare | 125-130 | 52-54 |
| Medium-Rare | 130-135 | 54-57 |
| Medium | 140-145 | 60-63 |
| Medium-Well | 150-155 | 65-68 |
| Well-Done | 160 | 71 |
How to Check the Temperature: The meat thermometer
You can use a meat thermometer to check the internal temperature of the steak. Insert the thermometer into the thickest part of the steak, making sure it doesn’t touch any bone. Once it reaches the desired temperature, it’s time to rest!
(Part 5) The Rest Is Golden: Allowing the Juices to Redistribute
Now, this is the part where patience pays off. Let that steak rest! A well-rested steak will be more tender and juicy, trust me. It’s all about letting those juices redistribute and rehydrate the meat.
How Long to Rest: Patience is a Virtue
A good rule of thumb is to rest the steak for 5-10 minutes before slicing and serving. This allows the juices to redistribute evenly throughout the steak, resulting in a more flavorful and tender bite. I usually cover the steak loosely with foil to keep it warm.
(Part 6) The Finishing Touches: Sauces and Sides
You’ve cooked the perfect steak, it’s resting, and now it’s time to think about those finishing touches! This is where you can get creative and personalize your meal.
Sauces: Elevating the Steak to New Heights
A good sauce can elevate your steak to a whole new level. Here are a few ideas to get you started:
- Classic Béarnaise: A rich and creamy sauce that pairs perfectly with the richness of the steak. It’s a classic for a reason!
- Peppercorn Sauce: A simple but flavorful sauce made with black peppercorns, butter, and cream. The peppery kick complements the steak beautifully.
- Red Wine Sauce: A robust and flavorful sauce made with red wine, onions, and herbs. It’s a great choice for a steak that’s been cooked to a medium or well-done level.
- Mushroom Sauce: A decadent and earthy sauce made with mushrooms, butter, and cream. The mushrooms add a lovely depth of flavor to the steak.
Sides: Complementary Delights
Now, let’s talk about the perfect side dishes to compliment your masterpiece:
- Roasted Vegetables: Asparagus, Brussels sprouts, or broccoli florets roasted in olive oil and seasoned with salt and pepper. They add a touch of freshness and sweetness to the meal.
- Creamy mashed potatoes: The classic comfort food pairing. Creamy, buttery, and delicious, they’re a perfect complement to the richness of the steak.
- Garlic Bread: A simple and satisfying side that complements the steak perfectly. The garlicky aroma and crispy texture make it a winning choice.
- Macaroni and Cheese: The ultimate comfort food side. Rich, cheesy, and decadent, it’s a crowd-pleaser that pairs well with the steak.
(Part 7) Steak Night Inspiration: Recipes and Ideas
Let’s get some inspiration flowing! Here are a few recipe ideas to get you started.
Garlic Butter Steak with Roasted Vegetables: A Symphony of Flavors
This recipe combines the classic flavors of garlic and butter with the freshness of roasted vegetables. It's a simple yet elegant meal that’s sure to impress.
- Preheat your oven to 400 degrees F (200 degrees C).
- Season the steak with salt, pepper, garlic powder, and onion powder.
- In a small bowl, combine 1/4 cup butter, 2 cloves garlic minced, and a pinch of parsley.
- Sear the steak in a hot pan for 3-4 minutes per side, then transfer it to the oven to finish cooking to your desired doneness.
- While the steak is cooking, roast your vegetables (such as asparagus, Brussels sprouts, or broccoli) in olive oil, salt, and pepper.
- Once the steak is cooked, remove it from the oven and let it rest for 5-10 minutes before slicing.
- Top the steak with the garlic butter mixture and serve it with the roasted vegetables.
New York Strip Steak with Béarnaise Sauce and Creamed Spinach: A Decadent Feast
This recipe combines the rich flavors of béarnaise sauce with the creamy goodness of creamed spinach for a truly decadent meal. It's a perfect choice for a special occasion or a romantic dinner.
- Season the steak with salt, pepper, garlic powder, and onion powder.
- Sear the steak in a hot pan for 3-4 minutes per side, then transfer it to the oven to finish cooking to your desired doneness.
- While the steak is cooking, prepare your béarnaise sauce and creamed spinach.
- Once the steak is cooked, remove it from the oven and let it rest for 5-10 minutes before slicing.
- Serve the steak with the béarnaise sauce and creamed spinach.
(Part 8) FAQs: Your Steak Questions Answered
Let’s face it, everyone has steak questions, even seasoned cooks. Here are some of the most common ones and my answers:
1. How do I tell if my steak is cooked to the right level of doneness?
There are two main ways to check:
- The Touch Method: This is a bit trickier, but with practice, you can get a good feel for it. Press the steak with your finger. A rare steak will feel soft and spongy, a medium-rare steak will feel slightly firm, a medium steak will feel firmer, and a well-done steak will feel solid and tough.
- Meat Thermometer: The most accurate method. Use a meat thermometer to check the internal temperature of the steak. You can find a chart with recommended temperatures in the “Cooking to Perfection” section of this guide.
2. What if I overcook my steak?
It happens to the best of us, but don’t despair. A slightly overcooked steak is still edible. You can try to salvage it by slicing it thinly and serving it with a flavorful sauce or topping it with melted cheese.
3. Can I use a cheaper cut of steak?
While New York strip is the ideal cut, you can try other cuts of steak, such as ribeye or flank steak. Just be aware that they may have a different flavor and texture. If you choose a cheaper cut, consider marinating it to add flavor and tenderness.
4. How long can I keep a steak in the fridge before cooking it?
Ideally, you should cook a steak within a day or two of buying it. However, if you need to store it longer, it’s safe to keep it in the fridge for up to 5 days. Just be sure to wrap it tightly in plastic wrap or aluminum foil.
5. Can I freeze a steak?
Yes, you can freeze a steak for up to 3-4 months. To freeze a steak, wrap it tightly in plastic wrap and then place it in a freezer-safe bag. Thaw it in the refrigerator overnight before cooking.
That’s it, my friends! I hope this guide has inspired you to take on the challenge of cooking the perfect new york strip steak. It’s a journey that takes practice, but it’s one that’s definitely worth it. Now go forth and conquer!
Everyone is watching

Corn on the Cob: The Ultimate Guide to Perfectly Cooked Ears
Healthy MealsAh, corn on the cob. Just the name evokes images of sunny days, barbecues, and that sweet, juicy flavour that ...

Perfect Pork Roast Oven Cooking Time: A Guide to Delicious Results
Healthy MealsThere's something truly satisfying about a perfectly roasted pork. The aroma alone is enough to make your mout...

Ham Cooking Time: How Long to Bake, Smoke, or Boil a Delicious Ham
Healthy MealsAh, ham. It's a classic, isn't it? A real crowd-pleaser, especially around holidays. And when done right, it'...

Scallops: The Ultimate Guide to Perfect Cooking
Healthy MealsAh, scallops. Those delicate, sweet, and utterly delicious morsels of the sea. They hold a special place in my...

Spaghetti Squash: The Ultimate Guide to Cooking and Serving
Healthy MealsRemember that time you saw spaghetti squash at the supermarket, looking all bumpy and strange, and thought, "W...
