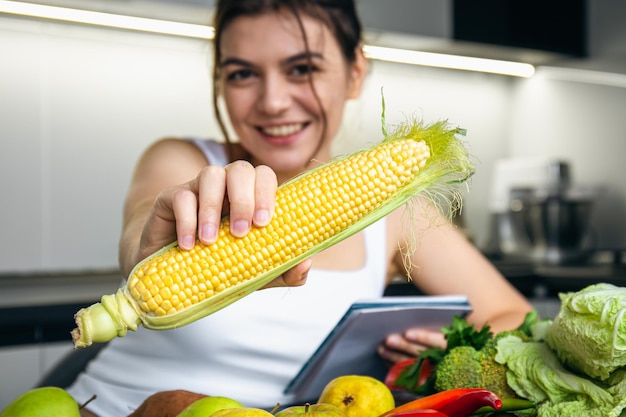
corn on the cob – a summer staple! It’s hard to resist the sweet, juicy kernels bursting with flavor. But sometimes, you just don't have the time or the inclination for a BBQ. That's where the humble microwave comes in, a true lifesaver for those craving a taste of summer, no matter the weather.
I've been a fan of microwaving corn on the cob for years, and trust me, there’s a bit more to it than just popping it in for a couple of minutes. From getting the perfect cooking time to little tricks that elevate your corn to another level, I’m going to share all my secrets with you. Ready to get started? Let's get cooking!
Part 1: Choosing the Right Corn
The Importance of Freshness
You've gotta start with good corn! Nothing beats fresh corn straight from a farm or local market. The flavor and texture are just incredible, and the sweetness is unparalleled. I remember those summer days at my aunt’s house in the countryside, where her garden overflowed with juicy corn. But even if you're buying from a supermarket, there are a few key things to look out for.
Signs of Freshness
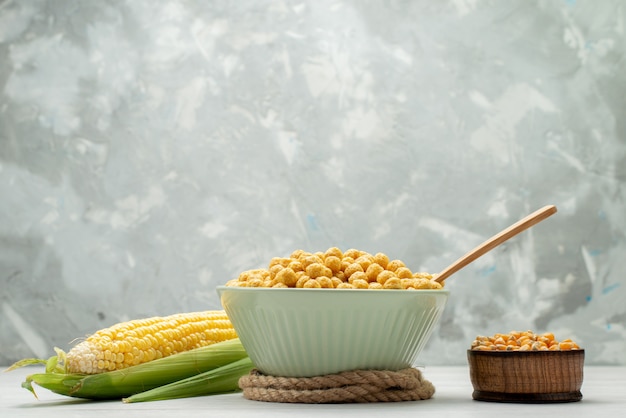
A fresh cob of corn should have vibrant, green husks that are tightly wrapped around the cob, feeling firm to the touch. Avoid any corn with wilted, dry, or brown husks. The silk, those delicate threads, should be moist and golden in color. And don't be afraid to give the corn a gentle squeeze. It should feel firm and springy, not mushy or soft.
Part 2: Preparing the Corn
Removing the Husks and Silk
Now that you've got your perfect corn, let's get it ready. I usually do this under running water to wash away any dirt or debris. Grab the bottom of the husk and gently pull it back, peeling it off the cob. The silk should come off with the husk, but if there are any stubborn bits left, use your fingers to pluck them away.
Adding Moisture: The Secret to Success
Here's where the real trick lies – you need to add moisture before microwaving! This helps to steam the corn, preventing it from drying out and ensuring a juicy, tender result. My go-to method is wrapping the corn in a damp paper towel. Simply soak a paper towel in cold water, wring out the excess, and wrap it tightly around the cob. You can also use a damp cloth or a few wet leaves, if you’re feeling creative.
Part 3: Microwaving the Corn
Choosing the Right Microwave Power
Now, get your microwave ready! The cooking time depends on the size of the cob and the wattage of your microwave. As a general rule of thumb, microwave a medium-sized cob on high power for 2 to 3 minutes. But, it’s always good to adjust the time based on your microwave. I usually start with 2 minutes, then check the corn every 30 seconds.
Rotating the Corn: A Crucial Step
This is a crucial tip! Rotate the corn halfway through the cooking time. This ensures that it cooks evenly on all sides. I’ve learned the hard way that forgetting to rotate can lead to overcooked areas and raw spots. It's a bit of a pain to do, but trust me, it's worth it for perfectly cooked corn.
Part 4: Checking for Doneness
Signs of Perfectly Cooked Corn
So, you've microwaved your corn. How do you know if it's ready? Look for these signs:
- The husks will be warm to the touch.
- The kernels will be plump and slightly translucent, with a slightly glossy appearance.
- Gently pressing on the kernels should make them release easily from the cob.
Don't Overcook!
If your corn isn't quite done, microwave it for another 30 seconds. But be careful not to overcook it! Overcooked corn becomes dry, tough, and loses its delicious flavor. If the kernels start to shrivel, it's probably overdone.
Part 5: Serving the Corn
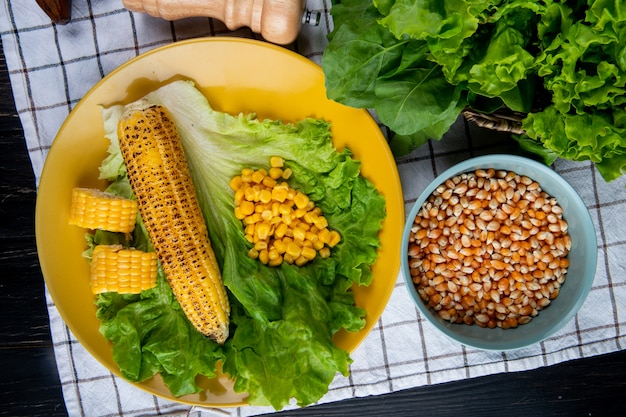
Adding Flavor with Butter and Salt
Now that your corn is cooked, let's add some flavor! I always start with a generous dollop of butter and a sprinkle of salt. This enhances the corn’s natural sweetness and adds a delicious richness. Some people like to add other seasonings like garlic powder, paprika, or even a pinch of chili powder. But honestly, corn on the cob is so simple and flavorful that it doesn’t need much fuss.
Choosing the Right Knife
For eating, you’ll need a good knife. I've found that a butter knife works best – sharp enough to cut through the kernels without tearing them off and wide enough to easily scoop up the corn. Be careful not to cut yourself!
Part 6: Beyond the Basics: Creative Ideas
grilled corn: A Smoky Delight
While we're talking about microwaving, let's not forget that grilling is a classic way to cook corn on the cob. If you have a BBQ, give it a try! Brush the corn with melted butter, salt, and pepper, and grill for about 10 minutes, turning occasionally. The smoky flavor adds a whole new dimension to your corn.
corn salad: A Refreshing Option
Another great way to enjoy corn is in a salad. You can simply add some cooked corn kernels to your favorite salad, or get more creative. I love a corn salad with black beans, tomatoes, cilantro, and a lime vinaigrette. It’s refreshing, flavorful, and a great way to use up leftover corn.
Corn Fritters: A Delicious Treat
If you're feeling ambitious, try corn fritters. These are like little corn pancakes, and they’re absolutely delicious! Grate some corn kernels, mix them with flour, milk, and spices, and fry them in a pan. Serve them with sour cream or salsa for a truly satisfying treat.
Part 7: Tips for Storing Corn
Storing Uncooked Corn
If you're not cooking your corn immediately, you can store it in the refrigerator for up to 3 days. Keep the husks on and place it in the crisper drawer. If you’re buying corn from a supermarket, it's best to use it within a day or two for optimal freshness.
Storing Cooked Corn
Once cooked, corn can be stored in the refrigerator for up to 3 days. Remove the husks and store it in an airtight container. You can also freeze corn for up to 3 months. To freeze, simply remove the kernels from the cob and place them in a freezer-safe bag.
Part 8: FAQs
Q: What if my corn is too small to fit in the microwave?
If your corn is too small, you can try cutting it in half. Wrap each half in a damp paper towel and microwave for a shorter time.
Q: Can I microwave corn with the husks on?
It's not recommended. The husks will get soggy and can affect the flavor. It's much better to remove the husks before microwaving.
Q: What if my corn is overcooked?
It’s tough to salvage overcooked corn, but you can try adding butter and salt to see if it helps. You can also add it to a salad or soup.
Q: Can I microwave frozen corn?
Yes, you can, but it will take longer than fresh corn. Add a little water to a microwave-safe container, and cook on high power for about 5 minutes.
Q: What are some other ways to cook corn on the cob?
You can boil it, steam it, or even roast it in the oven. Experiment and see what you like best!
Part 9: Final Thoughts
There you have it, my guide to microwaving corn on the cob! It's a quick and easy way to enjoy this delightful summer treat. Remember, fresh corn is crucial for maximum flavor. Take your time to find the best cobs, experiment with different seasonings and flavors, and most importantly, have fun with it!
Everyone is watching

Corn on the Cob: The Ultimate Guide to Perfectly Cooked Ears
Healthy MealsAh, corn on the cob. Just the name evokes images of sunny days, barbecues, and that sweet, juicy flavour that ...

Perfect Pork Roast Oven Cooking Time: A Guide to Delicious Results
Healthy MealsThere's something truly satisfying about a perfectly roasted pork. The aroma alone is enough to make your mout...

Ham Cooking Time: How Long to Bake, Smoke, or Boil a Delicious Ham
Healthy MealsAh, ham. It's a classic, isn't it? A real crowd-pleaser, especially around holidays. And when done right, it'...

Scallops: The Ultimate Guide to Perfect Cooking
Healthy MealsAh, scallops. Those delicate, sweet, and utterly delicious morsels of the sea. They hold a special place in my...

Spaghetti Squash: The Ultimate Guide to Cooking and Serving
Healthy MealsRemember that time you saw spaghetti squash at the supermarket, looking all bumpy and strange, and thought, "W...