Alright, folks, you've got your hands on a couple of cornish hens, and you're ready to turn them into a delicious feast. But hold your horses! Before you fire up the oven or whip out the grill, there's one crucial question: how long do you actually cook these little fellas for? As a seasoned cook who's roasted, braised, and even grilled my fair share of Cornish hens, let me tell you – getting the timing right is absolutely essential. You don't want to end up with dry, overcooked birds, or worse, still raw in the middle.
So, grab a comfy chair, pour yourself a cuppa, and let's dive into this comprehensive guide. We'll cover everything you need to know, from picking the perfect hen to mastering the art of cooking time, ensuring you can impress your mates with your culinary prowess.
Part 1: The Cornish Hen: A culinary gem

Let's start at the beginning. What exactly is a Cornish hen, and why is it such a popular choice? Well, picture this: a baby chicken, smaller in size than its full-grown counterparts, with a wonderfully tender and delicate flavour. That's a Cornish hen, in a nutshell. They're incredibly versatile, perfect for a quick weeknight meal or a fancy dinner party.
Choosing Your Cornish Hen: The Key to Success
First things first, you need to select a high-quality bird. Head to your local butcher or supermarket and look for hens that are plump and firm to the touch. The skin should be smooth and shiny, with a healthy glow, and there shouldn't be any off-putting smells. Think of it as a beauty pageant for chickens – you want the best of the best!
Preparing the Cornish Hen: A Quick Makeover
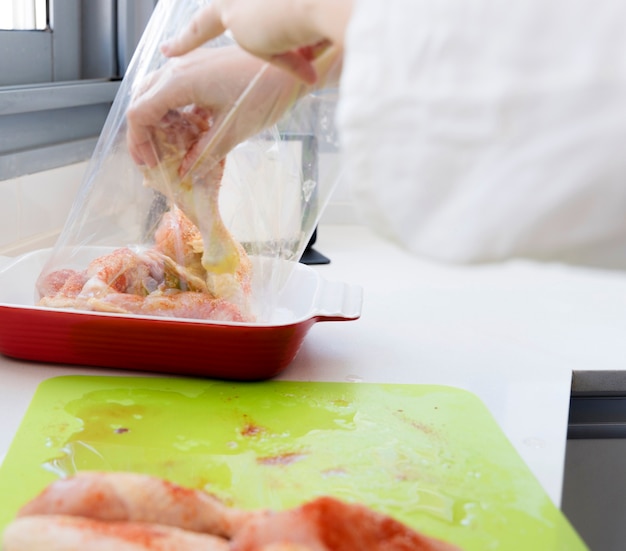
Once you've got your beauties, it's time to give them a bit of a makeover. Rinse them under cold water and pat them dry with kitchen paper. Now, this is where you can get creative. You can stuff them with a mix of herbs, butter, and lemon zest for a classic flavour boost. Personally, I love using a blend of thyme and rosemary, along with a squeeze of lemon. The aroma alone is enough to make your mouth water!
Part 2: Cooking Methods: From Oven to Grill

Now for the fun part: the cooking methods! Cornish hens can be cooked in a variety of ways, each offering a unique flavour and texture.
roast chicken, Cornish Style: A Classic for a Reason
Roasting is the classic way to cook a Cornish hen, and for good reason. It's incredibly easy and produces a beautifully golden-brown bird with a crispy skin. Preheat your oven to 190°C (375°F), and place your hens in a roasting pan.
Tips for the perfect roast: Insider Secrets
Stuffing: You can stuff the hens with your favourite herb and butter mix, or simply add a few sprigs of herbs under the skin. It's up to you!
roasting time: A 1-pound Cornish hen will take about 45-50 minutes to roast, while a larger 1.5-pound hen will take about 55-60 minutes. But remember, these are just guidelines. Use a meat thermometer to check the internal temperature – it should reach 165°F (74°C) for a perfectly cooked bird.
Basting: For extra juicy hens, baste them with pan juices or melted butter every 15 minutes. This helps keep the meat moist and adds a lovely sheen to the skin.
Grilled Delight: The Cornish Hen on the BBQ
Who doesn't love a good barbecue, especially during the warmer months? And Cornish hens are perfect for grilling. You can use a gas grill or a charcoal grill, just make sure it's nice and hot.
Tips for Grilling Perfection: From Raw to Delicious
Grilling Time: A 1-pound Cornish hen will take about 20-25 minutes to grill, while a larger 1.5-pound hen will take about 25-30 minutes. Turn the hens every 5 minutes to ensure even cooking.
Marinade: Elevate the flavour by marinating your hens in a delicious mixture of lemon juice, garlic, and herbs for a few hours beforehand. It's a game-changer!
Grilling Technique: Place the hens directly on the grill, or use a grilling basket to prevent them from falling through the grates.
Braised Cornish Hen: A Cozy Comfort Meal
For a more rustic and comforting meal, try braising your Cornish hens. This method involves cooking the hens slowly in a pot with liquid, resulting in incredibly tender and juicy meat.
Tips for Braising Success: Master the Art
Braising Liquid: Use a good quality wine, broth, or a combination of both. Adding vegetables like carrots, onions, and celery adds depth of flavour to the braising liquid.
Braising Time: A 1-pound Cornish hen will take about 1 hour to braise over low heat, while a larger 1.5-pound hen will take about 1.25 hours.
Serving: Serve the braised Cornish hen with the flavorful braising liquid, or make a delicious sauce by reducing the liquid. It's like a culinary hug in a bowl!
Part 3: Cooking Times: A Practical Guide

Okay, now let's get down to the nitty-gritty: the cooking times! Here's a table summarizing the recommended cooking times for different methods and hen sizes:
| Cooking Method | Hen Size (pounds) | Cooking Time (minutes) |
|---|---|---|
| Roasting | 1 | 45-50 |
| Roasting | 1.5 | 55-60 |
| Roasting | 2 | 65-70 |
| Grilling | 1 | 20-25 |
| Grilling | 1.5 | 25-30 |
| Grilling | 2 | 30-35 |
| Braising | 1 | 60 |
| Braising | 1.5 | 75 |
| Braising | 2 | 90 |
Remember: It's Not Just About Time!
These are just general guidelines. The actual cooking time can vary depending on factors like the size and shape of the hen, the temperature of your oven or grill, and the amount of stuffing you use. The most reliable way to ensure your hen is cooked through is to use a meat thermometer.
Part 4: The Internal Temperature: Don't Undercook (or Overcook!)
I know, I know, using a meat thermometer might sound a bit technical, but trust me, it's the most reliable way to make sure your Cornish hen is cooked perfectly.
What Temperature is Safe?
The internal temperature of a cooked Cornish hen should reach at least 165°F (74°C). If it's below that, the hen isn't fully cooked and could be unsafe to eat. You can find meat thermometers at most supermarkets or kitchen supply stores.
How to Use a Meat Thermometer: A Quick Guide
It's super simple, really. Insert the thermometer into the thickest part of the thigh, avoiding the bone. Make sure the tip of the thermometer is fully inserted into the meat. Wait for the reading to stabilize, and you're good to go!
Part 5: Signs of a Perfectly Cooked Cornish Hen: A Visual Feast
You've cooked your hen, and now you're wondering if it's done. Don't worry, there are a few signs to look out for:
Visual Clues
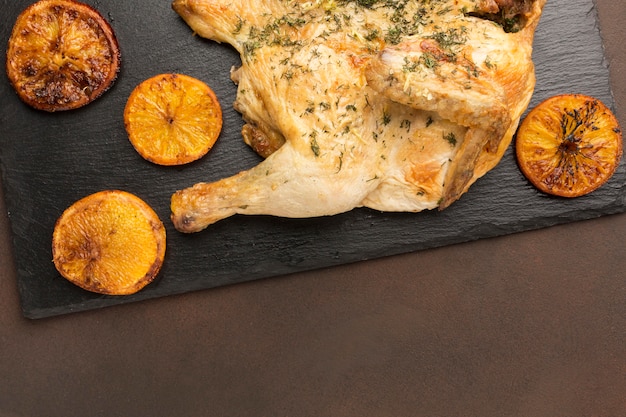
Skin: The skin should be a beautiful golden brown and crispy. It should look like it's been kissed by the sun!
Juices: When you poke the thickest part of the thigh with a knife, the juices should run clear, not pink. This indicates the meat is fully cooked.
Touch Test
Firmness: The meat should be firm to the touch, not soft and jiggly. This means the hen has reached the right internal temperature.
Smell Test
Aroma: The hen should have a pleasant, cooked aroma, not a raw or gamey smell.
Part 6: Serving Your Cornish Hen: A Culinary Triumph
Your Cornish hen is cooked to perfection, and now it's time to serve it up in style!
The Classics: Time-Tested Delights
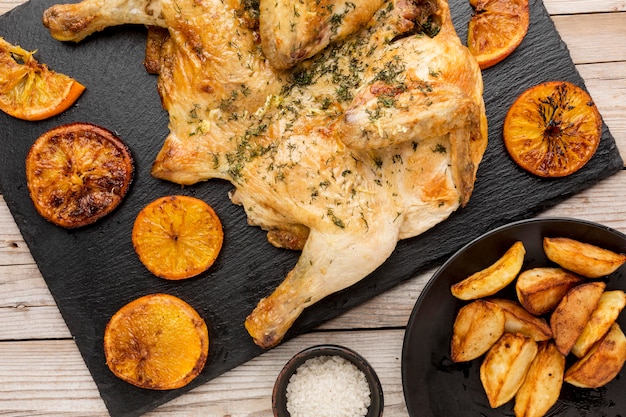
Roast Chicken with Potatoes and Vegetables: This is the classic way to serve a Cornish hen. Roast it with potatoes, carrots, onions, and other seasonal vegetables for a hearty and satisfying meal.
Lemon Herb Cornish Hen: A simple and refreshing option. Stuff the hen with lemon slices and fresh herbs, and serve with roasted vegetables or a simple salad.
Beyond the Ordinary: Elevate Your Dinner
Cornish Hen with Creamy Mushroom Sauce: For a more decadent dish, try serving the hen with a rich and creamy mushroom sauce.
Cornish Hen with Wild rice pilaf: wild rice adds a nutty flavour and texture that complements the delicate flavour of the hen.
Tips for Presentation: A Touch of Elegance
Garnish: Garnish the plate with fresh herbs, lemon slices, or a sprig of rosemary for a touch of elegance.
Plating: Arrange the hen on a platter or plate with the side dish of your choice.
Part 7: Leftovers: Don't Let Them Go to Waste!
You've got leftovers, and that's a good thing! There are plenty of ways to use up leftover Cornish hen.
Cold Cuts: A Delicious Second Serving
Sandwiches: Slice the hen and use it to make sandwiches with your favourite fillings.
Salads: Add the leftover hen to salads for extra protein and flavour.
Warm Meals: Reimagine Your Leftovers
Chicken Soup: Add the leftover hen to a pot of chicken soup for a hearty and flavorful meal.
Chicken Pot Pie: Use the leftover hen to make a delicious chicken pot pie.
Part 8: FAQs: Your Cornish Hen Questions Answered
So, you've got questions, and I've got answers!
1. Can I freeze Cornish hens?
Yes, you can freeze Cornish hens. Wrap them tightly in plastic wrap and then place them in a freezer-safe bag. They can be frozen for up to 3 months. Thaw them in the refrigerator overnight before cooking.
2. How do I know if a Cornish hen is spoiled?
If the hen has a sour or foul odour, or if the skin is slimy, it's probably spoiled. Don't eat it!
3. Can I cook a Cornish hen whole or cut it into pieces?
You can cook a Cornish hen whole or cut it into pieces. If you're cooking it whole, you'll need to adjust the cooking time accordingly. A whole hen will take longer than individual pieces.
4. Can I use a different type of bird instead of a Cornish hen?
You can use a different type of bird, but the cooking time will be different. For example, a whole chicken will take significantly longer to cook than a Cornish hen.
5. What are some good side dishes for Cornish hen?
There are countless side dish options for Cornish hen. Some popular choices include roasted potatoes, mashed potatoes, green beans, asparagus, and salads.
Part 9: Enjoy Your Culinary Creation
So, there you have it! Your complete guide to cooking cornish hens. Now you're armed with all the information you need to create delicious and memorable meals. Remember, don't be afraid to experiment. Add your own personal touch to the recipes, and enjoy the process. Happy cooking!
Everyone is watching

Corn on the Cob: The Ultimate Guide to Perfectly Cooked Ears
Healthy MealsAh, corn on the cob. Just the name evokes images of sunny days, barbecues, and that sweet, juicy flavour that ...

Scallops: The Ultimate Guide to Perfect Cooking
Healthy MealsAh, scallops. Those delicate, sweet, and utterly delicious morsels of the sea. They hold a special place in my...

Spaghetti Squash: The Ultimate Guide to Cooking and Serving
Healthy MealsRemember that time you saw spaghetti squash at the supermarket, looking all bumpy and strange, and thought, "W...

Salmon Cooking Times: Perfect Guide for Every Recipe
Healthy MealsLet me tell you, cooking salmon is an art form. It's all about getting that perfect balance: juicy and tender,...

Ham Cooking Time: How Long to Bake, Smoke, or Boil a Delicious Ham
Healthy MealsAh, ham. It's a classic, isn't it? A real crowd-pleaser, especially around holidays. And when done right, it'...
