Let’s face it, we’ve all been there. You're staring into the depths of your freezer, searching for a quick and easy dinner solution. And there it is, nestled amongst the frozen peas and ice cream – a pack of frozen chicken breasts. You've got a craving for a comforting roast chicken, but the thought of thawing those breasts for hours seems like a culinary nightmare.
But fear not, fellow time-pressed cooks, because you're about to discover the secret to baking frozen chicken breast like a pro. This guide is for those who, like me, appreciate a shortcut or two in the kitchen.
Over the years, I've learned a thing or two about baking frozen chicken, and trust me, it’s not as complicated as you might think. From the perfect temperature to the ideal baking time, we'll cover it all, so you can confidently whip up a delicious meal without the hassle of thawing.
So grab a cuppa, settle in, and let's get baking!
Part 1: Getting Started – The Essential Tools

1.1 The Mighty Oven
The first thing you'll need is your trusty oven, of course. Any oven will do the trick, but you might find that a convection oven cooks things a bit faster and more evenly, thanks to its built-in fan. However, don't fret if you're rocking a standard oven – it'll work just fine.
1.2 The Baking Sheet: Your Chicken's Stage
Next up, grab a baking sheet. It’s the stage for your culinary masterpiece, and it’s important to choose the right size. If you're working with a couple of chicken breasts, a standard size will do the job. But for a larger batch, go for a larger sheet to avoid overcrowding, ensuring those beautiful breasts cook evenly.
1.3 The Temperature Gauge: Your Chicken's Temperature Police
Alright, now for the crucial tool: a good old-fashioned meat thermometer. This little fella is your best friend when it comes to chicken, ensuring it's cooked to perfection. You can find these in most supermarkets or online. Don't even think about skipping this one, folks – safety first!
Why is a thermometer so important? Well, it’s the only way to guarantee your chicken is cooked through and safe to eat. The internal temperature needs to reach 165°F (74°C) to kill off any harmful bacteria.
Part 2: Preparing the Chicken - It's All About that Preheat

Now, let’s get down to business. Grab those frozen chicken breasts and give them a good look over. Are there any particularly thick parts? If so, give them a little slice to help them cook evenly. It's a simple trick that can make a big difference.
2.1 Preheat Your Oven to 375°F (190°C)
Time to preheat that oven! You want it nice and toasty, ready to embrace your frozen chicken with warmth. While your oven is getting cozy, let's get those chicken breasts prepped for their baking journey.
2.2 The Art of Seasoning
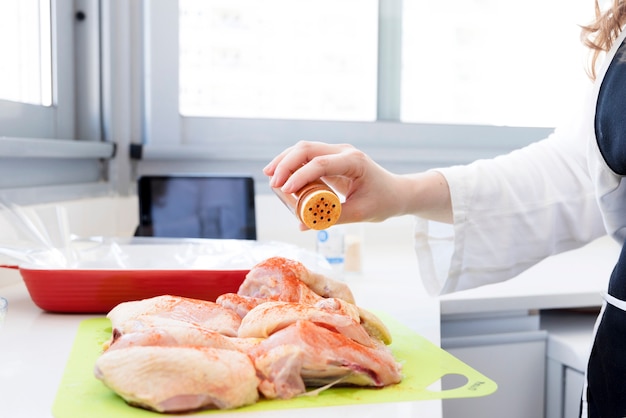
This is where you get to unleash your inner chef. Get those spices out and have a bit of fun! Salt and pepper are always a classic combo, but don't be afraid to get creative. Think paprika, garlic powder, dried herbs – the possibilities are endless.
Personally, I love adding a touch of smoked paprika for a hint of smokiness, or a sprinkle of dried rosemary and thyme for a fresh, herbaceous flavor. It’s all about finding the combinations you enjoy.
2.3 Get Ready to Bake: The Chicken's Transformation
Now, here’s the secret ingredient: a good ol’ fashioned baking sheet lined with parchment paper. It makes for easy cleanup and prevents those pesky chicken bits from sticking. Now, carefully arrange your seasoned chicken breasts on the baking sheet.
I often add a tablespoon of water to the bottom of the baking sheet to create a little steam, which helps keep the chicken moist. You can also drizzle a bit of olive oil over the chicken for added moisture and flavor.
Part 3: Baking Time - The Countdown Begins

3.1 The Magic Number: 40 Minutes for Chicken Perfection
Alright, it's showtime! Pop that baking sheet into your preheated oven and set the timer for 40 minutes. This is the standard baking time for a 6-8 ounce frozen chicken breast. But remember, this is just a general guideline – the actual time will depend on a few factors.
3.2 Factors Affecting Bake Time
So what affects the baking time? Well, it's all about the size and thickness of those chicken breasts. Larger, thicker breasts will need a bit more time, while a smaller, thinner breast might cook faster.
Here’s a handy table to give you a better idea:
| chicken breast size | Baking Time |
|---|---|
| 4-6 ounces | 30-35 minutes |
| 6-8 ounces | 40-45 minutes |
| 8-10 ounces | 50-55 minutes |
Remember, these are just estimates. Always use a meat thermometer to check the internal temperature of your chicken and ensure it reaches 165°F (74°C).
3.3 The Thermometer Test: Your Chicken's Temperature Check
After those 40 minutes have ticked by, it's time to give your chicken a temperature check. Grab that trusty thermometer and plunge it into the thickest part of the breast. You're aiming for an internal temperature of 165°F (74°C). If it's not quite there yet, pop it back in the oven for a few more minutes.
Remember, chicken should be cooked thoroughly to ensure safety. Don't rely solely on the visual appearance, as chicken can appear cooked even if it's not. Always use a thermometer to be certain.
Part 4: Resting the Chicken - The Final Stage
4.1 Letting the Chicken Relax
Once the chicken reaches that magic temperature, it’s time to let it rest. Take it out of the oven and transfer it to a cutting board. Cover it loosely with foil for about 10 minutes. This allows the juices to redistribute, resulting in tender, juicy chicken.
Resist the urge to slice into it immediately! Allowing the chicken to rest prevents those juices from escaping, ensuring a succulent and flavorful bite.
Part 5: Serving Up Success - Let's Enjoy!
5.1 A Culinary Triumph
Congratulations, you’ve just conquered frozen chicken breast baking! Now, the moment we've all been waiting for - the taste test. Grab a knife and slice that chicken breast open, admiring its golden brown crust and the succulent, juicy meat inside.
5.2 Delicious Delights
Serve your masterpiece with your favorite sides. I love a simple salad with a tangy vinaigrette or a bed of fluffy rice. Or get adventurous with mashed potatoes, roasted vegetables, or a creamy pasta dish. The possibilities are endless!
Part 6: Tips and Tricks - Mastering the Art
6.1 Avoid Overcrowding
One of the biggest mistakes people make is overcrowding the baking sheet. This can lead to uneven cooking and those pesky steamy areas that aren’t particularly appealing. Give those chicken breasts some breathing room, and they'll cook to perfection.
6.2 Basting for Added Moisture
Want to add a little extra moisture and flavor? Try basting your chicken with butter or olive oil while it’s baking. It’s a simple technique that can really make a difference.
For a richer flavor, try a mix of melted butter and herbs like rosemary or thyme. Basting halfway through the baking time will help create a beautiful, golden brown crust and keep the chicken moist.
6.3 The Magic of Aluminum Foil
If you're worried about your chicken drying out, you can cover the baking sheet with aluminum foil for the first half of the baking time. This helps to trap moisture and create a nice, tender result. Remember to remove the foil for the last 15 minutes or so, to allow the skin to crisp up.
This technique is particularly helpful for larger, thicker chicken breasts that might need a bit more time to cook through.
Part 7: FAQs – The Baking Essentials Answered
7.1 Can I bake frozen chicken with the skin on?
You bet! Baking frozen chicken with the skin on is a great way to get that crispy, golden-brown finish. The skin will help to protect the meat, ensuring it cooks evenly. Just make sure to score the skin with a few cuts to allow steam to escape and prevent the chicken from bursting.
Scoring the skin allows the fat to render, creating a crispy, flavorful skin. Just make shallow cuts across the skin, being careful not to cut into the meat.
7.2 Can I use any kind of seasoning?
Absolutely! Use whatever spices and herbs you enjoy. I love a simple mix of salt, pepper, and paprika. But feel free to experiment with garlic powder, onion powder, or even a bit of chili powder. Get creative and have fun with it!
You can even make your own spice blends. For a Mediterranean twist, try combining oregano, thyme, garlic powder, and a pinch of red pepper flakes.
7.3 What if the chicken isn't cooked through after 40 minutes?
Don't panic! Simply pop it back in the oven for another 5-10 minutes, or until it reaches that desired internal temperature of 165°F (74°C). Always use a thermometer to ensure your chicken is cooked properly.
If you're unsure, it's better to err on the side of caution and cook it a little longer. undercooked chicken can be dangerous, so it's always best to make sure it's cooked thoroughly.
7.4 Can I bake frozen chicken breasts with other ingredients?
You certainly can! Bake those chicken breasts alongside vegetables like potatoes, carrots, or onions. It's a great way to create a complete meal in one pan.
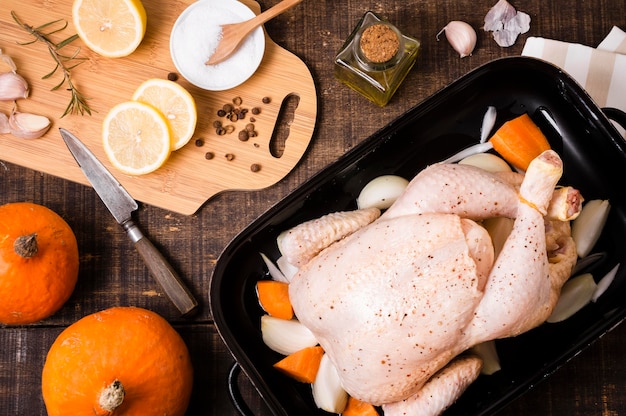
For a delicious and easy meal, toss your chicken breasts with chopped potatoes, onions, and carrots, season them with herbs and spices, and bake them all together. You'll have a flavorful and satisfying dinner ready in no time.
7.5 Is it safe to bake frozen chicken?
It is absolutely safe to bake frozen chicken, as long as you cook it to the proper internal temperature. The key is to ensure the chicken is cooked all the way through, and a meat thermometer is your best friend in this endeavor.
Frozen chicken can be a convenient option, especially when you're short on time. Just be sure to cook it thoroughly to ensure it's safe to eat.
Part 8: The Takeaway
There you have it – your guide to baking frozen chicken breast to perfection. It's a simple, time-saving method that delivers a delicious meal. Now you can confidently tackle those frozen chicken breasts with a smile on your face, knowing you’ve got a tasty dinner ready in no time.
So next time you're feeling peckish and find yourself staring at those frozen chicken breasts in the freezer, remember this guide and let your culinary adventure begin!
Everyone is watching

Corn on the Cob: The Ultimate Guide to Perfectly Cooked Ears
Healthy MealsAh, corn on the cob. Just the name evokes images of sunny days, barbecues, and that sweet, juicy flavour that ...

Scallops: The Ultimate Guide to Perfect Cooking
Healthy MealsAh, scallops. Those delicate, sweet, and utterly delicious morsels of the sea. They hold a special place in my...

Spaghetti Squash: The Ultimate Guide to Cooking and Serving
Healthy MealsRemember that time you saw spaghetti squash at the supermarket, looking all bumpy and strange, and thought, "W...

Salmon Cooking Times: Perfect Guide for Every Recipe
Healthy MealsLet me tell you, cooking salmon is an art form. It's all about getting that perfect balance: juicy and tender,...

Ham Cooking Time: How Long to Bake, Smoke, or Boil a Delicious Ham
Healthy MealsAh, ham. It's a classic, isn't it? A real crowd-pleaser, especially around holidays. And when done right, it'...
