Right, let's talk ribs. Not just any ribs, mind you, but the kind that fall off the bone, melt in your mouth, and leave you licking your fingers with pure satisfaction. The kind of ribs that make you feel like you've stumbled onto a secret barbecue recipe that's been passed down through generations. And the best part? You can achieve this culinary masterpiece right in your own backyard.
I've been a bit of a grilling enthusiast for years now, and ribs have always been my personal favourite. There's just something about the smoky flavour, the tender texture, and the sheer joy of biting into a perfectly cooked rack of ribs. It's a dish that brings people together, whether it's a casual backyard gathering or a grand family feast. I've learned a thing or two along the way, experimenting with different techniques, marinades, and rubs. And that's what I want to share with you in this guide - my ultimate guide to grilling juicy, tender, and absolutely delicious ribs.
(Part 1) Choosing the Right Ribs: A Foundation for Flavor
Before we dive into the grilling process, let's start with the foundation: choosing the right ribs. This decision is crucial to achieving the perfect rib experience, so let's break it down.
The Beefy Choice: spare ribs vs. Baby back ribs
Let's get down to the nitty-gritty. First things first, you need to decide which type of ribs you want. There are two main contenders: spare ribs and baby back ribs. Both are excellent, but they have their own unique characteristics.
Spare ribs are the larger, meatier cut, coming from the lower section of the pig's belly. They're typically more affordable and have a more pronounced "bark" - that crispy, flavorful outer layer. However, they can be a bit tougher and require longer cooking times. They're ideal for those who love a hearty, substantial rib experience. Imagine sinking your teeth into a rib that offers a satisfying bite and generous amount of meat.
Baby back ribs, on the other hand, are taken from the upper section of the pig's back. They're smaller, more tender, and generally considered the "fancier" option. They cook faster and have a more delicate flavour, making them ideal for those who prefer a less intense taste. Baby back ribs are perfect for a more elegant presentation, offering a refined and flavorful experience.
Ultimately, the choice between spare and baby back ribs comes down to your personal preference. Do you want a hearty, substantial rib with a robust flavour, or a more delicate, tender rib with a refined taste? The answer will guide you to the perfect choice for your grilling adventure.
The Meat of the Matter: The Cut and Quality
Once you've settled on your rib type, it's time to talk about the cut itself. Look for ribs with good marbling - that means nice streaks of fat throughout the meat. This fat will melt during cooking, adding flavour and tenderness to your ribs. A rib with good marbling is like a well-seasoned cast iron skillet - it holds the flavour and delivers a smooth, melt-in-your-mouth texture.
When it comes to quality, you'll want to go for ribs that are fresh and properly handled. You'll find them in the meat counter at your local butcher or supermarket. If you're not sure, just ask the butcher for their recommendations. They'll be happy to guide you towards the best cut for your needs.
Remember, choosing the right ribs is the first step towards achieving juicy, tender, and flavourful perfection. Take your time, consider your preferences, and make a choice that will set the stage for a remarkable grilling experience.
(Part 2) Preparing for Perfection: Getting the Ribs Ready
Now that you have the perfect ribs in hand, it's time to get them ready for the grill. This is where we unleash our creativity and infuse those ribs with flavour.
The Rub Down: Seasoning Your Ribs for a Flavorful Journey
Now, here's where things start getting fun. The "rub" is the key to infusing those ribs with flavour, and it's a totally personal thing. You can find countless rib rub recipes online, but I always prefer to create my own. The key is to have a blend of spices that complement the natural sweetness of the meat.
For a classic rub, I like to use a mix of paprika, brown sugar, garlic powder, onion powder, salt, pepper, and a touch of cayenne pepper for a bit of heat. You can add other spices like chili powder, cumin, or even dried thyme and rosemary for a more complex flavour profile.
Think of the rub as a spice-filled hug for your ribs, warming them up and setting the stage for a flavourful journey.
Remember to apply the rub liberally to both sides of the ribs, making sure to get it into all those nooks and crannies. Don't be shy with the rub; let it coat the ribs generously, ensuring each bite is infused with flavour.
The Wrap: Mastering the Membrane - A Crucial Step for Tenderness
Okay, here's a little insider tip: ribs have a thin membrane on the back side that can prevent the rub from penetrating the meat and make the ribs tough. You want to remove that membrane before you start cooking.
You can use a sharp knife or a paper towel to peel it off, but I find it easier to use a small, sharp knife and loosen the membrane at one end, then grab it with a paper towel and pull it off in one go. It's a little bit fiddly, but trust me, it's worth the effort.
Think of this membrane removal as a little surgery for your ribs, ensuring a smooth and tender outcome.
The Soak: Marinating for Extra Flavour - Adding Depth to the Experience
Now, this step is optional, but I find that marinating ribs for a few hours before grilling really enhances the flavour. You can use a simple marinade like a mix of soy sauce, Worcestershire sauce, and honey, or get creative with something more exotic, like a citrus-based marinade with lime juice and ginger.
Whatever you choose, make sure the marinade has enough time to penetrate the meat and work its magic. Imagine the marinade as a gentle massage for your ribs, infusing them with flavour and creating a truly unforgettable experience.
(Part 3) The Big Grill: Mastering the Art of Smoking and Grilling
We've prepped the ribs, now it's time for the grand finale: the grilling process. This is where the magic happens, where those ribs transform into a culinary masterpiece.
Choosing Your Weapon: Gas Grill vs. charcoal grill - A Battle of Flavour
Alright, we're getting into the heart of the matter - the grilling itself. And the first decision you need to make is about your weapon of choice: a gas grill or a charcoal grill. Both are capable of producing amazing ribs, but they have their own strengths and weaknesses.
A gas grill is generally easier to use and offers more consistent temperature control. It's also a good option if you're short on time or want to avoid the mess of charcoal. Think of it as a reliable workhorse, delivering consistent results without fuss.
A charcoal grill, on the other hand, provides that unique smoky flavour that's beloved by rib enthusiasts. It also allows for more flexibility in terms of temperature control. But it does require more attention and time. Imagine it as a seasoned chef, bringing a touch of artistry and complexity to the grilling process.
The choice between gas and charcoal is like choosing between a classic recipe and a culinary adventure. Which path will you take?
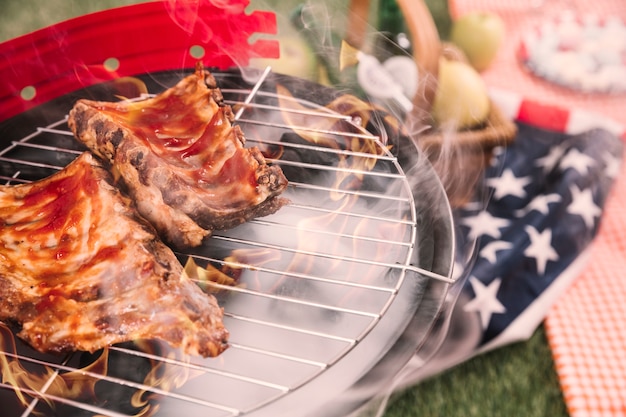
The Smoke Show: Injecting Flavor - Creating a smoke ring for Visual and Flavorful Appeal
Whether you're using a gas or charcoal grill, the key to achieving that smoky flavour is to create a "smoke ring" in the ribs. This happens when smoke from the grill penetrates the meat, adding a distinctive colour and aroma.
If you're using a gas grill, you can achieve this by using wood chips soaked in water and placed in a designated smoking tray. If you're using a charcoal grill, you can add chunks of wood like hickory, apple, or cherry to your coals.
The smoke ring is like a badge of honour for your ribs, a visual testament to the smoky flavour that awaits.
The Temperature Tango: Low and Slow is the Way to Go - Patience is Key to Tenderness
Now, here's where patience comes in. Ribs are best cooked low and slow, meaning at a low temperature for an extended period of time. This allows the meat to break down and become incredibly tender.
Aim for a temperature of around 225°F (107°C) for both gas and charcoal grills. If you're using a charcoal grill, you might need to adjust the vents to maintain a steady temperature.
Imagine the low and slow cooking process as a gentle massage for your ribs, breaking down the tough connective tissue and transforming them into a symphony of tender textures.
The 3-2-1 Method: A Time-Tested Approach - A Recipe for Success
Here's a time-tested method for grilling ribs that's been a favourite among barbecue enthusiasts for years: the 3-2-1 method.
It's simple:
- 3 Hours: Cook the ribs uncovered for 3 hours over indirect heat, basting with a sauce of your choice every hour. This phase is all about building flavour, allowing the ribs to soak in the smoky aroma and develop a rich, caramelized crust.
- 2 Hours: Wrap the ribs tightly in foil with a little bit of butter, apple cider vinegar, and your favourite sauce. Cook for another 2 hours. This phase is about tenderizing the meat, creating a moist and succulent experience.
- 1 Hour: Unwrap the ribs and cook for the final hour, uncovered, at a slightly higher temperature to achieve that crispy bark. This phase is about creating that beautiful, crackling bark, adding a final touch of texture and flavour.
Of course, these timings are just guidelines. You'll want to check the ribs for doneness using a meat thermometer. They're ready when the internal temperature reaches 190°F (88°C).
(Part 4) The Finishing Touches: Adding that Extra Wow Factor
You've done the hard work, and now it's time to reward yourself with a delicious sauce. The final touches are what make a good rib experience truly exceptional.
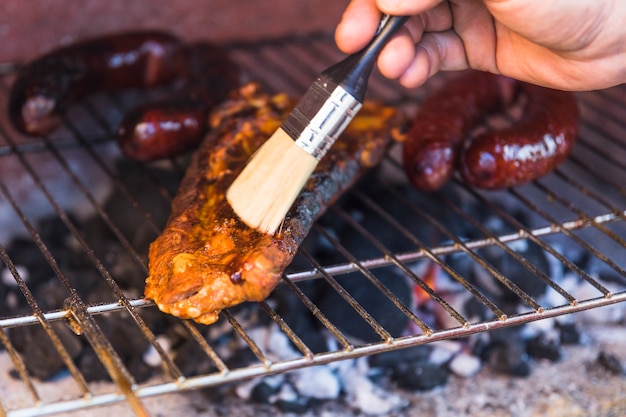
Sauce It Up: Glazing for a Final Shine - A Symphony of Sweetness and Savory
You can use a store-bought sauce or make your own from scratch.
I like to use a mix of ketchup, brown sugar, Worcestershire sauce, apple cider vinegar, and a little bit of hot sauce for a kick. You can also experiment with other ingredients like molasses, mustard, or even barbecue spices.
Start glazing the ribs in the last hour of cooking, basting them every 15 minutes or so. This will give them a beautiful glaze and enhance the flavour.
Imagine the sauce as a final flourish, painting a symphony of sweetness and savory on your ribs.
The Rest: Let Those Ribs Relax - Patience Yields Perfection
Once the ribs are cooked, don't rush to carve them up right away. Let them rest for at least 10 minutes, covered in foil. This will allow the juices to redistribute, resulting in even more tender and juicy ribs.
Think of this resting period as a moment of calm for your ribs, allowing the flavours to meld and the texture to become even more tender.
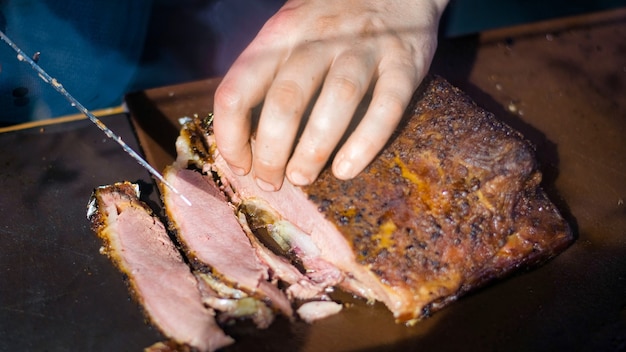
Carving and Serving: Presenting Your Masterpiece - A Culinary Celebration
Finally, it's time to carve those ribs. Use a sharp knife to separate the ribs along the bone.
You can serve them on a platter or individual plates, accompanied by your favourite sides like coleslaw, potato salad, or baked beans.
Imagine the moment of carving and serving as a culmination of your efforts, a moment to celebrate your culinary achievement and share it with loved ones.
(Part 5) The Leftovers: The Best Part? - The Magic of Ribs Continues
Let's be honest, there's nothing better than leftovers. And with ribs, they're even better the next day. The meat will have become even more tender and flavorful, and you can easily reheat them in the oven or on the grill.
You can also use leftover ribs to make delicious sandwiches, salads, or even tacos. The possibilities are endless!
Leftover ribs are like a culinary gift that keeps on giving, offering a second chance to enjoy the smoky, tender flavours you've created.
(Part 6) Beyond the Basics: Experimenting with Flavors - Unleashing Your Culinary Creativity
Don't be afraid to get creative with your rubs and sauces. Experiment with different spice blends, herbs, and ingredients to find flavours that you love. You can use a blend of Mexican spices for a spicy kick, or add citrus zest and herbs for a more Mediterranean flavour.
Think of your ribs as a blank canvas, a foundation for culinary artistry. Experiment with bold flavours and unexpected combinations.
The Sweet and Smoky: Infusing Ribs with Sweetness - A Harmonious Balance of Flavors
If you're a fan of sweet and smoky flavours, consider adding a touch of sweetness to your rub or sauce. Brown sugar, honey, molasses, and maple syrup are all excellent options. Just make sure to balance the sweetness with other ingredients like vinegar, spices, and a touch of heat.
Imagine the sweetness as a gentle counterpoint to the smoky flavour, creating a harmonious balance that tantalizes the taste buds.
The Bold and Spicy: Adding a Kick to Your Ribs - A Dash of Heat for a Thrilling Experience
For those who like their food with a bit of heat, don't shy away from incorporating chili powder, cayenne pepper, or even hot sauce into your ribs. You can also add a pinch of smoked paprika for a smoky flavour with a hint of heat.
Think of the spice as a thrilling element, adding a touch of excitement to the overall flavour profile.
(Part 7) The Science Behind the Success: Understanding the Process - Deconstructing the Art of Ribs
To truly appreciate the magic of grilling ribs, it's helpful to understand the science behind the process. Let's delve into the secrets that transform those ribs into a culinary masterpiece.
The Breakdown: What Happens When Ribs Cook - The Transformation of Texture
The low and slow cooking process is crucial for breaking down the tough connective tissue in ribs, transforming them into tender, melt-in-your-mouth perfection. As the ribs cook, the collagen in the meat starts to break down into gelatin, adding moisture and tenderness.
Imagine the cooking process as a gentle transformation, where the tough connective tissue softens and melts into a symphony of tender textures.
The Smoke Ring: The Beauty of Smoke - The Essence of Smoky Flavor
The smoke ring is a thin layer of reddish-pink meat that forms near the surface of the ribs when they're exposed to smoke. This layer is created by a chemical reaction between the smoke and the meat, resulting in a unique flavor and aroma.
Think of the smoke ring as a visual testament to the smoky flavour, a badge of honour that signifies the perfect grilling experience.
The Bark: The Crispy Outer Layer - A Crunchy Delight
The bark is the crispy, flavorful outer layer of the ribs that forms during the cooking process. It's created by the caramelization of sugars in the rub and the browning of the meat.
Imagine the bark as a crunchy delight, adding a final touch of texture and flavour to your rib experience.
(Part 8) FAQs: The Rib-Related Queries Answered
You've got the basics, now let's address some common questions that might arise on your grilling journey.
1. How Long Should Ribs Cook?
The cooking time for ribs varies depending on the size of the rack, the type of grill, and the temperature. A general rule of thumb is to cook ribs for 3-4 hours, but it's always best to check the internal temperature with a meat thermometer.
2. What Temperature Should Ribs Be Cooked At?
Ribs are best cooked low and slow, at a temperature of around 225°F (107°C). This allows the meat to break down and become tender.
3. What's the Best Way to Tell If Ribs Are Done?
Ribs are done when the internal temperature reaches 190°F (88°C). You can also check for doneness by gently pulling on a rib. If it comes apart easily, the ribs are ready.
4. Can Ribs Be Cooked in the Oven?
Yes, you can cook ribs in the oven. Preheat your oven to 250°F (121°C) and cook the ribs for 3-4 hours, until tender. You can also use a smoker box or add wood chips to your oven to achieve a smoky flavor.
5. How to Store Leftover Ribs?
Leftover ribs can be stored in an airtight container in the refrigerator for up to 3 days. You can also freeze them for up to 3 months.
(Part 9) A Final Word: The Art of Rib Perfection - Embrace the Journey
Grilling ribs is a journey, not a race. It takes patience, practice, and a willingness to experiment. But the rewards are well worth the effort.
So, gather your friends and family, fire up the grill, and let the aroma of smoky, tender ribs fill the air. You'll be creating memories that will last a lifetime.
Remember, the journey to perfect ribs is just as rewarding as the destination. Embrace the process, experiment with flavours, and most importantly, have fun. Happy grilling!
Everyone is watching

Corn on the Cob: The Ultimate Guide to Perfectly Cooked Ears
Healthy MealsAh, corn on the cob. Just the name evokes images of sunny days, barbecues, and that sweet, juicy flavour that ...

Perfect Pork Roast Oven Cooking Time: A Guide to Delicious Results
Healthy MealsThere's something truly satisfying about a perfectly roasted pork. The aroma alone is enough to make your mout...

Ham Cooking Time: How Long to Bake, Smoke, or Boil a Delicious Ham
Healthy MealsAh, ham. It's a classic, isn't it? A real crowd-pleaser, especially around holidays. And when done right, it'...

Scallops: The Ultimate Guide to Perfect Cooking
Healthy MealsAh, scallops. Those delicate, sweet, and utterly delicious morsels of the sea. They hold a special place in my...

Spaghetti Squash: The Ultimate Guide to Cooking and Serving
Healthy MealsRemember that time you saw spaghetti squash at the supermarket, looking all bumpy and strange, and thought, "W...