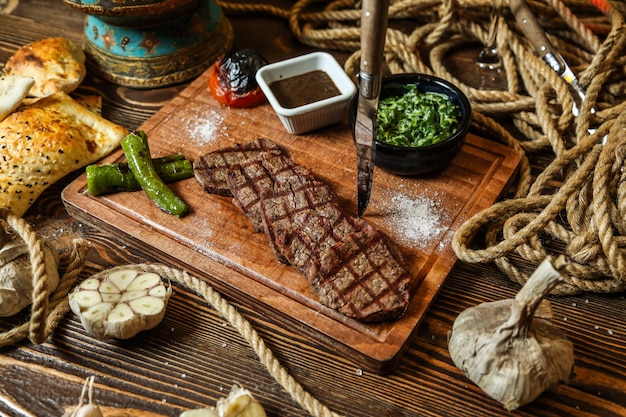
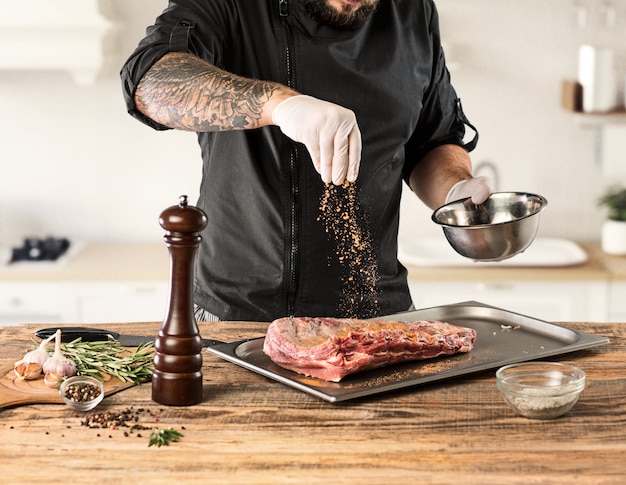
Let's talk brisket. It’s a cut of meat that's capable of incredible things, but it can be a real challenge to get right. You’ve got those dry, disappointing brisket experiences, and then there’s that unforgettable, melt-in-your-mouth brisket that makes you question everything you thought you knew about barbecue. That’s what we’re aiming for – the kind of brisket that turns heads and makes you want to lick the plate clean.
The truth is, brisket is a tough cut of meat. It comes from the cow's chest, which gets a lot of action. That means it’s full of connective tissue, which is what makes it tough, but also what gives it that amazing depth of flavour when cooked properly. It’s all about using time, patience, and the right techniques to break down that tough texture and unlock the full potential of the brisket.
This isn’t a quick and easy meal. Cooking a perfect brisket is an adventure, a journey that takes time, a bit of skill, and a lot of love. But trust me, the rewards are well worth the effort. The smell of that smoky, slow-cooked brisket filling your kitchen is enough to make anyone's heart skip a beat. And that first bite? Oh, that first bite is pure bliss.
So, grab your grill, get a good cut of brisket, and get ready to embark on this adventure with me. We're going to break down every step of the process, from choosing the right cut to slicing and serving that glorious, smoky masterpiece.
(Part 1) Choosing the Right Brisket

You can't make a great brisket without starting with a great cut of meat. This is the foundation of your entire dish, so don’t be tempted to skimp. You’ll want to pick a brisket that’s fresh, has a good amount of marbling, and is free of any unpleasant smells or discolouration.
Choosing the Cut
When you’re looking at a brisket, you’ll notice it’s divided into two main sections: the point and the flat.
- The point is the thicker, more rounded part. It’s got a higher fat content, which makes it incredibly juicy and flavorful. It also tends to be a little tougher than the flat. Think of the point as the “party” section of the brisket – it’s all about bold flavour and rich texture.
- The flat is the thinner, more rectangular part. It's leaner than the point, so it can be a bit drier, but it’s also more tender and easier to slice. The flat is your “elegant” section – it’s all about leanness and delicate flavour.
Most people prefer to cook the point and flat together, which is called a whole brisket. This gives you the best of both worlds: the juicy fat of the point and the tender leanness of the flat. It’s like having the best of both worlds in a single piece of meat – a perfect balance of flavour and texture.
What to Look For
Now, how do you pick a good brisket? Here are a few things to look for:
- Fat: You want a brisket that’s got a good amount of fat marbling. This fat is going to render down as it cooks, keeping your brisket moist and flavourful. Don’t be afraid of fat! It’s your brisket’s best friend.
- Color: The brisket should be a nice, even red color. Avoid any brisket that’s got a purplish or grayish hue. This means it’s not fresh and could impact the flavour and texture of your final product.
- Texture: The brisket should feel firm and springy to the touch. Avoid any brisket that’s soft or mushy. This is a sign that it’s not fresh and might not be the best choice for your brisket adventure.
Always feel free to ask your butcher for advice. They’re the experts, and they’ll be able to help you pick the perfect brisket based on your cooking style and preferences.
(Part 2) Trimming the Brisket

You’ve got your brisket – now it’s time for a bit of prep. Trimming is an essential step in the brisket journey. It helps to ensure even cooking, prevents the fat from rendering too quickly, and contributes to a more tender and flavorful final product.
Trimming the Fat
First, you need to trim away any excess fat. Remember, you don’t want to remove all of it, because the fat is crucial for flavour and moisture. But you want to make sure that the fat is evenly distributed and not too thick.
Use a sharp knife to trim away any fat that’s thicker than about 1/4 inch. You want to leave a nice, even layer of fat covering the brisket. This will help ensure that the fat renders evenly and doesn't create any overly greasy areas.
Trimming the Point
If you’re using a whole brisket, you’ll need to trim the point a bit more. The point tends to have a lot of fat, and you want to remove some of it to prevent it from becoming overly greasy.
You can trim the point into a more rectangular shape. Just cut away any excess fat from the edges, creating a more uniform shape that will cook evenly and help prevent any overly fatty areas.
Trimming the Flat
The flat doesn’t need as much trimming as the point. Just remove any excess fat from the edges and ensure the fat layer is even. This will help the flat cook evenly and develop a beautiful crust.
And here’s a little tip: if you want your brisket to have that beautiful “bark” on the outside, don’t trim away too much fat. That fat is going to render down and create a flavorful, crispy crust that’s absolutely irresistible.
(Part 3) Seasoning the Brisket

Alright, your brisket is all trimmed and ready to go. Now it’s time for the fun part – seasoning! This is your chance to give your brisket that unique flavour profile that you’re looking for, infusing it with delicious aromas and flavours that will tantalise your taste buds.
The Basics
A good brisket rub usually includes a combination of salt, pepper, and spices. Salt is key to drawing out moisture and enhancing flavor. Pepper adds a bit of heat and depth. And then you’ve got your spices, which can add a whole range of flavours, from smoky and earthy to sweet and spicy.
My Go-To Rub
Here’s my favourite brisket rub recipe:
Ingredients:
- 1 tablespoon kosher salt
- 1 tablespoon black pepper
- 1 tablespoon smoked paprika
- 1 teaspoon garlic powder
- 1 teaspoon onion powder
- 1 teaspoon chili powder
- 1/2 teaspoon cayenne pepper
- 1/2 teaspoon dried thyme
- 1/2 teaspoon dried oregano
Just mix it all together and rub it all over your brisket. Make sure you get a good coating on every side, ensuring that every part of the brisket is evenly seasoned.
Experimenting with Flavor
But don’t be afraid to experiment! You can add in other spices like cumin, coriander, or even a bit of brown sugar. It’s all about finding what you like best. There’s no wrong answer when it comes to seasoning.
Some people like to use a dry rub, while others prefer a wet rub, which involves using a little bit of moisture, like mustard or olive oil, to help the spices adhere to the meat. Experiment with both to find what you like best.
(Part 4) The Smoking Process
Alright, your brisket is all seasoned up and ready to go. It’s time to get the smoking going! This is where the real magic happens, and where you’ll really start to get that beautiful, smoky flavour that makes brisket so irresistible.
Choosing Your Smoker
There are tons of different smokers out there, from offset smokers to pellet grills to even a simple charcoal grill. No matter what type of smoker you choose, make sure it’s capable of maintaining a low and slow temperature for a long time.
I personally love a good offset smoker. You get that classic smoky flavour that’s hard to beat. The smoke permeates the meat, giving it a deep, rich flavour. But if you’re new to smoking, a pellet grill might be a great option. They’re super easy to use and maintain a consistent temperature.
Setting Up Your Smoker
Once you’ve chosen your smoker, it’s time to get it prepped. You want to get your smoker up to a temperature of about 225-250°F.
For offset smokers, you’ll need to set up a fire in the firebox and add wood chips to create smoke. For pellet grills, you’ll just need to set the temperature and choose your wood pellets.
Now, here’s a crucial tip: make sure you use good quality wood. I prefer hickory or mesquite for brisket. They give you a nice, smoky flavour without being overpowering. Experiment with different woods to find your favourite combination of flavours.
Placing the Brisket
Once your smoker is up to temperature, you can place your brisket on the grill. Make sure it’s not directly over the heat source. You want the brisket to cook slowly and evenly. You’ll want to use a cooking grate that’s positioned in the smoker, ensuring that the brisket is a safe distance from the direct heat source.
(Part 5) The Cook: Low and Slow
Alright, your brisket is on the smoker, the smoke is billowing, and you’re ready to let the magic happen. Now, remember, brisket is a marathon, not a sprint. You need to cook it low and slow for a long time.
The Importance of Patience
This is where the patience comes in. Don’t be tempted to rush the process. Cooking a brisket takes time. It’s going to take anywhere from 8 to 12 hours, depending on the size of your brisket. This is where the real magic happens, and you’ll need to resist the urge to peek too often.
Maintaining a Consistent Temperature
Throughout the cook, you need to maintain a consistent temperature. I’m talking about 225-250°F for the entire time. You can adjust the heat as needed, but you want to keep it in that range. This is essential for achieving that tender, succulent brisket that melts in your mouth.
The Stall
One thing that can happen during the cook is something called the stall. This is where the internal temperature of the brisket plateaus and refuses to go any higher. This is because the meat is losing moisture and the surface temperature is dropping.
Overcoming the Stall
Don’t worry! This is totally normal. You can overcome the stall by wrapping the brisket in aluminum foil. This traps the moisture and allows the temperature to rise again. You can also add a little water to the smoker to increase the humidity.
Using a meat thermometer
Now, how do you know when your brisket is done? You need to use a meat thermometer! The ideal internal temperature for brisket is 200-205°F. The meat thermometer should be inserted into the thickest part of the brisket, making sure it doesn’t touch bone. Don’t rely on just looking at the brisket – it’s all about the internal temperature.
(Part 6) Resting the Brisket
Your brisket is finally done! It’s reached that beautiful, juicy, tender state. But you’re not ready to slice it up just yet. You need to let it rest for a good 2-3 hours.
Why Resting Is Crucial
Resting the brisket allows the juices to redistribute throughout the meat. This makes for a more tender and juicy final product. The juices and fats will redistribute themselves evenly throughout the meat, creating a more consistent texture and flavour.
Wrapping the Brisket
You can wrap the brisket in foil again for the resting process. Or you can put it in a cooler with a towel, which is what I usually do. This helps to keep the brisket warm and moist. The cooler acts as an insulator, retaining the heat and ensuring that the brisket stays tender and juicy.
While the brisket is resting, you can get started on making your sides. A good brisket is always best served with some classic BBQ sides, like coleslaw, baked beans, and potato salad.
(Part 7) Slicing and Serving
Finally, the moment of truth! It’s time to slice up your brisket and enjoy all the hard work you’ve put into it.
Slicing Techniques
Use a sharp knife to slice the brisket across the grain. This means cutting the meat perpendicular to the direction of the muscle fibers. This will make the meat easier to chew and more tender. You’ll want to cut thin slices, allowing the flavours to explode in your mouth.
Serving Suggestions
You can serve your brisket on its own, or you can use it to make sandwiches. Some people like to top their brisket with bbq sauce, but I prefer to keep it simple and let the natural flavours shine through.
However you choose to serve it, I guarantee that you’ll be in for a real treat. Brisket is one of the most rewarding cuts of meat to cook. The flavour and tenderness you achieve after all that time and effort is truly something special.
(Part 8) FAQs
What is the best wood for smoking brisket?
There are many different types of wood that you can use for smoking brisket, but some of the most popular choices include hickory, mesquite, oak, and pecan. These woods all impart a unique flavor to the meat, so you can choose the one that best suits your taste. Hickory is known for its smoky and slightly sweet flavour, while mesquite is known for its bolder, more intense flavour. Oak and pecan provide a milder, more balanced flavour. Experiment with different woods to find your favourite combination of flavours.
How long should I smoke my brisket?
The amount of time it takes to smoke a brisket will vary depending on the size of the brisket and the temperature of your smoker. Generally, you can expect to smoke a brisket for 8 to 12 hours, or until it reaches an internal temperature of 200-205°F. Use a meat thermometer to ensure that the brisket is cooked properly.
What should I serve with brisket?
Brisket pairs well with a variety of sides, including coleslaw, baked beans, potato salad, macaroni and cheese, and cornbread. These sides complement the rich flavour of the brisket, providing a balance of textures and flavours.
How do I store leftover brisket?
You can store leftover brisket in an airtight container in the refrigerator for up to 3 days. It can also be frozen for up to 3 months. To reheat frozen brisket, simply thaw it in the refrigerator overnight and then reheat it in the oven at 325°F for about 30 minutes.
Can I make brisket in the oven?
Yes, you can make brisket in the oven. Simply preheat your oven to 325°F and roast the brisket for 4-5 hours, or until it reaches an internal temperature of 200-205°F. You can also use a dutch oven for this process. Make sure you use a meat thermometer to ensure the brisket is cooked properly. The oven method may not produce as smoky a flavour as the traditional smoker method, but it's still a delicious and easy way to enjoy brisket.
Everyone is watching

Corn on the Cob: The Ultimate Guide to Perfectly Cooked Ears
Healthy MealsAh, corn on the cob. Just the name evokes images of sunny days, barbecues, and that sweet, juicy flavour that ...

Perfect Pork Roast Oven Cooking Time: A Guide to Delicious Results
Healthy MealsThere's something truly satisfying about a perfectly roasted pork. The aroma alone is enough to make your mout...

Ham Cooking Time: How Long to Bake, Smoke, or Boil a Delicious Ham
Healthy MealsAh, ham. It's a classic, isn't it? A real crowd-pleaser, especially around holidays. And when done right, it'...

Scallops: The Ultimate Guide to Perfect Cooking
Healthy MealsAh, scallops. Those delicate, sweet, and utterly delicious morsels of the sea. They hold a special place in my...

Spaghetti Squash: The Ultimate Guide to Cooking and Serving
Healthy MealsRemember that time you saw spaghetti squash at the supermarket, looking all bumpy and strange, and thought, "W...
