(Part 1) Prep Work: Setting the Stage for Flavor

Before we even think about firing up the grill, let's get those drumsticks ready. This is where the magic happens, you know. It's like setting the stage for a brilliant performance. You wouldn't put on a play without a good set design, would you?
Choosing Your Drumsticks: Quality Matters
First things first, you need to choose your drumsticks wisely. I'm a big fan of skin-on, bone-in drumsticks. They just hold onto the flavor better, in my opinion. Plus, that crispy skin? Absolute heaven! And don't even get me started on the juicy meat you get when you pull it off the bone. Honestly, I find those boneless, skinless things a bit bland. It's like eating a chicken nugget, you know? No soul.
When you're picking out your drumsticks, look for ones that are plump and have a bit of give to them. You don't want them to be too skinny or too dry. They should also have a good colour, not pale or discoloured. You're aiming for that fresh, healthy look.
The Brine: A Hydration Miracle
Alright, this is where things get exciting. If you want truly succulent drumsticks, a brine is your best friend. Think of it as a spa day for your chicken. It helps the meat retain moisture and become incredibly tender.
Now, there are loads of different brine recipes out there. But here's my go-to:
- A big bowl of cold water
- About 2 tablespoons of salt (this helps draw out moisture and then rehydrate the chicken)
- 1 tablespoon of sugar (adds a touch of sweetness and balances the saltiness)
- A few peppercorns (adds a subtle peppery flavor)
- A bay leaf or two (adds a touch of earthy, aromatic flavor)
- Some fresh herbs like thyme or rosemary (optional, but highly recommended for an extra layer of flavor)
Mix it all together, pop your drumsticks in, and let them hang out in the fridge for at least a couple of hours. You can even leave them overnight if you're feeling fancy. Trust me, it's worth it!
Marinade: Flavor Bombs for Your Drumsticks
Once your drumsticks are brined, it's time to give them a flavour boost. This is where your creativity comes in. I love a good marinade. It's like adding a bit of personality to your drumsticks. You can go simple or go wild - it's up to you.
Some of my favourites:
- Sweet and Spicy: Honey, soy sauce, chilli flakes, ginger, garlic. This marinade delivers a balance of sweet, savory, and spicy flavors. The ginger and garlic add a wonderful depth of flavor, while the chili flakes give it a kick.
- Mediterranean: Olive oil, lemon juice, garlic, oregano, rosemary, paprika. This marinade is bright and flavorful, with a hint of citrus. The oregano and rosemary add earthy notes, while the paprika gives it a touch of smokiness.
- BBQ: Worcestershire sauce, ketchup, brown sugar, mustard, smoked paprika. This classic BBQ marinade is rich and smoky, with a touch of sweetness. The Worcestershire sauce adds a savory depth, while the mustard adds a bit of tang.
Combine your marinade ingredients, give your drumsticks a good coating, and let them soak in the fridge for a few hours. Remember, the longer they hang out, the more intense the flavour will be.
(Part 2) Setting Up Your Grill: Mastering the Heat

Okay, so now your drumsticks are ready to go. Time to get the grill fired up! This is the fun part, but it's also crucial to get it right. You want a good, even heat that will cook your drumsticks perfectly.
Choosing the Right Grill: Gas vs. Charcoal
I've used pretty much every type of grill under the sun. Gas, charcoal, even a fancy smoker. But for grilling drumsticks, I prefer a simple gas grill. It's consistent, it's easy to control, and you can get that beautiful grill-marked sear without too much hassle.
However, if you're a charcoal purist, go for it! Just remember to get the coals glowing hot and even before you put your drumsticks on.
Setting the Temperature: The Sweet Spot
I like to cook my drumsticks over medium heat. Around 350-400°F (175-200°C) is perfect. If you're using a gas grill, you can usually achieve this by turning on two burners and keeping them at medium heat. If you're using a charcoal grill, you'll need to adjust the air vents to get the right temperature.
The Art of the Sear: Getting Those Iconic Grill Marks
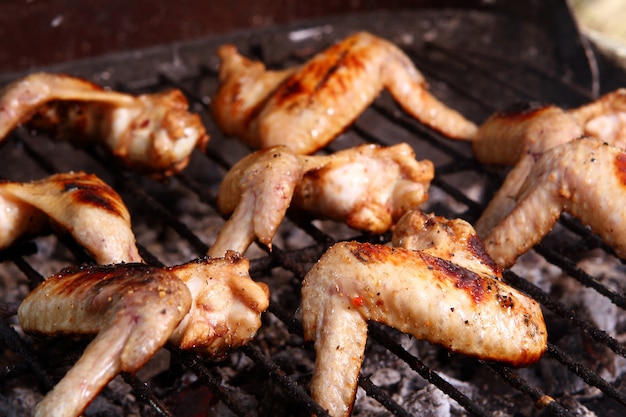
One of the best things about grilled drumsticks is that crispy, juicy skin with those lovely grill marks. They're like little badges of honour, you know? To achieve this, you need to get a good sear.
Here's my trick: Heat up the grill, then carefully place your drumsticks directly over the heat source. Let them cook for a couple of minutes on each side, until you get those beautiful, dark grill marks. This will lock in the juices and give your drumsticks a fantastic flavour.
(Part 3) The Cook: A Dance of Patience and Precision

Alright, your drumsticks are seared, the grill is hot, and you're ready to cook. This is where things get a bit more hands-on. But don't worry, it's not rocket science. Just a bit of patience and a little bit of attention.
The Big Reveal: Temperature Matters (and a meat thermometer is Your Friend)
Now, I'm a big believer in using a meat thermometer. It's like a superpower for grilling, you know? You want to make sure your drumsticks are cooked through without drying them out. And a thermometer takes all the guesswork out of it.
The ideal internal temperature for drumsticks is 165°F (74°C). Once you reach that temperature, you know you've got yourself a perfectly cooked drumstick.
cooking time: It Varies, So Be Prepared
Cooking time for drumsticks can vary depending on their size and the heat of your grill. As a general rule of thumb, it'll take about 30-40 minutes to cook a standard size drumstick.
But remember, everyone's grill is different. So, it's always a good idea to check the internal temperature just to be sure.
Don't Forget the Flip: Even Cooking is Key
Don't just let your drumsticks sit there like they're at a picnic. You need to give them a good flip halfway through the cooking process. This ensures even cooking on both sides. And let's be honest, who doesn't love a good flip? It's like a little mini-celebration.
(Part 4) The Sauce: A Symphony of Flavors
Now, you've got perfectly cooked drumsticks, and they're looking good. But let's not forget about the sauce! This is your chance to add another layer of flavor and make your drumsticks truly unforgettable.
The Saucy Options: Sweet, Spicy, Smoky, and More
There are so many delicious sauces to choose from. You can go with a classic barbecue sauce, a smoky chipotle sauce, a sweet and tangy mango salsa, or even a spicy sriracha mayo. It all comes down to your personal preference.
The Timing is Everything: Less is More
The key to applying sauce is to do it towards the end of the cooking process. You don't want to put it on too early, or it'll burn and turn into a sticky mess.
About 5 minutes before your drumsticks are done, brush them with your chosen sauce. Let them cook for a couple of minutes, then give them another coat. This will help the sauce caramelize and create that irresistible glaze.
(Part 5) Resting: The Crucial Cool-Down
Okay, you've reached that magical internal temperature, your sauce is glistening, and your drumsticks are ready to come off the grill. But before you dive in, there's one crucial step you need to do: rest them.
Why Rest is Best: Unlocking Juicy Tenderness
You see, resting your drumsticks for a few minutes allows the juices to redistribute throughout the meat. This makes them incredibly juicy and tender. It's like giving your drumsticks a little moment to relax and recover from their grill adventure.
How Long to Rest: A Few Minutes Makes a Difference
I usually let my drumsticks rest for about 5-10 minutes before slicing and serving. This gives them enough time to cool down just a bit, but not so much that they get cold. You want them to be warm and inviting.
(Part 6) Serving: A Feast for the Senses
Okay, the moment of truth has arrived! Your perfectly cooked, juicy, and flavourful drumsticks are ready to be devoured. Get ready for a culinary masterpiece.
The side dish Symphony: Complementary Flavors
There's nothing quite like a good barbecue feast, is there? And drumsticks are perfect for it. Pair them with some classic side dishes like:
- Coleslaw: The creamy sweetness complements the smoky flavor of the drumsticks beautifully.
- potato salad: A classic picnic favourite and a must-have alongside grilled meats.
- corn on the cob: Sweet, juicy, and grilled to perfection.
- Macaroni and Cheese: A cheesy, comforting side dish that goes down a treat with barbecue.
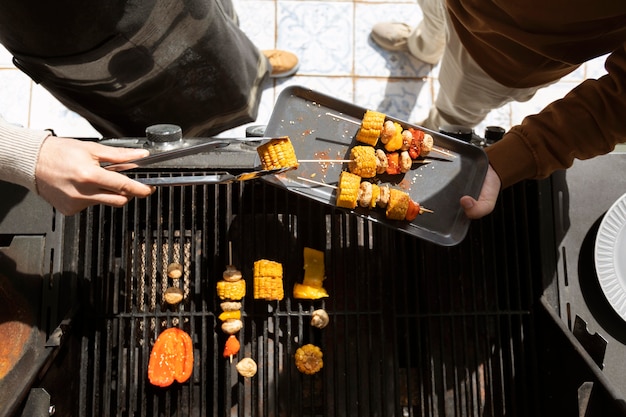
- grilled vegetables: Adding a variety of grilled vegetables like bell peppers, onions, and zucchini adds color, texture, and flavor to your feast.
The Presentation: Make it a Feast for the Eyes
Don't just toss your drumsticks onto a plate and call it a day. Take a little pride in your presentation! A simple platter with some fresh herbs and a few lemon wedges can make a huge difference. You've put so much effort into cooking them, why not make them look good too?
(Part 7) Enjoying the Results: A Culinary Triumph
So there you have it. Your drumsticks are resting, the sides are ready, and your guests are gathered. Take a deep breath, relax, and enjoy the fruits of your labour. You deserve it!
The Bite: A Taste of Heaven
The first bite of a perfectly cooked drumstick is pure bliss. The skin is crispy and juicy, the meat is tender and succulent, and the flavor is bursting with deliciousness. It's a reminder of why we love grilling so much.
The Satisfaction: A Job Well Done
When your guests are raving about your drumsticks and you know you've nailed it, there's no better feeling. It's a reminder that with a little bit of effort and some good techniques, you can create something truly special in the kitchen.
(Part 8) FAQs: The Ultimate grilling guide
Q: Can I freeze drumsticks before grilling?
Yes, you can absolutely freeze drumsticks! It's a great way to have them on hand for busy weeknights. Just make sure to thaw them in the fridge overnight before grilling.
Q: What if my drumsticks are a bit dry?
If your drumsticks end up a bit dry, don't despair! You can add some moisture back in by basting them with a little bit of butter or olive oil towards the end of the cooking process.
Q: Can I use a different marinade?
Of course! This is your culinary playground. Experiment with different flavours, herbs, and spices. Have fun with it!
Q: What about leftovers?
Leftover drumsticks are fantastic! They're great in sandwiches, salads, or even just for a quick snack.
Q: Any tips for cleaning my grill after grilling drumsticks?
Always clean your grill after use. It's easier to clean when it's still warm. Use a grill brush to scrub off any food particles. You can also use a grill cleaner or a combination of water and baking soda.
(Part 9) More Than Just a Meal: A culinary adventure
Grilling drumsticks is more than just about cooking a meal. It's about connecting with friends and family, enjoying the outdoors, and creating memories that last a lifetime. It's about the joy of sharing a delicious meal and the satisfaction of creating something special with your own hands.
So next time you're feeling adventurous, fire up the grill, and give these tips a try. You might be surprised at how easy it is to create a culinary masterpiece. And who knows, you might even become the grill master of your group.
Everyone is watching

Corn on the Cob: The Ultimate Guide to Perfectly Cooked Ears
Healthy MealsAh, corn on the cob. Just the name evokes images of sunny days, barbecues, and that sweet, juicy flavour that ...

Perfect Pork Roast Oven Cooking Time: A Guide to Delicious Results
Healthy MealsThere's something truly satisfying about a perfectly roasted pork. The aroma alone is enough to make your mout...

Ham Cooking Time: How Long to Bake, Smoke, or Boil a Delicious Ham
Healthy MealsAh, ham. It's a classic, isn't it? A real crowd-pleaser, especially around holidays. And when done right, it'...

Scallops: The Ultimate Guide to Perfect Cooking
Healthy MealsAh, scallops. Those delicate, sweet, and utterly delicious morsels of the sea. They hold a special place in my...

Spaghetti Squash: The Ultimate Guide to Cooking and Serving
Healthy MealsRemember that time you saw spaghetti squash at the supermarket, looking all bumpy and strange, and thought, "W...
