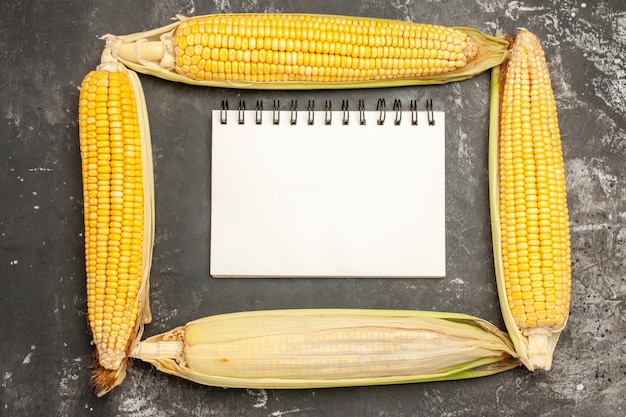
You know that feeling – you're craving some sweet, juicy corn on the cob, but the last thing you want to do is mess around with fresh corn, shucking it and all that. That's where frozen corn on the cob comes in, a real lifesaver. But sometimes, the "is it cooked yet?" dance can be a bit of a struggle. You poke it with a fork, it feels a little soft, but is it really done? And then, you end up with overcooked, mushy corn. Not ideal, right?
So, to save you from any more overcooked corn disasters, I'm going to share my tips and tricks for getting perfectly cooked, juicy corn on the cob every time, whether you're boiling, steaming, microwaving, or grilling. I'm going to talk about thawing, the different cooking methods, and even the best dipping sauces and toppings. Let's get started!
(Part 1) Setting the Stage: Thawing and Cooking Methods
1.1 Thawing: The Crucial First Step
Think of thawing as the first step towards a delicious corn experience. Frozen corn, if cooked straight from the freezer, can be a bit uneven. The outside cooks faster, and you might end up with some parts that are perfectly cooked and others that are still rock-hard. Thawing solves this problem, ensuring even cooking.
My preferred method for thawing is overnight in the fridge. It's slow and steady, and the corn won't get soggy. If you're in a rush, you can thaw it at room temperature, but keep a close eye on it to make sure it doesn't spoil. Just remember, completely thawed is the way to go!
1.2 Cooking Methods: A World of Options
Once the corn is thawed, you've got a whole world of cooking options. The best method for you depends on your taste and time constraints. Let's explore each one!
1.2.1 Boiling: The Classic Approach
Boiling is the classic, straightforward method for cooking frozen corn. It's simple, reliable, and delivers consistently delicious results.
I fill a large pot with water, enough to cover the corn cobs completely. Bring the water to a rolling boil, then carefully add the thawed corn cobs. Once the water returns to a boil, set a timer for 5 minutes.
1.2.2 Steaming: For a Light and Delicate Touch
Steaming is a healthier option as it doesn't require any added fat. It's also known for retaining the corn's natural sweetness and moisture, giving it a delicate, melt-in-your-mouth texture.
Fill a pot with a couple of inches of water, bring it to a boil, and then place a steamer basket on top. Add the thawed corn cobs to the basket, cover the pot, and steam for 5-7 minutes.
1.2.3 Microwaving: Quick and Easy, But Not Always Ideal
Microwaving is the quickest method, perfect for those times when you need dinner on the table in a hurry. However, it's not my favorite because the corn can sometimes be a little dry and it's hard to get it perfectly cooked.
Add a little water to a microwave-safe dish, place the thawed corn cobs in the dish, cover it with a microwave-safe lid or plastic wrap, and microwave on high for 3-4 minutes.
1.2.4 Grilling: Smoky Flavour for the Summer
Grilling is the ultimate summer cooking method for corn, adding a smoky flavor that's simply irresistible.
Preheat your grill to medium heat. If you're using a gas grill, let the grill heat up for about 10 minutes. If you're using a charcoal grill, make sure the coals are covered in white ash. Place the thawed corn cobs on the grill, close the lid, and grill for about 10 minutes, turning every few minutes.
(Part 2) Mastering the Boil: A Step-by-Step Guide
I know some of you might be thinking, "Boiling? That sounds boring!" But trust me, it's a fantastic method that delivers consistently delicious results. It's so easy!
2.1 The Art of the Boil: A Simple Process
I fill a large pot with water, enough to cover the corn cobs completely. I bring the water to a rolling boil, then carefully add the thawed corn cobs. Once the water returns to a boil, I set a timer for 5 minutes.
2.2 Testing for Doneness: The Knife Test
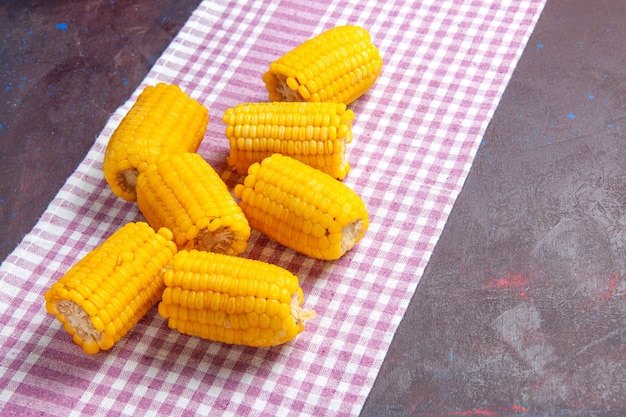
After 5 minutes, I take one of the corn cobs out of the pot and check its doneness. Here's the trick: I use a sharp knife to cut a small piece off the cob. If the kernel is milky white and slightly translucent, it's done! If it's still hard and opaque, cook it for another minute or two.
2.3 A Time-Saving Trick: Cooking Straight From Frozen
Here's a little insider tip: if you're in a rush, you can add the corn to the boiling water straight from the freezer. It'll take a little longer to cook, about 7-8 minutes, but it'll still be delicious.
(Part 3) Unlocking the Power of Steaming: A Gentle Approach
If you're looking for a more elegant approach to cooking corn, steaming is the way to go. It preserves the corn's natural sweetness and moisture, resulting in a delicate and tender texture.
3.1 The Benefits of Steaming: Healthy and Flavorful
Steaming is a healthier cooking method because it doesn't require any added fat. It helps retain the corn's natural sweetness and moisture, giving it a lovely, delicate texture.
3.2 The Steaming Process: Simple and Effective
To steam corn, you'll need a steamer basket. Fill a pot with a couple of inches of water, bring it to a boil, and then place the steamer basket on top. Add the thawed corn cobs to the basket, cover the pot, and steam for about 5-7 minutes, or until the corn is tender.
(Part 4) Microwaving: A Quick Fix, But Be Careful
Now, let's talk about microwaving. It's not the most glamorous method, but it's definitely the quickest!
4.1 The Microwave Method: Simple, But Requires Attention
To microwave corn on the cob, you'll need a microwave-safe dish. Add a little bit of water to the dish, then place the thawed corn cobs in the dish. Cover the dish with a microwave-safe lid or plastic wrap. Microwave on high for about 3-4 minutes, or until the corn is cooked through.
4.2 Important Notes: Safety First
Be careful when taking the corn out of the microwave, as it will be very hot. And make sure to check the corn for doneness before serving, as microwave times can vary depending on the wattage of your microwave.
(Part 5) The Grill Factor: Smoky Goodness for Summer Feasting
grilling corn on the cob takes the flavor to a whole new level, adding a smoky aroma and char that's perfect for summertime.
5.1 Prepping the Grill: Setting the Stage for Perfection
Preheat your grill to medium heat. If you're using a gas grill, let the grill heat up for about 10 minutes. If you're using a charcoal grill, make sure the coals are covered in white ash.
5.2 Grilling the Corn: For a Smoky, Charred Treat
Place the thawed corn cobs on the grill and close the lid. Grill for about 10 minutes, turning the cobs every few minutes to ensure even cooking. When the corn is cooked through, it will have dark grill marks and the kernels will be slightly charred.
5.3 Adding Flavour: A Touch of Butter, Oil, or Seasonings
While you're grilling, you can brush the corn with butter or oil for extra flavour. You can also sprinkle on some salt, pepper, or other seasonings.
(Part 6) The perfect corn Companion: Dipping Sauces and Toppings
Your corn is cooked to perfection, now it's time to choose your dipping sauce and toppings. Let's get creative!
6.1 Classic Choices: Melting Butter and Salt
There's nothing quite like a classic combination of melted butter and salt. It's simple, yet delicious.
6.2 Exploring Flavour: Beyond the Basics
If you're feeling a bit adventurous, you can try some other options:
- Garlic butter: Simply add a clove of minced garlic to melted butter.
- Chipotle mayo: Combine mayonnaise with a teaspoon of adobo sauce from a can of chipotle peppers in adobo sauce.
- Lime crema: Mix sour cream with lime juice, salt, and pepper.
- Sriracha mayo: Combine mayonnaise with a teaspoon of sriracha sauce.
6.3 Topping It Off: Adding Extra Texture and Flavour
Don't forget about the toppings! You can sprinkle on some grated Parmesan cheese, crumbled feta cheese, or chopped cilantro.
(Part 7) Serving Up the Goodness: A Feast for the Eyes and Palate
Now that your corn on the cob is cooked and dressed to the nines, it's time to serve it.
7.1 A Feast for the Eyes: A Beautiful Presentation
I love to arrange the corn cobs on a platter with a bowl of dipping sauce and a few different topping options. It makes for a beautiful and impressive presentation. But you can also simply serve the corn on individual plates.
7.2 The Eating Experience: Holding it in Your Hands
And here's the fun part: the eating! I find that the best way to enjoy corn on the cob is to hold it with your hands and eat it off the cob, using a knife to cut off any stubborn kernels. But if you're feeling fancy, you can use a corn cob holder.
(Part 8) Storage and Leftovers: Making the Most of Your Corn
Now let's talk about storage. If you have any leftover corn on the cob, you can store it in an airtight container in the fridge for up to 3 days. To reheat, you can microwave it, steam it, or grill it.
8.1 Freezing Leftovers: Saving Corn for Later
You can also freeze leftover corn on the cob for up to 3 months. To freeze, let the corn cool completely, then wrap each cob individually in plastic wrap. Place the wrapped corn cobs in a freezer-safe bag.
8.2 Thawing Frozen Corn: Ready to Cook Again
To thaw frozen corn on the cob, simply place it in the refrigerator overnight. You can then cook it using your preferred method.
(Part 9) FAQs: Addressing Your Burning Questions
Let's clear up some common questions about cooking frozen corn on the cob.
9.1 How Long Does It Take to Cook Frozen Corn on the Cob?
The cooking time for frozen corn on the cob depends on the cooking method you choose.
| Cooking Method | Cooking Time |
|---|---|
| Boiling | 5-7 minutes |
| Steaming | 5-7 minutes |
| Microwaving | 3-4 minutes |
| Grilling | 10 minutes |
9.2 Can I Cook Frozen Corn on the Cob Without Thawing It?
Yes, you can cook frozen corn on the cob without thawing it. However, it will take longer to cook, and the results may not be as good.
9.3 How Do I Know If Frozen Corn on the Cob Is Cooked?
You can check for doneness by using a sharp knife to cut a small piece off the cob. If the kernel is milky white and slightly translucent, it's done! If it's still hard and opaque, cook it for another minute or two.
9.4 What Can I Do With Leftover Frozen Corn on the Cob?
You can reheat it, use it in salads, soups, stews, or stir-fries, or even blend it into cornbread batter.
9.5 What Are Some Other Tips for Cooking Frozen Corn on the Cob?
Here are a few more tips:
- If you're boiling corn, add a pinch of salt to the water for extra flavour.
- When grilling corn, use a corn cob holder to prevent the corn from rolling around on the grill.
- Experiment with different toppings and dipping sauces to find your favorite combinations.
And there you have it! Everything you need to know about cooking frozen corn on the cob. So grab a bag, thaw it out, and get cooking! And remember, the most important thing is to have fun.
Everyone is watching

Corn on the Cob: The Ultimate Guide to Perfectly Cooked Ears
Healthy MealsAh, corn on the cob. Just the name evokes images of sunny days, barbecues, and that sweet, juicy flavour that ...

Perfect Pork Roast Oven Cooking Time: A Guide to Delicious Results
Healthy MealsThere's something truly satisfying about a perfectly roasted pork. The aroma alone is enough to make your mout...

Ham Cooking Time: How Long to Bake, Smoke, or Boil a Delicious Ham
Healthy MealsAh, ham. It's a classic, isn't it? A real crowd-pleaser, especially around holidays. And when done right, it'...

Scallops: The Ultimate Guide to Perfect Cooking
Healthy MealsAh, scallops. Those delicate, sweet, and utterly delicious morsels of the sea. They hold a special place in my...

Spaghetti Squash: The Ultimate Guide to Cooking and Serving
Healthy MealsRemember that time you saw spaghetti squash at the supermarket, looking all bumpy and strange, and thought, "W...