Let's face it, pork belly is a culinary superhero. It's that magical cut of meat that transforms from humble beginnings into a crispy, succulent, and utterly irresistible dish. I've spent countless hours in the kitchen experimenting, and I've learned a thing or two about getting that perfect oven-baked pork belly. It's truly a labor of love, and the results are worth every minute spent.
This guide is your passport to pork belly mastery. We'll cover everything from selecting the perfect cut to achieving that coveted crackling. We'll also explore creative variations, tackle your burning questions, and even reveal some insider tips to make your journey to pork belly perfection as smooth as possible.
(Part 1) - The Pork Belly Journey Begins
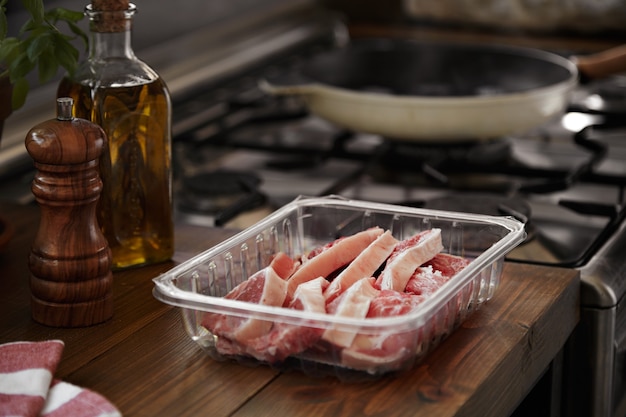
Choosing Your Pork Belly: The Foundation of Flavor
Remember, a good pork belly is the foundation of any successful dish. You need a piece with a nice thick layer of fat. That fat is the key to juicy flavor and, most importantly, that crispy crackling that sends taste buds into a frenzy.
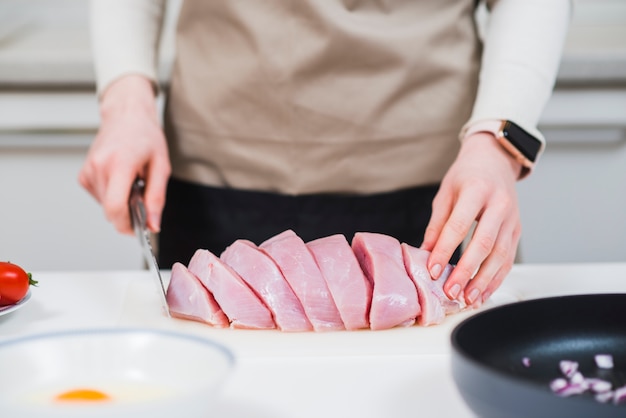
When I'm at the butcher's, I always ask for their recommendations. They have a keen eye for the best cuts and can even help you score the belly, a crucial step for achieving that perfect crackling.
Scoring the Pork Belly: Unlocking the Crackle
Scoring is like giving your pork belly a little culinary tattoo. It involves making small cuts into the fat layer, creating more surface area for the fat to render. This is what helps the crackling get crispy and adds that satisfying textural crunch.
Here's how I do it:
1. Gather your tools: A sharp chef's knife is ideal, but a sharp paring knife will work too.
2. Position your pork belly: Place it on a sturdy cutting board, fat side up.
3. Make the cuts: Starting with the fat side, make shallow, even cuts across the surface, about 1/4 inch deep and 1/2 inch apart. Avoid cutting into the meat itself, just the fat.
4. Go for a criss-cross: Rotate the pork belly 90 degrees and repeat the scoring process, creating a criss-cross pattern for even crackling.
(Part 2) - Salt, Seasoning, and Rubbing: A Symphony of Flavor
Salt: The Secret Weapon for Crispy Crackling
Salting the pork belly isn't just about flavor, it's the secret to unlocking the potential of your crackling. Salt draws moisture out of the fat, which helps it to crisp up beautifully. The longer you salt it, the crispier your crackling will be.
My go-to method is a dry brine. It's simple, effective, and gives you time to relax while the magic happens.
Choose your salt: I prefer kosher salt for its larger crystals, which draw moisture more efficiently.
Coat generously: Cover the scored pork belly completely with kosher salt, making sure every inch is well-seasoned.
Refrigerate for the win: Pop it in the fridge for a few hours, or even better, overnight. The longer you salt it, the better the crackling will be.
Seasoning: Adding a Layer of Depth and Excitement
Once you've salted your pork belly, get ready to unleash your creativity with seasonings! This is where you really get to personalize the dish.
My personal favorite is a simple blend of smoked paprika, garlic powder, black pepper, and a touch of cayenne pepper for a subtle kick. You can also add herbs like rosemary, thyme, or sage, depending on your preference.
Here's a recipe for a basic pork belly rub that I find works wonders:
Pork Belly Rub Recipe
2 tablespoons smoked paprika
1 tablespoon garlic powder
1 tablespoon black pepper
1/2 tablespoon cayenne pepper (optional, adjust to your heat preference)
1 tablespoon dried oregano
1 tablespoon dried thyme
1 tablespoon brown sugar
Mix all ingredients thoroughly and rub them generously over the scored pork belly, ensuring even coverage.
(Part 3) - The Oven-Baked Magic: Transforming Pork Belly into Perfection
Preheating the Oven: Setting the Stage for Success
Before you even think about putting the pork belly in the oven, make sure it's nice and hot. This is crucial for creating that crispy crackling and evenly cooked meat. Preheat your oven to 400°F (200°C).
The Baking Process: Guiding Your Pork Belly to Glory
Now, let's get that pork belly into the oven!
1. Choose your roasting pan: Use a sturdy roasting pan that's large enough to comfortably hold the pork belly.
2. Add aromatics (optional): I like to throw in some sliced onions and garlic for extra flavor, but it's not essential.
3. Add a little moisture: Pour a small amount of water into the bottom of the roasting pan. This helps keep the pork belly moist while it cooks.
4. Cover and bake: Cover the roasting pan tightly with aluminum foil. This helps the pork belly cook evenly and prevents it from drying out. Bake for 1 hour and 30 minutes to 2 hours, depending on the thickness of your pork belly. The fat should be rendered down, and the meat should be tender.
5. Check for doneness: Use a meat thermometer to check the internal temperature of the pork belly. It should reach an internal temperature of 145°F (63°C) for medium-rare.
6. Uncover and crisp: Once the pork belly is cooked, remove the foil and bake for another 15-20 minutes. This is the final step that helps to crisp up the crackling.
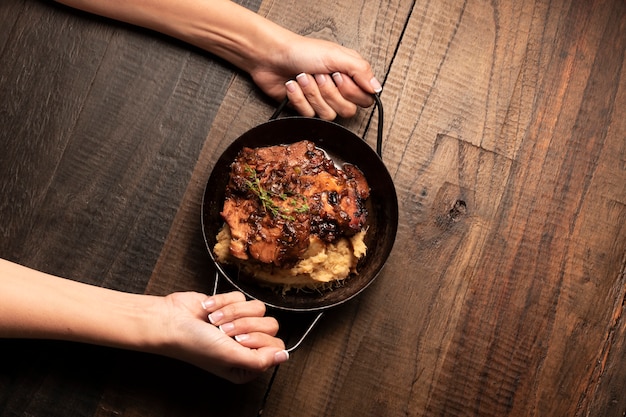
(Part 4) - The Crackling: A Culinary Masterpiece
Signs of a Successful Crackling
The crackling is the star of the show! It's that crunchy, golden-brown layer that adds a delightful textural contrast to the tender pork belly. You know it's ready when it's:
Puffed up: The crackling should be puffed up and have a slight airy texture.
Golden-brown: It should have a beautiful golden-brown hue.
Hard to the touch: The crackling should be firm and resist your touch.
Basting for Extra Crispness
If you want to take your crackling to the next level, try basting. During the last 30 minutes of baking, brush the crackling with a mixture of honey and soy sauce. This adds a lovely glaze and helps enhance the crispiness.
(Part 5) - Resting and Slicing: Preparing for the Feast
Let the Pork Belly Rest
Patience is key here! Allow the pork belly to rest for 10 minutes after it comes out of the oven. This allows the juices to redistribute, making it even more tender and flavorful.
The Art of Slicing
Use a sharp knife to slice the pork belly into even pieces. Be careful, the crackling can be quite sharp!
(Part 6) - Serving Up Perfection: A Feast for the Senses
Sides that Shine with Pork Belly
Now, get ready to enjoy your culinary masterpiece! Serve the crispy oven-baked pork belly with your favorite sides. Here are some classic pairings, but feel free to get creative:
mashed potatoes: A creamy and comforting classic that complements the richness of the pork belly.
Roasted Vegetables: The sweetness and contrasting textures of roasted vegetables enhance the overall dish.
green beans: Their crisp texture adds a welcome contrast to the richness of the pork belly.
Apple Sauce: The sweetness of apple sauce balances the savory pork belly perfectly.
Coleslaw: A refreshing and tangy side dish that adds a delightful balance to the richness of the pork belly.
Grilled Pineapple: The smoky sweetness of grilled pineapple adds an exciting flavor dimension to the dish.
(Part 7) - Variations and Twists: Going Beyond the Basics
Embrace Your Inner Pork Belly Alchemist
Don't be afraid to experiment! There are countless ways to create your own signature pork belly flavor profiles. Here are some ideas to inspire your culinary adventures:
Ginger and Chilli Pork Belly: Rub the pork belly with a mixture of grated ginger, red pepper flakes, and garlic for a spicy kick.
Honey Garlic Pork Belly: During the last 30 minutes of baking, brush the pork belly with a sweet and tangy honey garlic glaze.
Maple and Mustard Pork Belly: Create a glaze with maple syrup, Dijon mustard, and a touch of brown sugar for a sweet and savory flavor combination.
Lemon and Herb Pork Belly: Use a blend of lemon zest, rosemary, thyme, and garlic for a refreshing and aromatic pork belly experience.
(Part 8) - Storing and Leftovers: Maximizing Your Pork Belly Bounty
Leftovers: Not a Waste, a Culinary Treasure
Don't fret if you have leftovers! They're a delicious opportunity to enjoy your pork belly again. Store it in the fridge for up to 3 days. Simply slice it and place it in an airtight container. The crackling might soften slightly, but the flavor and tenderness will remain.
Reheating Tips
To reheat, preheat your oven to 350°F (175°C) and bake the pork belly for 10-15 minutes. You can also reheat it in a skillet over medium heat, just keep a close eye on it to prevent burning.
(Part 9) - FAQs: Your Burning Pork Belly Questions Answered
1. My Crackling Isn't Crispy - What's the Deal?
If your crackling isn't as crispy as you'd like, it might be due to a few factors:
Scoring depth: The scoring might not have been deep enough.
Oven temperature: The oven might not have been hot enough.
You can try re-heating the pork belly under the broiler for a few minutes to crisp up the crackling.
2. Can I Use a Different Cut of Pork?
While pork belly is ideal, you can use other cuts with a good layer of fat, like pork shoulder or pork loin. Just adjust the cooking time accordingly.
3. My Pork Belly is Too Salty - Help!
If your pork belly is too salty, try rinsing it under cold water before baking. You can also soak it in cold water for 30 minutes to an hour to draw out some of the salt.
4. Can I Cook Pork Belly in a slow cooker?
Yes, you can cook pork belly in a slow cooker. Cook it on low for 6-8 hours, or on high for 3-4 hours. The crackling won't be as crispy, but the pork belly will be incredibly tender and flavorful.
5. What are Some Other Ways to Enjoy Pork Belly?
Pork belly is incredibly versatile! It's delicious in stir-fries, stews, salads, sandwiches, and even as a filling for dumplings. Let your culinary creativity run wild!
(Part 10) - The Final Word: Embrace the Pork Belly Journey
There you have it! A comprehensive guide to mastering crispy oven-baked pork belly. It's about patience, a little bit of technique, and a whole lot of flavor. So, get out there, give it a try, and savor the delicious results. Happy cooking!
Everyone is watching

Corn on the Cob: The Ultimate Guide to Perfectly Cooked Ears
Healthy MealsAh, corn on the cob. Just the name evokes images of sunny days, barbecues, and that sweet, juicy flavour that ...

Perfect Pork Roast Oven Cooking Time: A Guide to Delicious Results
Healthy MealsThere's something truly satisfying about a perfectly roasted pork. The aroma alone is enough to make your mout...

Scallops: The Ultimate Guide to Perfect Cooking
Healthy MealsAh, scallops. Those delicate, sweet, and utterly delicious morsels of the sea. They hold a special place in my...

Spaghetti Squash: The Ultimate Guide to Cooking and Serving
Healthy MealsRemember that time you saw spaghetti squash at the supermarket, looking all bumpy and strange, and thought, "W...

Salmon Cooking Times: Perfect Guide for Every Recipe
Healthy MealsLet me tell you, cooking salmon is an art form. It's all about getting that perfect balance: juicy and tender,...