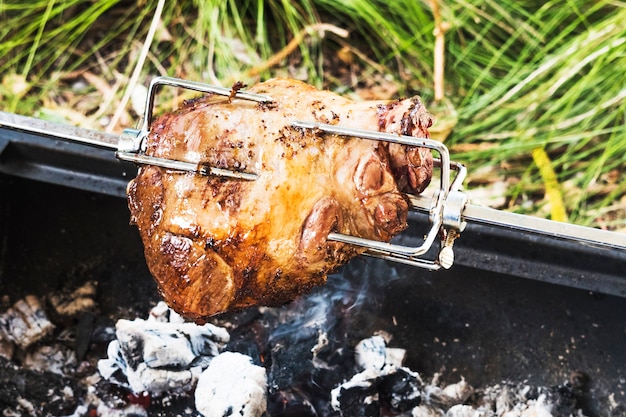
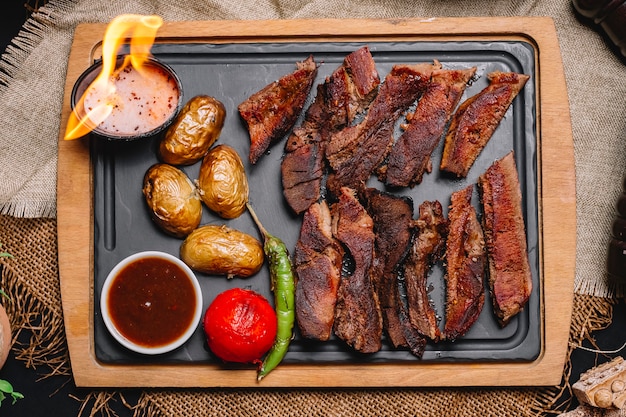
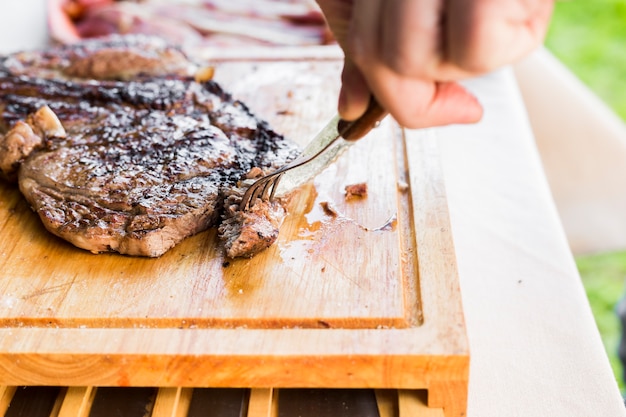
There's something undeniably comforting about a good rack of ribs. It's the kind of dish that evokes feelings of warmth and happiness, perfect for sharing with loved ones. For me, nothing beats those succulent, fall-off-the-bone country-style ribs, slow-cooked to perfection. They're the epitome of culinary indulgence, boasting a crispy, caramelized crust and juicy, tender meat. My love affair with ribs started at a family barbecue, where my uncle, a master of the smoker, unveiled a symphony of smoky, rich aromas. The taste? Let's just say it was love at first bite.
Over the years, I've experimented with countless rib recipes, from elaborate multi-step methods to classic, time-tested techniques. But I've learned that the best ribs are often the simplest, and that's what I'm sharing with you today. This is my recipe for oven-baked country-style ribs, a foolproof method that delivers incredible results with minimal fuss.
So, grab your apron, gather your ingredients, and let's embark on this culinary adventure together! I'll guide you through each step, sharing tips and tricks I've picked up along the way, turning you into a rib master in no time.
(Part 1) Choosing the Right Ribs: The Foundation of Flavor

Before we start cooking, it's crucial to select the right ribs. There are two primary types of pork ribs: baby back ribs and spare ribs. While both have their own unique characteristics, I'm focusing on country-style ribs today.
Country-Style Ribs: A Misnomer with a Delicious Twist
Let me clear up a common misconception: Country-style ribs aren't actually ribs at all! They're a cut of pork from the shoulder, known for being thicker and meatier than traditional ribs. The generous marbling of fat in country-style ribs is key, as it melts and basted the meat during cooking, ensuring incredible juiciness and tenderness. I find them more forgiving to cook, requiring less precision than traditional ribs.
You'll typically find country-style ribs sold in a "rack," which is a collection of individual ribs tied together. They're readily available at most supermarkets and are generally budget-friendly.
Picking the Perfect Rack: Signs of Quality
When choosing your ribs, here's what to look for:
- Marbling matters: Seek out ribs with a good amount of marbling, as the fat will render down during cooking, adding flavor and keeping the meat juicy.
- Fresh is best: Ensure the ribs have a nice, even red color, indicating freshness.
- Trust your senses: Check for any signs of discoloration or unusual smells. Your ribs should be fresh and free of any off-putting aromas.
Preparing Your Ribs: A Clean Slate for Flavor
Once you have your ribs, rinse them thoroughly under cold water and pat them dry with paper towels. You can trim any excess fat, but I prefer to leave a good layer of fat intact. That fat will render down, adding flavor and juiciness.
Now comes the fun part: seasoning. You can simply salt and pepper the ribs, or you can create a flavorful "rub" to elevate their taste.
(Part 2) Mastering the Rub: A Symphony of Flavors

The rub is where the real magic happens, transforming basic pork into a flavour explosion. While I love experimenting with different rub combinations, there are some classic formulas that never disappoint.
A typical rib rub usually includes a combination of:
- Salt and pepper - The foundation of any good rub, they bring out the natural flavors of the pork.
- Paprika - This adds a touch of sweetness and smokiness, complementing the pork beautifully.
- Garlic powder - Enhances the savory notes and adds a hint of earthiness.
- Onion powder - Adds a touch of sweetness and complexity, rounding out the flavor profile.
- Chili powder - Provides a kick of heat, but feel free to adjust the amount to your liking.
- Brown sugar - Helps to create a beautiful caramelization on the ribs, adding a touch of sweetness and a glistening finish.
- Other spices and herbs - Feel free to get creative! Experiment with cumin, coriander, thyme, rosemary, or even a pinch of cayenne pepper. The possibilities are endless!
My Go-To Country-Style Rib Rub: A Balanced Blend of Flavors
This is the rib rub I always rely on, a harmonious blend of sweet, smoky, and spicy flavors:
- 1 tablespoon paprika
- 1 tablespoon garlic powder
- 1 tablespoon onion powder
- 1 tablespoon chili powder
- 1 tablespoon brown sugar
- 1 teaspoon smoked paprika
- 1 teaspoon cumin
- 1 teaspoon salt
- 1 teaspoon black pepper
- 1/2 teaspoon cayenne pepper (optional)
To create your rub, simply combine all the ingredients in a bowl and mix them together until well incorporated.
Applying the Rub: A Flavorful Embrace
Now, it's time to generously coat those ribs with our delicious rub. Using your hands, rub the spice mixture all over the ribs, ensuring all surfaces are covered.
A little tip: For an extra flavorful punch, use your hands to gently press the rub into the meat. This helps the spices to penetrate the meat and enhance the flavour.
Once the ribs are fully coated, you can either leave them uncovered in the refrigerator for a few hours or even overnight. This allows the rub to permeate the meat and develop those incredible flavours.
(Part 3) Prepping for Oven-Baked Perfection: Setting the Stage

With your ribs resting in the fridge, it's time to prepare for their oven-baked transformation. We need to create a moist, flavorful environment for them to simmer in.
The Liquid Bath: A Symphony of Flavors
While a simple combination of liquids will work, I prefer to create a more elaborate sauce for an extra layer of depth.
Here's my go-to blend:
- Apple cider vinegar - Adds a touch of sweetness and tanginess, balancing the richness of the pork.
- Worcestershire sauce - This adds a complex, savory depth of flavour, enhancing the overall taste profile.
- Brown sugar - Helps to create a beautiful caramelization on the ribs, adding a touch of sweetness and a glistening finish.
- Soy sauce - Adds a salty, umami flavour, enhancing the richness of the pork.
- Water - Helps to dilute the sauce and create a more even cooking environment, preventing the ribs from drying out.
Creating the Rib Bath: A Flavorful Embrace
In a small saucepan, combine all the ingredients listed above. Bring the mixture to a simmer and let it cook for a few minutes, until the brown sugar has dissolved.
Once the sauce is ready, pour it into a baking dish large enough to hold the ribs.
Gently place your rib rack on top of the sauce, ensuring the ribs are submerged in the liquid, but not completely submerged.
(Part 4) The Oven-Baked Transformation: A Slow and Steady Journey to Flavor
Now, it's time to bake our ribs to succulent, fall-off-the-bone perfection!
Pre-heating the Oven: Setting the Stage for Success
Preheat your oven to 300°F (150°C). This low and slow cooking method is key to tenderizing the meat and developing those deep, rich flavours.
Oven Time: A Culinary Transformation
Carefully transfer your baking dish to the oven. Bake your ribs for 2-3 hours, or until they're fork-tender.
A little tip: If you have a meat thermometer, check the internal temperature of the ribs. They're done when they reach an internal temperature of 190°F (88°C).
During cooking, check on the ribs every hour or so, basting them with the liquid from the baking dish. This will help to keep them moist and tender, and it'll also help to create a beautiful caramelized crust on the ribs.
The Finishing Touch: A Delicious Glaze
After your ribs have been baking for a couple of hours, it's time to add a finishing glaze. This will add another layer of flavour and create a beautiful, glossy finish on the ribs.
For my glaze, I use a simple combination of:
- Honey - Adds sweetness and a beautiful shine, enhancing the overall appearance.
- Soy sauce - This adds a salty, umami flavour, balancing the sweetness of the honey.
- Apple cider vinegar - Adds a touch of tanginess, adding a complex layer of flavour to the glaze.
- Garlic powder - Adds a hint of savory flavour, complementing the overall taste profile.
Combine all the ingredients in a small saucepan and bring to a simmer. Cook for a few minutes, until the glaze has thickened slightly.
Carefully remove the ribs from the oven. Brush the glaze generously over the ribs, making sure to coat them evenly.
Return the ribs to the oven for another 15-20 minutes, or until the glaze is caramelized and bubbly.
(Part 5) The Moment of Truth: Time to Dig In
After a long, slow cooking journey, your ribs are finally ready! Now, the moment you've all been waiting for: it's time to dig in.
Carefully remove the ribs from the oven. Let them rest for a few minutes, so the juices can redistribute. This will ensure they are incredibly juicy and flavorful.
Now, you can cut the ribs into individual pieces, or leave them as a rack. Serve them with your favourite sides, such as coleslaw, baked beans, or mashed potatoes.
As you take your first bite, allow the delicious flavours to dance on your tongue. That melt-in-your-mouth tenderness, the smoky and sweet flavour notes, the crispy, caramelized glaze – it's truly a culinary masterpiece.
(Part 6) Tips and Tricks for Rib Perfection: Elevating Your Game
Over the years, I've learned a few tricks that can elevate your rib game. Here are some helpful tips:
- Don't overcrowd the pan. Make sure you have enough space in the baking dish for the ribs to cook evenly. If you have a large rack of ribs, you might need to divide it into smaller pieces.
- Don't be afraid to experiment with different rubs and glazes. Ribs are a great canvas for flavour experimentation. Try different herbs, spices, and sweeteners to find your perfect combination.
- Use a meat thermometer. This is the best way to ensure your ribs are cooked to perfection. They should reach an internal temperature of 190°F (88°C) for a tender, juicy result.
- Let the ribs rest. After you take the ribs out of the oven, let them rest for at least 10 minutes before cutting them. This will allow the juices to redistribute, ensuring a juicier, more flavourful bite.
- Don't be afraid to use a little extra liquid. If the ribs start to dry out during cooking, you can add a little extra liquid to the baking dish.
- Don't overcook the ribs. Overcooked ribs can be tough and dry. Keep a close eye on them and remove them from the oven when they're tender and juicy.
- If you're in a rush, you can use a pressure cooker to cook the ribs. This will significantly reduce the cooking time, but you might sacrifice a bit of flavour and tenderness.
(Part 7) Variations for the Adventurous Chef: Exploring Flavor Frontiers
Feel free to unleash your inner foodie and experiment with different flavours. Here are some ideas to spark your creativity:
Spicy Ribs with a Kick: A Fiery Delight
Add a touch of heat with some cayenne pepper or smoked paprika to your rub or glaze. You can also include some chopped jalapenos or habanero peppers to the sauce for a fiery kick.
Sweet and Savoury Ribs with a Tangy Twist: A Harmonious Balance
Incorporate a touch of sweet and tangy goodness by adding a bit of honey, brown sugar, or maple syrup to your glaze. You can also add a splash of balsamic vinegar or lemon juice for a bright, tangy flavour.
Asian-Inspired Ribs with a Global Flavour: A culinary journey
Experiment with Asian flavours by adding ginger, garlic, soy sauce, sesame oil, and a dash of chili garlic sauce to your rub or glaze.
(Part 8) FAQs - Your Country-Style Rib Questions Answered: Demystifying the Process
You may have some questions about this process. Here are some frequently asked questions and answers:
FAQs
| Question | Answer |
|---|---|
| Can I use baby back ribs instead of country-style ribs? | Absolutely! You can use baby back ribs if you prefer a more traditional rib experience. However, they will need a shorter cooking time, so make sure to adjust your cooking time accordingly. |
| Can I grill my country-style ribs? | You certainly can! grilling ribs is a fantastic way to add a smoky flavour. Just make sure to use indirect heat and keep a close eye on the ribs, as they can burn quickly. |
| Can I use a smoker instead of an oven? | Yes, smoking your ribs is the traditional way to cook them. If you have a smoker, go for it! Just make sure to follow the smoker's instructions and keep a close eye on the ribs, especially during the first couple of hours. |
| How can I store leftover ribs? | Store your leftover ribs in an airtight container in the refrigerator for up to 3 days. You can reheat them in the oven, on the stovetop, or even in the microwave. |
| Can I freeze my country-style ribs? | You can freeze your ribs for up to 3 months. Just wrap them tightly in plastic wrap and aluminum foil, and place them in a freezer-safe bag. To thaw, place the ribs in the refrigerator overnight. |
Remember, cooking is all about having fun and experimenting. Don't be afraid to try new things and tweak the recipe to your liking.
I hope you enjoy this oven-baked country-style ribs recipe! It's truly a crowd-pleaser and a perfect meal for any occasion. Happy cooking!
Everyone is watching

Corn on the Cob: The Ultimate Guide to Perfectly Cooked Ears
Healthy MealsAh, corn on the cob. Just the name evokes images of sunny days, barbecues, and that sweet, juicy flavour that ...

Perfect Pork Roast Oven Cooking Time: A Guide to Delicious Results
Healthy MealsThere's something truly satisfying about a perfectly roasted pork. The aroma alone is enough to make your mout...

Ham Cooking Time: How Long to Bake, Smoke, or Boil a Delicious Ham
Healthy MealsAh, ham. It's a classic, isn't it? A real crowd-pleaser, especially around holidays. And when done right, it'...

Scallops: The Ultimate Guide to Perfect Cooking
Healthy MealsAh, scallops. Those delicate, sweet, and utterly delicious morsels of the sea. They hold a special place in my...

Spaghetti Squash: The Ultimate Guide to Cooking and Serving
Healthy MealsRemember that time you saw spaghetti squash at the supermarket, looking all bumpy and strange, and thought, "W...
