Ah, turkey breast. The culinary hero of countless holiday dinners, potlucks, and weeknight meals. But let's be honest, sometimes it can be a bit of a culinary puzzle. You've got to get the cooking time right, the temperature just so, and all without drying it out. Well, fear not, my friends, because today I'm sharing my secrets to achieving juicy, flavorful turkey breast every time.
From my days of overcooked, dry turkey tragedies to the glorious triumphs of perfectly cooked, succulent feasts, I've learned a thing or two about this versatile bird. As a seasoned home cook, I know the pain of a dry turkey breast. It's a culinary crime! But with the right techniques, you can avoid that fate and enjoy a truly delicious turkey breast. That's what we're going to do today. We're diving deep into the world of turkey breast cooking, tackling everything from choosing the perfect cut to mastering the ideal cooking method. We'll explore the dos and don'ts, the tips and tricks, and all the insider knowledge you need to create a turkey breast that's not just edible, but absolutely mouthwatering.
Part 1: Choosing the Right Turkey Breast
The first step on our turkey breast journey is selecting the right cut. You've got a few options here, and it's crucial to pick one that fits your needs and preferences.
Boneless, Skin-On
This is the classic choice for good reason. It's relatively easy to cook, and the skin acts as a natural barrier, helping to keep the meat moist and juicy during cooking. It also adds a delightful crispy texture to the final product.
Boneless, Skinless
If you're watching your fat intake or simply prefer a leaner option, boneless, skinless turkey breast is a great alternative. However, keep in mind that it can dry out more easily. So, you'll need to pay extra attention to the cooking time and consider additional moisture-retention techniques.
Bone-in
For a more traditional taste and texture, consider a bone-in turkey breast. The bone itself helps to keep the meat moist and flavorful, and it adds a lovely depth of flavor. However, bone-in turkey breasts take longer to cook and can be slightly more challenging to carve.
Ultimately, the best choice for you depends on your personal preferences and the size of the crowd you're feeding.
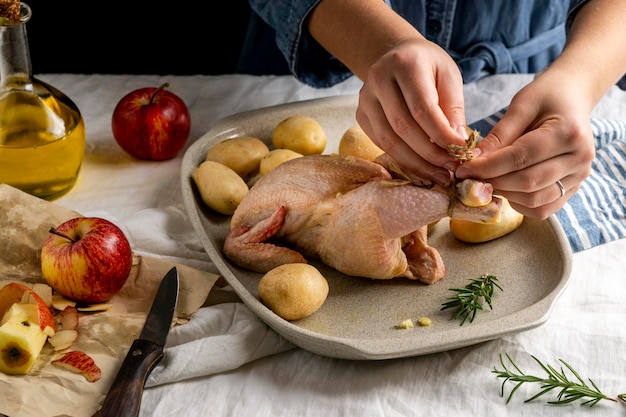
Part 2: Prepping the Turkey Breast for Success

Once you've got your turkey breast, it's time to prep it for cooking. Here's a simple, step-by-step guide to ensure a flavorful and juicy result.
- Pat it dry: Excess moisture can hinder the browning process and make your turkey breast steam rather than roast. So, pat the turkey breast dry with paper towels.
- Season it generously: Don't be shy with the seasonings! A good rub with salt, pepper, and your favourite herbs and spices will create a flavor explosion. I love a combination of rosemary, thyme, and garlic, but feel free to experiment with your own unique blend.
- Stuff it (optional): If you're feeling fancy, you can stuff the turkey breast with your favourite stuffing. Just make sure it's cooked thoroughly before serving. For a truly flavorful stuffing, consider adding a bit of broth or chicken stock to keep it moist.
Now, let's talk about the essential tool in your turkey-cooking arsenal: the trusty kitchen thermometer. This is your best friend when it comes to achieving perfectly cooked turkey breast. It's the only way to know for sure if your bird is cooked through without overdoing it. A turkey breast is considered safe to eat when it reaches an internal temperature of 165°F (74°C).
Part 3: Mastering the Art of roasting turkey Breast
Now, let's get to the heart of the matter - roasting. This is where the magic happens, transforming a simple turkey breast into a culinary masterpiece.
My go-to method is the classic oven roast. It's simple, reliable, and delivers consistently delicious results.
oven roasting: A Step-by-Step Guide
- Preheat your oven: A hot oven is key for achieving a crispy skin and evenly cooked meat. Set your oven to 325°F (160°C).
- Choose your roasting pan: Make sure it's big enough to hold the turkey breast without overcrowding. A roasting pan with a rack is ideal, allowing for even air circulation and preventing the turkey breast from sitting in its own juices.
- Roast until perfection: Place the turkey breast in the preheated oven and roast until the internal temperature reaches 165°F (74°C). This takes about 1 ?? to 2 hours for a 4-5 pound turkey breast.
But hold on, there's more to the story! Remember that juicy part I mentioned earlier? To ensure a moist and tender turkey breast, we need to consider a few extra tricks.
Unlocking Juicy Results
- Basting: This is a bit of a chore, but it's well worth it for a truly succulent turkey breast. Every 30 minutes or so, pour the pan drippings over the turkey breast to keep it moist and flavorful.
- Covering the turkey: To prevent the turkey from drying out, cover it with a tent of foil for the first hour of cooking. This creates a moist environment that helps to keep the meat tender.
- Resting is key: After cooking, let the turkey breast rest for 10-15 minutes before carving. This allows the juices to redistribute, resulting in a more flavorful and succulent final product.
Now, let's explore some variations on the classic roasting method. While the basic roasting method is a solid foundation, there are plenty of ways to elevate your turkey breast to new heights of deliciousness.
Delicious Variations
- Brining: This involves soaking the turkey breast in a salt water solution for several hours. Brining helps to keep the meat moist and tender, resulting in a juicier and more flavorful turkey breast. It's a bit more work, but the results are truly worth it.
- Roasting with Vegetables: Add some vegetables to your roasting pan for a delicious one-pan meal. Try root vegetables like carrots, potatoes, and onions. They not only add flavor to the turkey breast but also create a delightful side dish.
- Using a Thermometer: Remember, that little thermometer is your friend. It's the only way to know for sure if your turkey breast is cooked through and prevents overcooking.
Part 4: Exploring Other Cooking Methods
You've got the roasting method down pat, but what if you're looking for something different? Don't worry, I've got you covered.
Grilling: A Summertime Delight
Yes, you can grill a turkey breast! It's a fantastic option for summer gatherings, especially when paired with grilled vegetables. Just be sure to use indirect heat and keep a close eye on the temperature.
Smoking: For a Smoky Kick
For a truly smoky flavor, smoking is the way to go. This method takes a bit longer, but the results are incredibly rewarding. The smoky aroma and flavor will transport you to a barbecue haven.
Sous Vide: Precision Cooking at its Finest
If you're a fan of precision cooking and consistently even results, then sous vide might be your new favorite method. This technique involves sealing the turkey breast in a vacuum bag and cooking it in a water bath. It produces incredibly juicy and evenly cooked results, with the added benefit of precise temperature control.
No matter which method you choose, remember to use a thermometer to ensure your turkey breast is cooked through and reaches the safe internal temperature of 165°F (74°C).
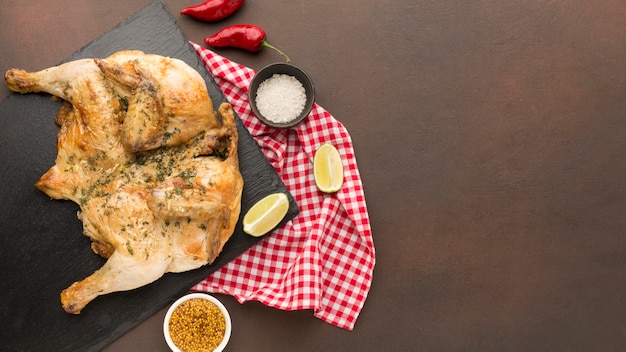
Part 5: Serving the Turkey Breast: A Culinary Celebration
Now comes the fun part – serving. There's nothing quite like that warm, inviting smell of roasted turkey filling the air.
Here are a few tips for serving your turkey breast with panache:
- Carve the turkey: Once the turkey breast has rested, it's time to carve. Use a sharp knife to slice the meat against the grain. This will make it easier to cut and produce more tender slices.
- Serve with your favourite sides: Turkey breast goes well with a variety of side dishes. Some classic pairings include mashed potatoes, stuffing, gravy, cranberry sauce, and green beans. But don't be afraid to experiment with your favourite seasonal vegetables or even a creative fruit salad.
- Don't forget the leftovers! Leftover turkey breast is a real treat. You can use it for sandwiches, salads, or even pizza.
But what if your turkey breast isn't turning out quite as you planned? Don't fret, there's always a solution.
Part 6: Troubleshooting: When Things Don't Go as Planned
Let's face it, sometimes things don't go exactly as planned in the kitchen. You might find yourself staring at a dry turkey breast or a turkey breast that's not quite cooked through. Don't panic! Here are some tips for fixing common turkey breast cooking problems:
Dry Turkey Breast: Rescue Mission
If your turkey breast is a bit dry, there are a few things you can do to salvage it and make it delicious again:
- Add some gravy: Gravy can help to moisten the turkey breast and add flavor.
- Slice it thinly: Thin slices of turkey breast will be less dry than thick ones.
- Use it for sandwiches or salads: Leftover dry turkey breast can still be used for sandwiches or salads.
Undercooked Turkey Breast: Back to the Oven
If your turkey breast isn't cooked through, you'll need to return it to the oven to finish cooking. Make sure it reaches an internal temperature of 165°F (74°C) before serving.
Part 7: FAQs: Your Turkey Breast Questions Answered
Now, I've covered a lot of ground, but I know you've probably got questions. So let's get to it.
Q1: Can I cook a turkey breast in a slow cooker?
A1: You can, but I don't recommend it. The slow cooker can make the turkey breast too dry. However, if you're set on using a slow cooker, try this: place the turkey breast in the slow cooker, add some broth or water, and cook on low for 6-8 hours.
Q2: What happens if I overcook my turkey breast?
A2: An overcooked turkey breast will be dry and tough. There's no fixing it, but you can still use it in dishes like turkey salad or sandwiches.
Q3: Can I freeze a turkey breast?
A3: Absolutely! You can freeze a raw turkey breast for up to two months. Thaw it in the refrigerator for 1-2 days before cooking.
Q4: What's the best way to store leftover turkey breast?
A4: Store leftover turkey breast in an airtight container in the refrigerator for up to 4 days. You can also freeze it for up to 2 months.
Q5: What are some good side dishes for turkey breast?
A5: Turkey breast goes well with a variety of side dishes. Some classic pairings include mashed potatoes, stuffing, gravy, cranberry sauce, and green beans. You can also get creative with your sides and try something new. Consider a bright and tangy fruit salad or a medley of roasted root vegetables.
Part 8: Final Thoughts: Your Journey to Turkey Breast Mastery
So there you have it, my complete guide to cooking a boneless turkey breast. From choosing the right cut to mastering the perfect roasting method, you've got all the tools you need to create a juicy, delicious turkey breast that everyone will love. Remember, the key to success is using a thermometer to ensure your turkey breast is cooked through without overdoing it. And don't be afraid to experiment with different flavours and techniques.
I hope you find this guide helpful. Now go forth and conquer the world of turkey breast cooking!
Everyone is watching

Corn on the Cob: The Ultimate Guide to Perfectly Cooked Ears
Healthy MealsAh, corn on the cob. Just the name evokes images of sunny days, barbecues, and that sweet, juicy flavour that ...

Perfect Pork Roast Oven Cooking Time: A Guide to Delicious Results
Healthy MealsThere's something truly satisfying about a perfectly roasted pork. The aroma alone is enough to make your mout...

Scallops: The Ultimate Guide to Perfect Cooking
Healthy MealsAh, scallops. Those delicate, sweet, and utterly delicious morsels of the sea. They hold a special place in my...

Ham Cooking Time: How Long to Bake, Smoke, or Boil a Delicious Ham
Healthy MealsAh, ham. It's a classic, isn't it? A real crowd-pleaser, especially around holidays. And when done right, it'...

Spaghetti Squash: The Ultimate Guide to Cooking and Serving
Healthy MealsRemember that time you saw spaghetti squash at the supermarket, looking all bumpy and strange, and thought, "W...