(Part 1) Blackstone Burger Basics: Setting the Stage

Choosing the Right Blackstone: Size Matters
First things first, let's talk Blackstone. I'm a huge fan of the 36-inch griddle. It's a real beast, giving you tons of space to cook up a storm. But if you're just starting out, a smaller 22-inch griddle is perfectly fine for smaller gatherings. No matter what size you choose, make sure it has a temperature gauge. That little guy is essential for knowing when your griddle is hot enough.Preheating Your Blackstone: Get Ready to Sizzle
You can't just throw those burgers onto a cold griddle. We need that surface good and hot, just like a proper grill. Preheat your Blackstone to medium-high heat, around 400 degrees Fahrenheit. This should take about 10 minutes. You'll know it's ready when you can hold your hand a few inches above the griddle and it's uncomfortably warm.Prepping Your Burgers: The Foundation of Flavor
Now for the patties. Before you start cooking, get those burgers prepped and ready to go. Make sure your meat is nice and cold. This helps prevent it from falling apart when you cook it. If you're using ground beef, lightly salt and pepper both sides. For veggie patties, feel free to use your usual seasonings.(Part 2) ground beef burgers: The Classics

The Magic Number: 1/2 Inch - The Perfect Patty Thickness
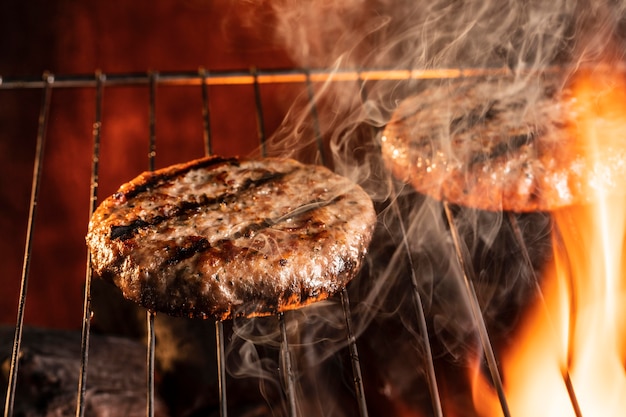
Now, let's talk about that ideal burger thickness. I find that a 1/2-inch thick patty cooks up best on a Blackstone. It's the sweet spot, giving you a juicy center with a crispy exterior. Plus, it's easy to cook evenly.Cooking Times for Ground Beef: A Guide to Doneness
Here's the general guideline for cooking 1/2-inch thick ground beef patties on a Blackstone:| Doneness | internal temperature | Cooking Time |
|---|---|---|
| Rare | 125°F (52°C) | 3-4 minutes per side |
| Medium-Rare | 130°F (54°C) | 4-5 minutes per side |
| Medium | 140°F (60°C) | 5-6 minutes per side |
| Medium-Well | 150°F (65°C) | 6-7 minutes per side |
| Well-Done | 160°F (71°C) | 7-8 minutes per side |
Tips for Perfect Ground Beef Burgers: Pro Secrets
Don't press down on the patties! This squeezes out all the delicious juices, leaving you with a dry burger. Let them cook undisturbed. Flip those burgers just once. You'll get the best sear and lock in that juicy flavor. Rest your burgers for 5 minutes before serving. This allows the juices to redistribute, resulting in a more flavorful burger.(Part 3) Beyond Ground Beef: Expanding Your Burger Horizon

Veggie Burgers: The Plant-Based Powerhouse
For those who prefer a plant-based option, veggie burgers are fantastic! But here's the thing: veggie patties can be a bit more delicate than beef patties. So, we need to be a bit gentler with them. The cooking times for veggie patties vary depending on the brand and thickness, but generally, they'll cook faster than beef patties. Aim for about 4-5 minutes per side for a medium-cooked veggie burger.Chicken Burgers: A Lighter Option
Chicken burgers are another excellent choice. They're lighter than beef burgers and cook up quickly. I like to use a thick cut of chicken breast for my chicken burgers. Remember, chicken needs to be cooked to an internal temperature of 165°F (74°C). So, be sure to use a meat thermometer to check for doneness.Turkey Burgers: Lean & Delicious
Turkey burgers are a leaner option, but they can dry out easily if overcooked. Aim for about 3-4 minutes per side for a juicy turkey burger.(Part 4) Mastering the Flip: The Art of the SizzleThe "Sizzle Test": Your Ear Is Your Guide
You'll hear a lot of people say they go by feel when flipping. I'm all for that, but I like to use something I call the "sizzle test." When you hear the patty sizzling loudly on the Blackstone, it means it's ready to be flipped. This also indicates the patty is forming a nice crust on the bottom. Grill Marks: The Signature Touch
For the ultimate burger experience, we need those iconic grill marks. You can achieve this by using a spatula to make a few diagonal lines on the surface of the burger before flipping it. It's a simple technique that makes a big difference in the appearance and flavor of your burgers.(Part 5) The Temperature Check: Doneness Done Right
The Meat Thermometer: Your Culinary BFF
We've talked about cooking times, but let's be real, the only way to know for sure if your burger is cooked to your liking is to use a meat thermometer. I don't leave home without mine. It's a small investment that guarantees perfectly cooked burgers every time.Internal Temperatures: Safe and Delicious
Here's a quick reminder of the safe internal temperatures for different types of burgers: Ground Beef: 160°F (71°C) Chicken: 165°F (74°C) Turkey: 165°F (74°C) Veggie Patties: Depending on the ingredients, but usually around 160°F (71°C)(Part 6) Toppings: The Art of Burger Customization
Get Creative with Toppings: Unleash Your Inner Chef
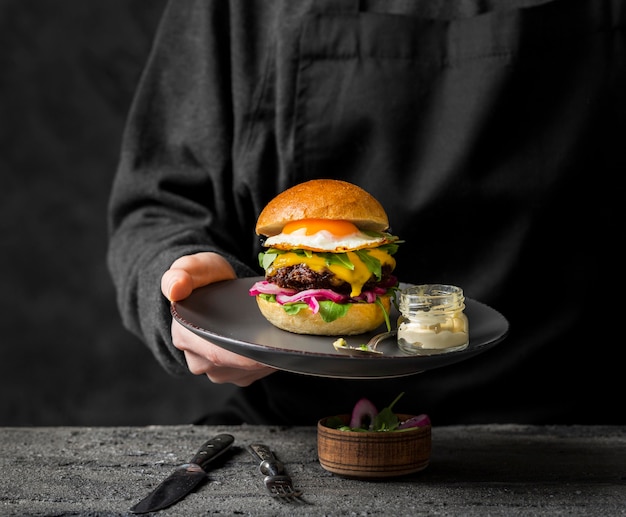
Alright, the burgers are cooked, now it's time for the fun part: toppings! The possibilities are endless! I like to keep things simple with cheese, lettuce, tomato, and onion. But if you're feeling adventurous, try some bacon, avocado, or even a fried egg.Don't Forget the Cheese: Melty Goodness
Cheese is a must-have for any good burger. Melty cheddar is a classic, but don't be afraid to try other cheeses like mozzarella, Swiss, or even brie. Add the cheese towards the end of the cooking process, letting it melt on top of the burger.The Bun: The Perfect Base
Don't forget about the buns! Choose a soft, fluffy bun that will hold up to all those delicious toppings. Toast the buns on the Blackstone for a few seconds to give them a nice crispy texture.(Part 7) Building Your Burger Dream Team: A Masterclass in Flavor
My Favourite Burger Creation: A Culinary Masterpiece
For me, the perfect burger starts with a juicy, medium-cooked beef patty seasoned with salt and pepper. I like to top it with melty cheddar cheese, crisp lettuce, juicy tomato slices, and a sprinkle of red onion. I use a fluffy brioche bun that's been toasted on the Blackstone for a crispy texture. Try a Veggie Burger Twist: Plant-Based Perfection
If you're craving a veggie burger, try a black bean patty topped with avocado, vegan cheese, and a spicy sriracha mayo. The Secret Ingredient: Patience
Remember, the key to a great burger is patience. Don't rush the cooking process. Allow the patties to cook evenly and develop a nice crust. And most importantly, have fun! (Part 8) FAQs: Your Burger Questions Answered
Q1: What if my burgers are sticking to the Blackstone?
A: This is a common issue. The solution is to make sure your Blackstone is properly preheated. The hot surface will help prevent sticking. You can also lightly brush the griddle with a bit of oil before cooking.
Q2: How do I prevent my burgers from drying out?
A: Don't overcook them! Use a meat thermometer to check for doneness and make sure you're not exceeding the recommended internal temperatures. And remember, resting the burgers for a few minutes before serving will help them stay juicy.
Q3: Can I cook multiple burgers at once?
A: Absolutely! This is where the Blackstone really shines. Just make sure you have enough space on the griddle to cook all the burgers evenly. You can also use a spatula to rotate the patties during cooking to ensure they cook evenly.
Q4: How do I clean my Blackstone?
A: Let the Blackstone cool completely before cleaning. You can then use a scraper to remove any leftover food. Wipe the griddle with a damp cloth or paper towel.
Q5: What are some other things I can cook on a Blackstone?
A: The possibilities are endless! You can cook breakfast, lunch, and dinner on a Blackstone. Try grilling vegetables, cooking seafood, making pancakes, or even frying up some french fries.
The Blackstone: Your Culinary Playground
So there you have it, my complete guide to cooking perfect burgers on a Blackstone. With this information, you'll be able to create mouthwatering burgers that will impress your friends and family. Remember, it's all about experimentation and having fun. Don't be afraid to try new things and find what works best for you. Happy grilling!Everyone is watching

Corn on the Cob: The Ultimate Guide to Perfectly Cooked Ears
Healthy MealsAh, corn on the cob. Just the name evokes images of sunny days, barbecues, and that sweet, juicy flavour that ...

Scallops: The Ultimate Guide to Perfect Cooking
Healthy MealsAh, scallops. Those delicate, sweet, and utterly delicious morsels of the sea. They hold a special place in my...

Spaghetti Squash: The Ultimate Guide to Cooking and Serving
Healthy MealsRemember that time you saw spaghetti squash at the supermarket, looking all bumpy and strange, and thought, "W...

Salmon Cooking Times: Perfect Guide for Every Recipe
Healthy MealsLet me tell you, cooking salmon is an art form. It's all about getting that perfect balance: juicy and tender,...

Ham Cooking Time: How Long to Bake, Smoke, or Boil a Delicious Ham
Healthy MealsAh, ham. It's a classic, isn't it? A real crowd-pleaser, especially around holidays. And when done right, it'...
