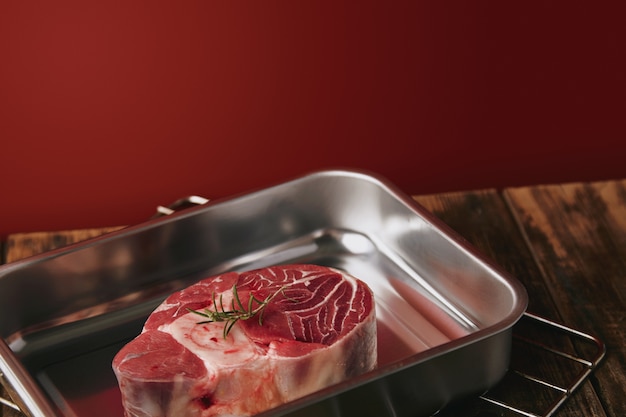
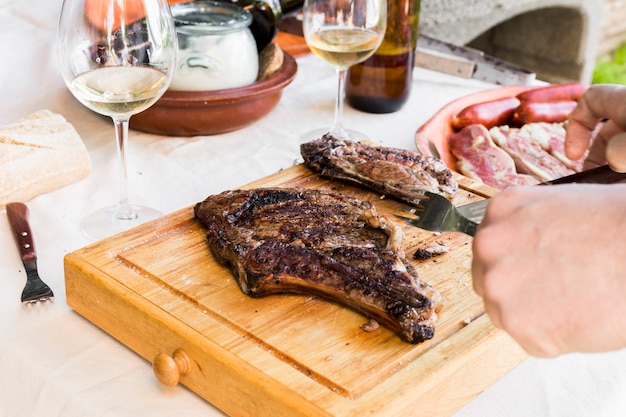
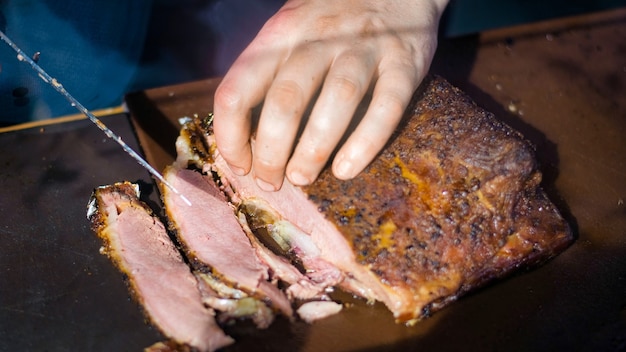
You've got a beautiful piece of beef tenderloin, a cut known for its incredible tenderness and luxurious flavour. It's practically begging to be roasted to perfection, but let's be honest – there's a bit of pressure involved! You want it to be juicy, tender, and cooked to the exact level of doneness you desire. No one wants a dry, tough piece of meat, right?
Don't fret, my friend! I've been there, and I've learned a thing or two along the way. It's not just about the cooking time; it's about the entire journey: the careful prep, the flavour-packed seasoning, the precise temperature, and the crucial resting period. Think of it as a culinary dance, and trust me, you can master it.
I'm going to take you through it step by step, from choosing the right cut to creating that picture-perfect, rosy-pink interior. Grab your apron, put on some good tunes, and let's get cooking!
Part 1: Choosing the Right Cut

Before we dive into the cooking process, we need to pick the perfect star for our show: the beef tenderloin. This cut is a real showstopper, but it can also be a bit temperamental. We need to choose wisely to guarantee a delicious outcome.
The Different Cuts of Beef Tenderloin
You'll typically find two main types of beef tenderloin at your butcher's:
- Center-Cut Tenderloin: This is the most popular choice, renowned for its exceptional tenderness and consistent thickness. It's perfect for roasting whole or slicing into stunning steaks.
- Tail-End Tenderloin: This cut is thinner and more tapered, making it ideal for grilling or slicing into smaller steaks. It often boasts a slightly more robust flavour compared to the center-cut.
Choosing the Right Size
The amount of tenderloin you'll need depends on the size of your gathering. A good rule of thumb is to allow about 1/2 pound of tenderloin per person. If you're feeding a larger crowd, consider a larger cut or even two tenderloins.
Getting to Know Your Butcher
Don't hesitate to chat with your butcher! They're your go-to experts on all things beef. They can guide you in selecting the perfect cut, offer valuable tips on prepping, and even share some mouthwatering recipe suggestions.
Part 2: Prepping Your Tenderloin

Now that you have your beautiful cut of beef, it's time to give it some TLC. Proper prep is essential for achieving a juicy, flavourful roast.
Trimming the Fat
Tenderloin is known for its minimal fat content, but you'll likely find some silver skin or excess fat that needs to be removed. Using a sharp knife, carefully trim these, leaving a slightly thicker layer of fat for enhanced flavour and moisture retention. This fat will render during cooking, adding richness and juiciness to your roast.
Seasoning the Beast
Now comes the fun part – seasoning! I'm a firm believer in simplicity when it comes to seasoning beef tenderloin. Salt and pepper are your best friends here. Season generously, but don't overdo it. You can add other spices according to your taste, such as garlic powder, onion powder, or paprika. Don't forget to season the inside of the tenderloin as well, as the flavour will infuse into the meat as it cooks.
Making it Shine
To create a beautiful crust and boost the flavour, consider searing the tenderloin before roasting. This step is optional, but it truly elevates the final product. Heat a heavy-bottomed pan over high heat, add a touch of oil, and sear the tenderloin for a few minutes on each side until you achieve a nice, golden-brown crust. This creates a delicious barrier that helps lock in the juices and adds a fantastic flavour profile.
Part 3: Cooking Time and Temperature

Now, the moment of truth: the actual cooking! This is where things become a little more precise, but don't worry, we've got this.
Oven Temperature
For a perfect tenderloin roast, you'll want to preheat your oven to 425 degrees F (220 degrees C). This high temperature helps create that beautiful, crispy crust and seals in the juices for a tender, flavourful roast.
roasting time
The roasting time will vary based on the weight of your tenderloin. Here's a general guide to help you get started:
| Weight (lbs) | Roasting Time (Minutes) |
|---|---|
| 2-3 lbs | 20-25 minutes |
| 3-4 lbs | 25-30 minutes |
| 4-5 lbs | 30-35 minutes |
Remember, these are just estimations. To ensure your tenderloin is cooked to perfection, a meat thermometer is your best friend.
internal temperature
This is the most crucial aspect of the process! Aim for an internal temperature of 145 degrees F (63 degrees C) for medium-rare, which is the ideal doneness for most people. You can adjust the temperature to achieve medium or well-done, but remember that the higher the temperature, the tougher the meat will become.
Here's a breakdown of internal temperatures and doneness levels:
| Doneness Level | Internal Temperature (F) | Internal Temperature (C) |
|---|---|---|
| Rare | 125-130 | 52-54 |
| Medium-Rare | 130-135 | 54-57 |
| Medium | 140-145 | 60-63 |
| Medium-Well | 150-155 | 65-68 |
| Well-Done | 160+ | 71+ |
Part 4: The Resting Game
Okay, your tenderloin is out of the oven, perfectly cooked, and smelling divine. But don't rush to slice into it just yet! It needs a crucial rest period.
Resting allows the juices to redistribute throughout the meat, ensuring every slice is tender and bursting with flavour. Cover the tenderloin loosely with foil and let it rest for at least 15 minutes before carving. This step is vital for a truly exceptional roast.
Part 5: Carving Your Creation
The wait is over! It's time to reveal your culinary masterpiece and carve it with pride.
Equipment Matters
For clean, precise slices, you'll need a sharp carving knife. I also recommend using a carving board for a smooth, stable cutting surface. And don't forget a handsome serving platter to present your work of art!
Carving Technique
Begin by slicing across the grain of the tenderloin. This means cutting perpendicular to the direction of the muscle fibers. This technique helps ensure each slice is tender and effortless to chew.
Presentation is Everything
Now, let's make this masterpiece look as good as it tastes. Arrange your sliced tenderloin artfully on the serving platter. For a touch of elegance, add some garnishes like sprigs of fresh rosemary or a scattering of chopped parsley.
Part 6: side dish Inspiration
A tenderloin roast deserves a side dish that's equally impressive! Here are a few of my favourite accompaniments:
Creamy mashed potatoes
The classic pairing for beef tenderloin, creamy mashed potatoes are comforting, indulgent, and provide a delightful contrast to the rich flavour of the meat.
Roasted Vegetables
Roasted vegetables are a simple yet elegant side dish that adds sweetness and vibrant colour to your plate. I adore roasting asparagus, Brussels sprouts, or butternut squash with herbs and olive oil for a flavourful and healthy accompaniment.
green beans with Toasted Almonds
For a refreshing touch, green beans with toasted almonds offer a delightful crunch and a hint of nutty flavour. This is a simple yet sophisticated side dish that complements the richness of the tenderloin.
Wild Mushroom Risotto
If you're looking for a more sophisticated touch, a creamy wild mushroom risotto is a fantastic choice. The earthy flavour of the mushrooms pairs beautifully with the beef, creating a truly memorable dining experience.
Part 7: Mastering the Sauce
No beef tenderloin is complete without a delicious sauce.
Pan Sauce Perfection
One of my favourite methods is creating a sauce using the pan drippings from the tenderloin. After resting, pour off the excess fat from the pan, add some wine (red or white, depending on your preference), and bring to a boil. Simmer for a few minutes, scraping up any browned bits from the bottom of the pan. These bits are packed with flavour! Then, whisk in some butter and herbs (like thyme, rosemary, or parsley) for a rich, flavourful sauce that elevates the tenderloin to new heights.
Red Wine Reduction
Another classic option is a red wine reduction. Simply simmer a good quality red wine with some shallots and herbs until it thickens and reduces. This creates a concentrated, intensely flavoured sauce that complements the beef beautifully.
Creamy Dijon Sauce
For a flavourful twist, try a creamy Dijon sauce. Whisk together heavy cream, Dijon mustard, and a touch of lemon juice. Simmer until the sauce thickens, then serve it over the tenderloin for a tangy and creamy accompaniment.
Part 8: Serving with Style
Now that your tenderloin is cooked, rested, carved, and adorned with a delicious sauce, it's time to put on your best china and present it with style.
The Table Setting
Choose a tablecloth and napkins that complement your dining room. I love using a crisp white tablecloth with elegant napkins in a contrasting colour, like a deep red or a rich burgundy. This creates a sophisticated and inviting setting for your meal.
The Centerpiece
A beautiful centerpiece adds a touch of elegance to your table. You can use a simple arrangement of fresh flowers, a vase filled with candles, or a stunning bowl of fruit. This small detail creates a visual focal point and enhances the ambiance of your dining experience.
Wine Pairing
No fine meal is complete without a good wine pairing. For a beef tenderloin, I recommend a full-bodied red wine, like a Cabernet Sauvignon, Merlot, or Zinfandel. These wines have the tannins and structure to stand up to the richness of the beef, creating a harmonious and enjoyable flavour pairing.
Part 9: FAQs
Here are some questions I often get asked about cooking beef tenderloin.
1. Can I cook a beef tenderloin in a slow cooker?
While you can technically cook a tenderloin in a slow cooker, I wouldn't recommend it. Slow cookers are designed for tougher cuts of meat that require longer cooking times. Tenderloin is best cooked quickly at a high temperature to ensure it stays tender and juicy.
2. How long should I let the tenderloin rest before carving?
As I mentioned earlier, resting the tenderloin is crucial. Aim for at least 15 minutes. This allows the juices to redistribute throughout the meat, resulting in a more tender and flavourful slice.
3. What's the best way to reheat a leftover tenderloin?
Reheating beef tenderloin can be tricky, as you want to avoid drying it out. The best method is to reheat it in a low oven at 250 degrees F (120 degrees C) until it's heated through. This ensures that the meat stays moist and tender.
4. Can I freeze a beef tenderloin?
Yes, you can freeze a beef tenderloin. Wrap it tightly in plastic wrap and aluminum foil, and freeze for up to 3 months. To thaw, place the tenderloin in the refrigerator overnight. This allows for a gradual thawing process, preserving the quality of the meat.
5. What's the difference between a tenderloin and a filet mignon?
A filet mignon is actually a cut from the tenderloin. It's a smaller, thicker piece of meat that's typically grilled or pan-seared. Both cuts are known for their tenderness and luxurious flavour.
That's it, my friends! I hope this comprehensive guide has empowered you to cook a beef tenderloin with confidence. Remember, cooking a beef tenderloin is an art form, and it takes practice to perfect. But with a little patience and the right techniques, you can impress your guests and create a meal they'll never forget!
Everyone is watching

Corn on the Cob: The Ultimate Guide to Perfectly Cooked Ears
Healthy MealsAh, corn on the cob. Just the name evokes images of sunny days, barbecues, and that sweet, juicy flavour that ...

Perfect Pork Roast Oven Cooking Time: A Guide to Delicious Results
Healthy MealsThere's something truly satisfying about a perfectly roasted pork. The aroma alone is enough to make your mout...

Ham Cooking Time: How Long to Bake, Smoke, or Boil a Delicious Ham
Healthy MealsAh, ham. It's a classic, isn't it? A real crowd-pleaser, especially around holidays. And when done right, it'...

Scallops: The Ultimate Guide to Perfect Cooking
Healthy MealsAh, scallops. Those delicate, sweet, and utterly delicious morsels of the sea. They hold a special place in my...

Spaghetti Squash: The Ultimate Guide to Cooking and Serving
Healthy MealsRemember that time you saw spaghetti squash at the supermarket, looking all bumpy and strange, and thought, "W...
