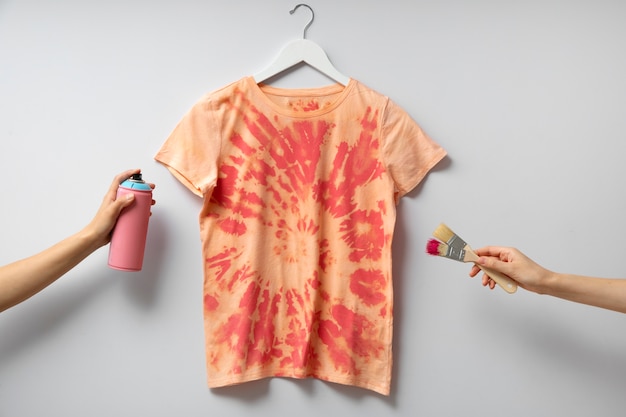
Alright, you're ready to take your t-shirt game to the next level, and I'm here to help you nail it! fabric transfers are a seriously cool way to add a personal touch to your clothes, and the results can be seriously impressive. Let's be honest, there's nothing quite like seeing your own design come to life on a t-shirt.
I've been fiddling around with fabric transfers for a while now, and trust me, there's a bit of a learning curve, but once you get the hang of it, you'll be whipping up custom t-shirts like a pro. So grab your favourite tee, a cuppa, and let's delve into this ultimate guide to fabric transfers.
Part 1: Choosing the Right Tools
First things first, you need the right gear. It's like baking a cake - you need the right ingredients and tools to get a delicious result. So, let's break down the essential tools for creating stunning fabric transfers:
Essential Tools for Fabric Transfers:
- heat press: This is your absolute must-have for fabric transfers. Forget about those ironing board dramas, a heat press is your secret weapon for professional-looking results. Imagine a mini-oven designed specifically for t-shirts. They come in different sizes and price ranges, so find one that fits your needs and budget.
- T-Shirts: Well, obviously! But remember, for the best results, stick to 100% cotton t-shirts. While some poly-cotton blends might work, cotton is your best bet for a smooth, vibrant transfer.
- fabric transfer paper: This is where the magic happens! There are two main players:
- inkjet transfer paper: This is your go-to if you're using an inkjet printer. It's perfect for home users who want to try out fabric transfers without investing in a laser printer.
- laser transfer paper: This is your choice if you have a laser printer. If you're a seasoned printing enthusiast, you probably already know the drill.
- inkjet transfer paper: This is your go-to if you're using an inkjet printer. It's perfect for home users who want to try out fabric transfers without investing in a laser printer.
- Cutting Mat: This is your trusty sidekick for precise cutting. Think of it as a protective shield for your work surface and your sharp scissors.
- Scissors: You'll need a good pair of scissors for cutting your designs. Sharpness is key here, folks.
- design software: This is where you unleash your creativity. Whether you're a seasoned graphic design whizz or a complete newbie, a decent design software package is a must-have. There are tons of options available, from free programs to paid ones.
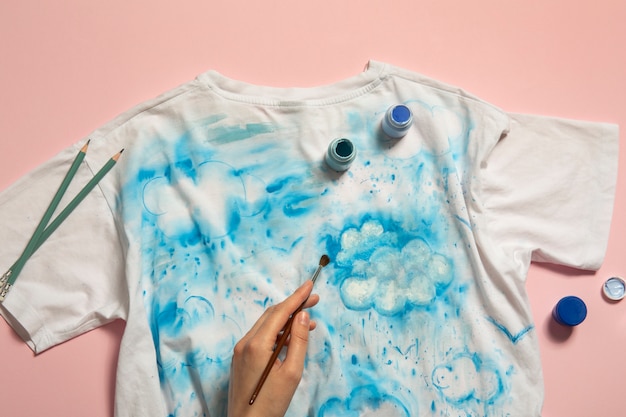
Part 2: Choosing Your Design
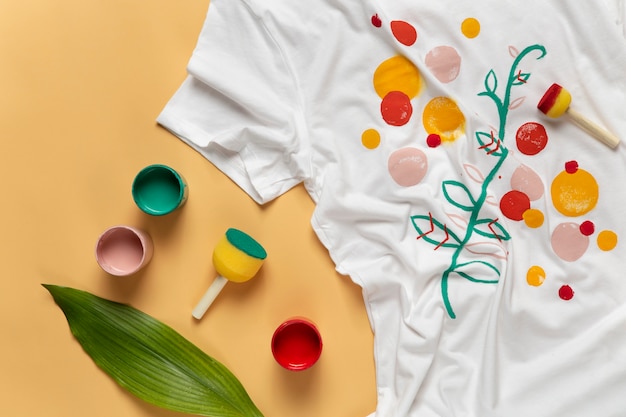
Now that you've got your tools lined up, it's time to get creative! The sky's the limit here. You can go for a classic image, a funny quote, or even design something from scratch.
Where to Find Inspiration:
- online design platforms: Websites like Canva and Adobe Spark are fantastic for finding pre-made designs and templates. They're user-friendly, even if you're not a design guru.
- Pinterest: This is a treasure trove for inspiration! You can find countless ideas for designs, quotes, and everything in between. It's like a visual feast for your creativity.
- Your Own Artwork: Feeling adventurous? Scan your own drawings or paintings! This is a great way to add a truly personal touch to your designs. Think about that doodle you did in your notebook, it could be your next t-shirt masterpiece.
- Photographs: Turn your favourite photos into fabric transfers for a truly unique touch. Think of that epic holiday snap, or a picture of your furry friend - they're perfect candidates for your next t-shirt design.
Part 3: Preparing Your Design for Transfer
Alright, things are getting a bit more technical now, but don't worry, I'll guide you through it step by step. You need to get your design ready for the printer, and that means making sure it's the right size and orientation.
Steps to Prepare Your Design:
- Choose the Right Format: Save your design in a high-resolution format like PNG or JPG. This ensures your design looks sharp and crisp when it's printed.
- Resize Your Design: Check the recommended size for your transfer paper. You don't want your design to be too small or too big for the t-shirt. Think about how it will look on the actual garment.
- Mirror Image: Remember, when you transfer your design onto the t-shirt, it will be flipped! So, you'll need to mirror your design before you print it. This might sound a bit confusing, but it's like looking at a reflection - it flips the image, so when you transfer it, it will appear correctly on the t-shirt.
Part 4: Printing Your Design
Now it's time to put your printer to work!
Printing Your Design:
- Select the Right Transfer Paper: Double-check that you're using the correct type of transfer paper for your printer (inkjet or laser).
- Check Your Printer Settings: Make sure you're using the highest quality settings for your printer. This will ensure that your design is sharp and vibrant.
- Print Your Design: Load your transfer paper into the printer and hit that print button!
Part 5: Cutting Out Your Design
The next step is to cut out your design. This is where your trusty scissors shine!
Tips for Cutting Your Design:
- Use a Cutting Mat: Protect your work surface and ensure a clean cut by using a cutting mat. It's like giving your scissors a safe haven to do their thing.
- Be Precise: Try to cut as close to the edges of your design as possible. This will give you a clean, professional-looking result.
- Remove Excess Transfer Paper: If you've got any excess transfer paper around your design, carefully remove it with a craft knife. This is like giving your design a little trim, getting rid of any unwanted bits.
Part 6: Preparing the T-shirt
It's time to get that t-shirt ready for the grand reveal!
Preparing Your T-shirt:
- Iron the T-shirt: Ensure the t-shirt is smooth and wrinkle-free. This is like giving your t-shirt a quick beauty treatment before the big event.
- Place the T-shirt on the Heat Press: Position the t-shirt on the heat press, making sure it's flat and wrinkle-free.
- Pre-Press: Use a light pre-press to remove any remaining moisture from the t-shirt. Think of it as a quick warm-up for the t-shirt.
Part 7: Transferring Your Design
Now comes the moment of truth! This is where you'll see your design come to life on the t-shirt.
Transferring Your Design:
- Position Your Design: Carefully place your cut-out design on the t-shirt, making sure it's in the right position. Take your time and get it right, you don't want to be re-doing it.
- Cover the Design with a Teflon Sheet: Place a Teflon sheet over your design. This prevents the transfer paper from sticking to the heat press. It's like a protective shield for your design.
- Set the Heat Press: Set your heat press to the recommended temperature and pressure for your transfer paper. You can find these settings on the transfer paper packaging.
- Apply Pressure for the Recommended Time: Press down on the heat press and hold for the specified time. This is the crucial step, it's like sealing the deal between your design and the t-shirt.
Part 8: Peeling Away the Paper
Here comes the big reveal! This is the moment where all your hard work pays off.
Peeling the Paper:
- Let the Design Cool Down: Allow the design to cool down completely before you peel the transfer paper away. This is important to prevent the design from smudging or peeling off.
- Peel Slowly and Carefully: Peel the transfer paper away slowly and carefully, starting from a corner. Think of it as carefully peeling off a sticker, you don't want to rip it.
Part 9: Caring for Your T-shirt
You've created a stunning t-shirt, now it's time to keep it looking its best!
Caring for Your Fabric Transfer T-shirt:
- Wash Inside Out: Turn your t-shirt inside out before you wash it to protect the design. It's like giving your design a little hug.
- Machine Wash Cold: Machine wash your t-shirt on a cold setting. Cold water is gentler on the fabric and the design.
- Tumble Dry Low: Tumble dry your t-shirt on a low setting, or hang it to dry. Heat can damage the design, so low heat or air drying is best.
Part 10: Troubleshooting
It's not always a smooth ride, sometimes you'll hit a few snags along the way.
Common Problems and Solutions:
| Problem | Solution |
|---|---|
| The Design Is Faded or Blurred | Make sure you're using high-quality transfer paper and a high-resolution image. Check your printer settings to ensure you're using the highest quality setting. |
| The Design Is Cracking or Peeling | Ensure you're using the correct temperature and pressure settings for your heat press. Double-check the instructions on the transfer paper packaging. |
| The Design Isn't Transferring Properly | Check your printer settings and make sure you're using the right transfer paper. Ensure the transfer paper is properly loaded into the printer. |
| The Design Is Sticking to the Teflon Sheet | Make sure the Teflon sheet is clean and free of any residue. Clean the Teflon sheet with a damp cloth before each use. |
FAQs
1. What is the best type of transfer paper for beginners?
For beginners, I'd recommend inkjet transfer paper. It's more forgiving and easier to use than laser transfer paper. It's a great way to get started without investing in a laser printer.
2. How long does a fabric transfer last?
With proper care, a fabric transfer can last for a long time. I've got t-shirts with transfers that are a couple of years old and they still look great. Just follow the care instructions and your designs will stay vibrant.
3. Can I use a regular iron to transfer my design?
You can, but a heat press will give you much more consistent results. Think of it as the difference between a regular oven and a professional one. A heat press ensures even heat distribution, resulting in a much more professional finish.
4. Can I use fabric transfers on other fabrics besides t-shirts?
Yes, you can use fabric transfers on a variety of fabrics. Try them on tote bags, pillowcases, or even fabric napkins. Just make sure the fabric is suitable for heat transfer.
5. What if I make a mistake?
Don't worry, everyone makes mistakes! If you're unhappy with your results, you can try to re-transfer the design or use a fabric remover to remove the transfer. Remember, practice makes perfect. Don't be afraid to experiment and learn from your mistakes.
Everyone is watching

Prime Rib Roast Cooking Time Chart: Per Pound Guide
Cooking TipsPrime rib roast. Just the name conjures images of lavish dinners, crackling fires, and hearty laughter. It’s ...

How Long to Bake Potatoes in the Oven (Perfect Every Time)
Cooking TipsBaked potatoes are a staple in my kitchen. They're incredibly versatile, delicious, and surprisingly easy to m...

Perfect Rice Every Time: The Ultimate Guide to Cooking Rice
Cooking TipsAs a self-proclaimed foodie, I've always been a bit obsessed with rice. It's the foundation of countless cuisi...

The Ultimate Guide to Cooking Asparagus: Tips, Techniques, and Recipes
Cooking TipsAsparagus. The mere mention of this spring delicacy conjures up images of vibrant green spears, crisp and burs...

Ultimate Guide to Cooking the Perfect Thanksgiving Turkey
Cooking TipsThanksgiving. Just the word conjures up images of overflowing tables laden with delicious food, the scent of r...