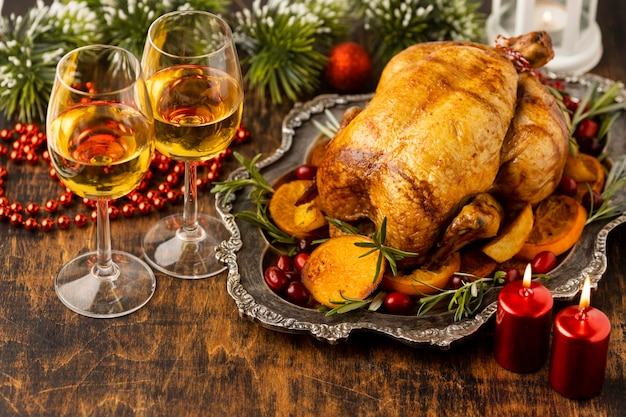
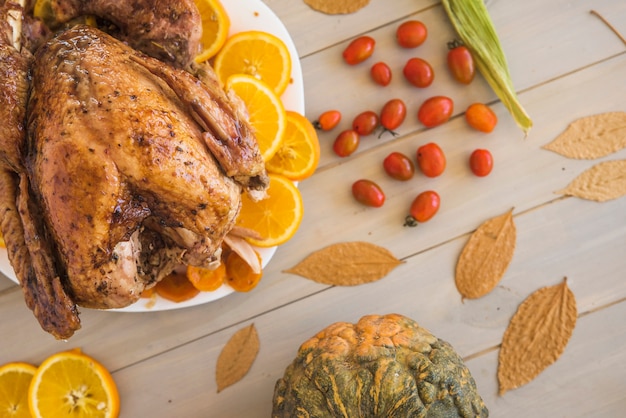
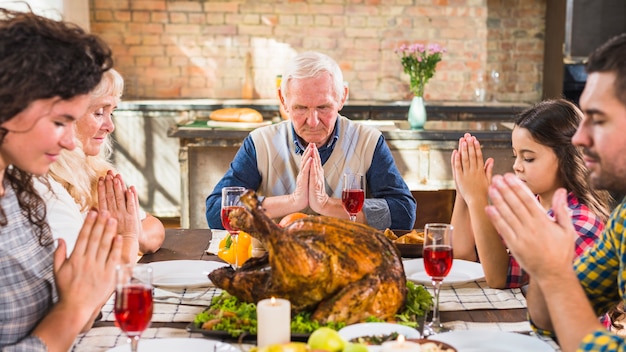
Ah, turkey. The majestic centerpiece of countless festive gatherings, the star of a Christmas dinner, the embodiment of a hearty and satisfying meal. But let’s be honest, cooking a turkey can be a bit daunting, especially if you're aiming for that perfect golden-brown skin and juicy, flavorful meat. Fear not, my fellow food enthusiasts! I'm here to guide you through every step of the process, from choosing the right turkey to carving it like a pro, ensuring a culinary triumph that will leave everyone singing your praises.
(Part 1) Choosing the Right Turkey

First things first, let’s pick the perfect turkey for your feast. You want a bird that’s big enough to feed everyone comfortably, without leaving you with an overflowing fridge. Here's what you need to consider:
Size Matters, But Don't Overdo It
The general rule of thumb is to allow about 1 lb of turkey per person. So, if you're hosting a gathering of 10, a 10-12 lb turkey should be just right. But remember, you can always cook a larger turkey and have delicious leftovers for sandwiches, soup, or salads later in the week. Just make sure you have enough storage space!
Fresh vs. Frozen: A Choice of Convenience
This really comes down to personal preference and availability. Fresh turkeys are fantastic if you can get them. They tend to have a slightly richer flavour and might cook a bit quicker, especially if you're pressed for time. However, frozen turkeys are super convenient, especially if you're planning ahead. They can be stored for a long time, giving you more flexibility with your shopping. Just remember to defrost the frozen turkey completely before you start cooking – it takes a lot longer than you think, so don't leave it to the last minute!
The Brining Debate: A Matter of Moisture
Ah, brining. A topic that can spark heated discussions among even the most seasoned cooks. Essentially, brining involves soaking the turkey in a saltwater solution for several hours before roasting. The idea is to infuse the meat with moisture, preventing dryness and enhancing flavour. I’m a big believer in brining. It makes a noticeable difference, especially for larger turkeys. But if you're short on time or simply not a fan, don't fret. There are other ways to keep your turkey moist and delicious, as we’ll discuss later.
(Part 2) Preparing Your Turkey for the Oven

Now that you've got your turkey, let's get it ready for its star turn in the oven. Proper preparation is key to achieving that gorgeous golden-brown crust and juicy, succulent meat.
Pat It Dry: The First Step to crispy skin
First things first, pat the turkey thoroughly dry with paper towels. This is crucial for achieving that crispy skin we all love. Wet skin just won't get that satisfying crunch.
Season It Right: The Essence of Flavor
Seasoning is an art, not a science. Start with the basics: a generous sprinkle of salt and freshly ground black pepper. You can then experiment with herbs and spices to create your signature flavour profile. My go-to blend is rosemary, thyme, and garlic powder, but feel free to explore different combinations. Just remember, less is more! You want to enhance the turkey's natural flavour, not overpower it.
Butter Up: A Gentle Hug for Moisture
Here's where things get a bit hands-on. Gently slip your fingers between the skin and the breast meat. Work carefully to loosen the skin without tearing it. Then, rub a generous amount of softened butter underneath. This will help to keep the breast meat juicy and prevent it from drying out during roasting. Think of it as a little hug for your turkey, making it feel loved and cared for.
Stuffing: A Matter of Preference
Stuffing is a personal choice. Some people love it, others don't. If you're a stuffing fan, make sure to cook it separately. Stuffing needs to reach a safe internal temperature of 165°F, and it's easier to ensure that when it's cooked separately. A classic sage and onion stuffing is always a winner, but feel free to get creative. Experiment with different herbs, spices, and even dried fruits. Just remember to cook it thoroughly and keep it separate from the turkey!
(Part 3) The Big Roast: Bringing the Turkey to Life

Finally, the moment you've been waiting for! It's time to roast your turkey. Get those oven mitts ready and let's get this show on the road!
Choosing the Right Oven Temperature
For a succulent, evenly cooked turkey, aim for a relatively low oven temperature, around 325°F to 350°F. It might take a bit longer, but trust me, it's worth it. A low and slow roast allows the turkey to cook through evenly, preventing dry breast meat and ensuring juicy, flavorful results.
Cooking Time: A Guiding Principle
Now, here’s where it gets a little tricky. The roasting time depends on the size of your turkey. A good starting point is to allow 15 minutes per pound for an unstuffed turkey. If you're stuffing your turkey, add an extra 30 minutes to the total cooking time. But remember, these are just estimates. Always check for doneness using a meat thermometer, which we’ll discuss in the next section.
Basting: The Secret to Tenderness
Basting is a vital step in achieving a beautifully moist turkey. Every 30 minutes or so, carefully spoon the juices from the bottom of the roasting pan over the turkey. This helps to keep the bird moist and prevent the skin from drying out. It also creates that gorgeous golden-brown color we all crave.
Resting Time: The Final Touch
Once the turkey is cooked, resist the urge to carve it immediately. Allow it to rest for at least 30 minutes, ideally covered with foil. This gives the juices time to redistribute throughout the meat, resulting in a juicier and more flavorful turkey. Trust me, the extra wait is totally worth it!
(Part 4) Checking for Doneness: The Proof is in the Pudding
How do you know when your turkey is ready for its grand entrance? There are a couple of reliable methods to ensure it’s cooked through and safe to eat.
The Meat Thermometer: The Gold Standard
The most accurate and reliable way to check for doneness is with a meat thermometer. Insert the thermometer into the thickest part of the thigh, making sure it doesn’t touch any bone. The turkey is cooked through when the internal temperature reaches 165°F. This is a crucial step to ensure the turkey is safe to eat.
The Leg Test: A Time-Honored Tradition
If you don't have a meat thermometer, you can try the leg test. Gently wiggle the thigh. If it moves freely, the turkey is likely cooked through. If it feels stiff, it needs more time in the oven. However, this is a less reliable method than using a thermometer.
(Part 5) Carving Like a Pro: A Culinary Masterclass
Now that your turkey is cooked and rested, it’s time for the grand finale – carving it. Don’t be intimidated! With a few simple steps and a sharp knife, you’ll be slicing like a pro in no time.
Gather Your Gear: The Tools of the Trade
You’ll need a sharp carving knife, a carving fork, and a cutting board. A sharp knife is essential for clean, precise slices. The carving fork is used to hold the turkey steady while you carve, and a cutting board provides a stable surface for carving.
The Carving Technique: A Step-by-Step Guide
1. Remove the legs and thighs: First, remove the legs and thighs from the turkey. You can do this by gently twisting them until they come loose. 2. Carve the breast meat: Next, carve the breast meat into slices. Start by slicing along the bone on one side of the breast. Then, continue slicing, following the grain of the meat, until you reach the other side of the breast. 3. Serve and Enjoy: Arrange the carved turkey on a platter and serve immediately.
(Part 6) Leftover Turkey Heaven: Delicious Second Acts
We all know the best part of a turkey feast – the leftovers! Leftover turkey is incredibly versatile. It’s perfect for sandwiches, soup, salad, or even as a topping for pasta dishes.
turkey sandwiches: A Classic comfort food
A simple turkey sandwich is a satisfying and comforting meal. Just add some mayonnaise, lettuce, and tomato on a crusty bread roll for a classic and delicious lunch or snack.
turkey soup: Warm and Hearty
Turkey soup is a warm and nourishing meal. Simply combine leftover turkey with broth, carrots, celery, onions, and your favorite spices for a comforting and flavorful soup.
turkey salad: A Refreshing Twist
For a lighter and more refreshing option, try a turkey salad. Mix leftover turkey with mayonnaise, celery, cranberries, and your favorite herbs and spices for a delicious and versatile salad that can be enjoyed as a lunch, snack, or side dish.
(Part 7) Turkey Oven Cooking Times Table
Here's a handy table that summarizes the cooking times for different sizes of turkeys. Remember, these are just estimates. Always use a meat thermometer to ensure your turkey is cooked through.
| turkey weight (lbs) | Unstuffed Cooking Time (hours) | Stuffed Cooking Time (hours) |
|---|---|---|
| 8-10 | 2-2.5 | 2.5-3 |
| 10-12 | 2.5-3 | 3-3.5 |
| 12-14 | 3-3.5 | 3.5-4 |
| 14-16 | 3.5-4 | 4-4.5 |
| 16-18 | 4-4.5 | 4.5-5 |
(Part 8) FAQs: Your turkey cooking Questions Answered
I know you might have some questions, so here are some common ones and their answers.
1. Can I Cook a Turkey in a Roasting Bag?
Absolutely! Using a roasting bag is a great way to keep the turkey moist. It creates a steamy environment inside the bag, ensuring a juicy and flavorful result. Just make sure to follow the instructions on the bag. You might need to adjust the cooking time slightly, as roasting bags can speed up the cooking process.
2. Should I Cover the Turkey During Roasting?
Covering the turkey with foil can be helpful to prevent it from drying out, especially if you're roasting a larger turkey. However, it's best to leave the turkey uncovered for the first hour of roasting to allow the skin to crisp up nicely. After that, you can cover it with foil if needed.
3. Can I Roast a Frozen Turkey?
It's not recommended to roast a frozen turkey. Frozen turkeys need to be defrosted completely before roasting, and it takes a lot longer than you might think. Plus, it's more difficult to cook a frozen turkey evenly. It's best to plan ahead and thaw your turkey in the refrigerator for several days before cooking.
4. How Do I Know When the Turkey Is Done?
The most reliable way to check for doneness is with a meat thermometer. The internal temperature should reach 165°F in the thickest part of the thigh. You can also try the leg test, but remember that it's not as accurate as using a thermometer.
5. What Do I Do With Leftover Turkey?
The possibilities are endless with leftover turkey! You can make sandwiches, soup, salad, or even add it to pasta dishes. Get creative and don’t let any go to waste!
And there you have it, my friends! Now go forth and create your own turkey masterpiece! Remember, with a little preparation, patience, and a dash of confidence, you can create a delicious and memorable meal for your family and friends. Happy cooking!
Everyone is watching

Prime Rib Roast Cooking Time Chart: Per Pound Guide
Cooking TipsPrime rib roast. Just the name conjures images of lavish dinners, crackling fires, and hearty laughter. It’s ...

How Long to Bake Potatoes in the Oven (Perfect Every Time)
Cooking TipsBaked potatoes are a staple in my kitchen. They're incredibly versatile, delicious, and surprisingly easy to m...

Perfect Rice Every Time: The Ultimate Guide to Cooking Rice
Cooking TipsAs a self-proclaimed foodie, I've always been a bit obsessed with rice. It's the foundation of countless cuisi...

The Ultimate Guide to Cooking Asparagus: Tips, Techniques, and Recipes
Cooking TipsAsparagus. The mere mention of this spring delicacy conjures up images of vibrant green spears, crisp and burs...

Ultimate Guide to Cooking the Perfect Thanksgiving Turkey
Cooking TipsThanksgiving. Just the word conjures up images of overflowing tables laden with delicious food, the scent of r...
