Let's face it, roasting a 25lb turkey is no small feat. It’s a culinary undertaking that demands both planning and precision. But fear not, my fellow food enthusiasts! Over the years, I've had my fair share of turkey triumphs (and a few blunders, too). I've learned that the key to a perfect turkey is understanding the process, from selecting the right bird to the final carving. This guide will walk you through every step, sharing my tried-and-true methods, personal tips, and answers to your most pressing turkey questions. So grab a cup of tea, settle in, and get ready to become a turkey-roasting master!
(Part 1) The Big Bird: Choosing Your Turkey

The first step to turkey perfection is selecting the right bird. A 25lb turkey is no small order, so it’s important to choose one that’s healthy and flavorful. Remember, this is a centerpiece dish, so you want something that truly shines.
Fresh or Frozen?
I prefer a fresh turkey for its intense flavor, but a frozen turkey is perfectly acceptable, especially if you’re planning ahead. Just make sure to give yourself plenty of time to thaw it properly.
What to Look For:
- Freshness: Look for a bird with firm breasts and no discoloration or bruising. The skin should be intact, with a healthy, golden sheen.
- Flavor: Free-range turkeys tend to have a more flavorful meat, but a good-quality supermarket bird will do the trick. Look for birds with a "free range" or "organic" label.
- Size: A 25lb turkey will feed a crowd, so ensure your roasting pan is large enough.
(Part 2) Preparation: Getting Your Turkey Ready

Once you've got your turkey home, it's time for some pre-roasting prep. This is where we make sure our big bird is ready to shine in the oven.
Pre-Roasting Prep:
- Remove Packaging: Take the turkey out of its packaging and pat it dry with paper towels. This helps the skin to crisp up nicely during roasting.
- Giblets and Neck: Remove the giblets and neck from the cavity. These can be used to make a delicious gravy later.
- Optional: Trussing: Trussing a turkey helps it cook more evenly and prevents the breast from drying out. It also makes for a more aesthetically pleasing presentation. If you're feeling adventurous, you can tie the legs together with kitchen twine.
(Part 3) Brining: A Debate Worth Having

Ah, the age-old question: to brine or not to brine? Brining is the process of soaking the turkey in a salty solution for several hours. It's said to make the meat incredibly juicy and flavorful. While some swear by brining, others find it unnecessary.
My Take:
I'm a firm believer in the power of brining, especially for a large turkey like a 25lb one. It not only adds moisture, but it also enhances the flavor. If you're looking for the ultimate juicy and flavorful turkey, I highly recommend brining.
My Go-To Brine:
- Ingredients: 1 gallon of water, 1 cup of kosher salt, ?? cup of brown sugar, 1 lemon sliced, 1 onion quartered, a handful of black peppercorns, and a few sprigs of rosemary and thyme.
- Method: Combine all ingredients in a large pot and bring to a boil, then cool completely. Submerge the turkey in the brine and refrigerate for 12-24 hours. It’s a little extra effort, but trust me, the results are well worth it.
(Part 4) Stuffing: The Heart of the Turkey
Let's talk stuffing! This is where you can really get creative. While you may have visions of a beautifully stuffed bird, I personally prefer to cook my stuffing separately. Cooking it inside the turkey can create uneven cooking and potentially lead to undercooked stuffing.
My Preferred Method:
I like to cook my stuffing in a separate casserole dish, ensuring it's thoroughly cooked and delicious. You can choose to cook it alongside the turkey in the oven or bake it beforehand.
Classic Sausage Stuffing:
- Ingredients: 1 pound of sausage, 1 onion chopped, 1 celery stalk chopped, 2 cups of bread cubes, 1 cup of chicken broth, 1 egg, ?? cup of chopped parsley, salt and pepper to taste.
- Method: Saute the sausage, onion, and celery until the sausage is cooked through. Combine with the remaining ingredients and stir well. Spoon the stuffing into a casserole dish and bake alongside the turkey.
(Part 5) The Big Bake: Roasting Your Turkey
Now, it's time to put our turkey in the oven and let the magic happen! Preheat your oven to 325 degrees Fahrenheit (160 degrees Celsius). You'll need a roasting pan large enough to accommodate the turkey, and a roasting rack to elevate it off the bottom of the pan. This will ensure even cooking and prevent the turkey from sitting in its own juices.
Seasoning the Turkey:
Let's give our turkey a flavor boost! Pat the skin dry with paper towels, then generously rub it with olive oil. This helps to create a beautiful golden-brown crust during roasting. Season the turkey liberally with salt, pepper, and any herbs you love. I like to add a sprig of rosemary or thyme to the cavity for a classic touch.
Temperature: The Key to Success
Cooking a large turkey requires patience and attention to temperature. The key is to roast it at a low temperature for a longer period. This ensures that the meat cooks evenly and stays juicy. For an unstuffed turkey, aim for about 15 minutes per pound. For a stuffed turkey, aim for 20 minutes per pound. So, for a 25lb bird, you're looking at roughly 3 hours and 45 minutes to 5 hours of roasting time.
Basting: A Debate
Some cooks swear by basting, while others say it’s not necessary. I’m in the camp that basting is optional. The goal is to keep the turkey moist, and if you follow the proper roasting temperature and time, basting may not be needed. If you choose to baste, use pan drippings or a mixture of butter and broth.
(Part 6) The Final Test: The turkey thermometer
As your turkey nears the finish line, it's time for the crucial final test: the turkey thermometer. This trusty tool is the most reliable way to ensure your bird is cooked through.
Using a Thermometer:
- Insert the thermometer into the thickest part of the thigh, making sure not to touch the bone.
- The turkey is fully cooked when the internal temperature reaches 165 degrees Fahrenheit (74 degrees Celsius).
(Part 7) Resting: The Key to Juiciness
After you've successfully roasted your turkey, resist the urge to carve it immediately. Give it a 30-minute rest before carving. This allows the juices to redistribute throughout the meat, resulting in a much juicier and tastier turkey.
Covering the Turkey:
While your turkey rests, cover it loosely with aluminum foil. This helps to keep it warm and moist.
(Part 8) Carving: The Grand Finale
After the resting period, you're ready to carve! This is the moment of triumph, the grand finale of your turkey journey.
Carving Tips:
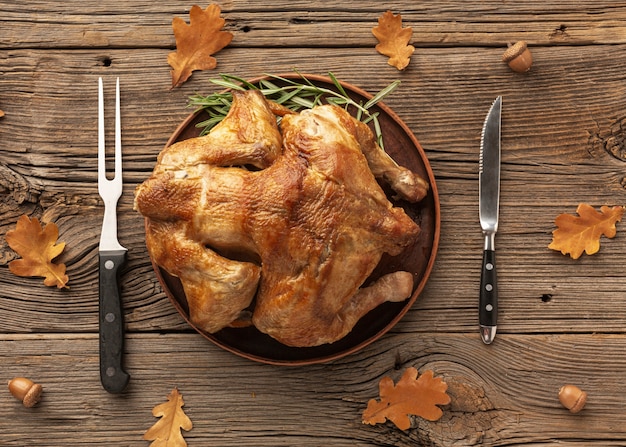
- Start with the wings and legs. Remove them from the turkey before tackling the breast.
- Use a sharp carving knife and slice the breast meat into thin, even slices.
- Don't be afraid to ask for help! If you're not comfortable carving, ask a friend or family member to lend a hand.
Presentation:
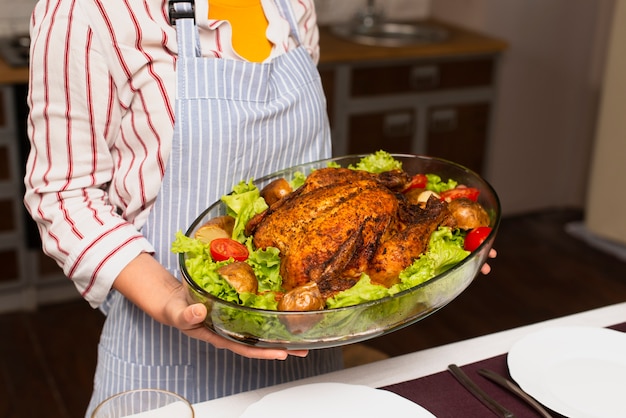
Once you've carved the turkey, arrange it beautifully on a platter. Add any remaining stuffing, gravy, and cranberry sauce to the sides. It's time to gather your loved ones and celebrate the delicious masterpiece you've created.
(Part 9) Gravy: The Finishing Touch
No turkey feast is complete without a rich, flavorful gravy. The turkey pan drippings are a goldmine for making a delicious gravy.
My Gravy Recipe:
- Ingredients: Turkey pan drippings, flour, chicken broth, salt, pepper, and herbs.
- Method: Remove excess fat from the pan drippings and add flour to make a roux. Gradually whisk in chicken broth and bring to a simmer. Season with salt, pepper, and herbs to taste.
(Part 10) Leftovers: The Best Part (Almost)
Leftover turkey? It's a blessing! Don't let it go to waste. There are countless ways to repurpose leftover turkey and make delicious new dishes.
Leftover Turkey Ideas:
- turkey sandwiches: A classic comfort food.
- turkey soup: A hearty and comforting meal.
- turkey salad: Perfect for salads or sandwiches.
- Turkey enchiladas: A Mexican-inspired twist on leftover turkey.
- Turkey Shepherd's Pie: A cozy and satisfying dish.
(Part 11) FAQs: Your Turkey Questions Answered
You've got questions, I've got answers. Let's tackle some common turkey conundrums:
1. How do I know if my turkey is thawed properly?
A thawed turkey should have no ice crystals and should be flexible, not solid. The best way to check is to poke it with your finger. If it's still hard, it's not thawed properly.
2. Can I cook a stuffed turkey?
Technically, yes, but it's not recommended. Stuffing cooked inside the turkey can be a food safety risk, as it might not reach the proper internal temperature. It’s safer to cook your stuffing separately.
3. What do I do if my turkey is dry?
If your turkey is dry, there are a few things you can do. You can try adding a little gravy or sauce to the meat while carving. You can also make a turkey stock from the bones and drippings.
4. How long can I keep leftover turkey?
Leftover turkey can be stored in the refrigerator for 3-4 days. Make sure to store it in an airtight container.
5. Can I freeze leftover turkey?
Yes, you can freeze leftover turkey for up to 2 months. Simply store it in an airtight container or freezer bag.
(Part 12) Conclusion: The Turkey Triumph
As we reach the end of our turkey journey, I hope you feel confident and ready to tackle your next 25lb bird. Remember, it's all about preparation, patience, and a dash of culinary confidence. With a little practice and these tips, you'll be a turkey-roasting pro in no time. So, gather your ingredients, put on your apron, and get ready to create a delicious Thanksgiving or Christmas feast!
Everyone is watching

Prime Rib Roast Cooking Time Chart: Per Pound Guide
Cooking TipsPrime rib roast. Just the name conjures images of lavish dinners, crackling fires, and hearty laughter. It’s ...

How Long to Bake Potatoes in the Oven (Perfect Every Time)
Cooking TipsBaked potatoes are a staple in my kitchen. They're incredibly versatile, delicious, and surprisingly easy to m...

Perfect Rice Every Time: The Ultimate Guide to Cooking Rice
Cooking TipsAs a self-proclaimed foodie, I've always been a bit obsessed with rice. It's the foundation of countless cuisi...

The Ultimate Guide to Cooking Asparagus: Tips, Techniques, and Recipes
Cooking TipsAsparagus. The mere mention of this spring delicacy conjures up images of vibrant green spears, crisp and burs...

Ultimate Guide to Cooking the Perfect Thanksgiving Turkey
Cooking TipsThanksgiving. Just the word conjures up images of overflowing tables laden with delicious food, the scent of r...
