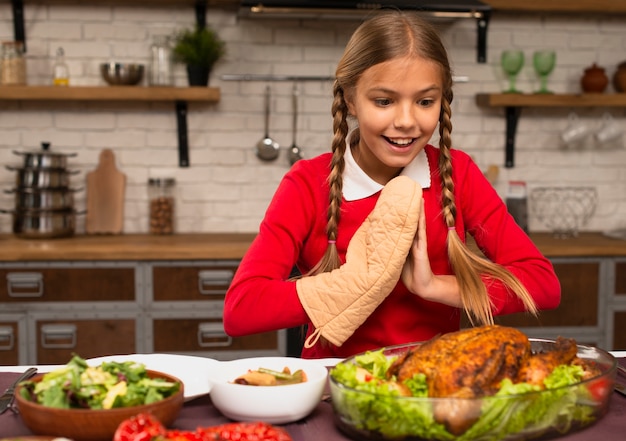
Ah, the turkey. A culinary icon, a symbol of celebration, and a delicious centerpiece for any festive table. But let's be honest, the thought of roasting a turkey can be a bit daunting, especially if you're not a seasoned chef. Fear not, my friends! I've been in the trenches, battling oven temperatures and carving challenges for years, and I'm here to guide you through the process, sharing my hard-earned wisdom and a few tricks up my sleeve.
Whether you're a seasoned turkey-roaster or a first-timer, we'll delve into every aspect of the journey, from choosing the right bird to carving it with precision. So, grab a cuppa, settle in, and get ready to learn how to roast a turkey that will have your guests singing your praises.
Part 1: Choosing Your Turkey
The first step in roasting a perfect turkey is selecting the right bird. It's like choosing a partner for a grand dance – it's got to be the right size and temperament for the occasion.
Size Matters, My Friends!
The size of your turkey depends on the number of guests you're feeding. For a standard family gathering of 6-8 people, a 4-6 kg (9-13lb) turkey is generally a good choice. If you're expecting a crowd, you might need to bump up to a larger bird – think 6-8 kg (13-18lb) or even bigger. But remember, having a few leftovers for sandwiches or a delicious turkey pie is always a bonus, so erring on the side of a bigger bird is usually a good idea.
Fresh or Frozen? The Eternal Debate
The age-old question: fresh or frozen? Well, let's get real – both have their merits. Fresh turkeys, with their juicy, un-frozen goodness, are a real treat. They tend to be more flavorful, and you can pop them straight into the oven without any thawing fuss. But let's be honest, fresh turkeys can be a bit more expensive and sometimes harder to find, especially closer to the festive season. frozen turkeys, on the other hand, are often more readily available and convenient if you're not planning ahead. Just make sure to give them ample time to defrost properly in the fridge before you start cooking – nobody wants a half-frozen bird on their holiday table!
Quality Check: A Bird's Eye View
Before you commit to a turkey, take a good look at it. Check for a bird with firm, plump flesh – you want a well-nourished bird, not a skinny one. The skin should be smooth and glistening, not dry or wrinkled. And remember, a good sniff test is essential! The turkey should smell fresh and clean, not funky or off. If you're unsure, ask your butcher for their expert opinion – they're the turkey whisperers, after all.
Part 2: Prepping the Turkey for Its Star Turn
Now that you've chosen your perfect turkey, it's time to get it ready for its grand entrance into the oven. This is where a little TLC goes a long way, transforming a plain bird into a culinary masterpiece.
The Brining Ritual: A Secret Weapon for Juiciness
Let me unveil my secret weapon for a juicy, flavorful turkey: brining. It's a simple but effective technique that involves soaking the turkey in a salt-water solution. The magic here is that the salt draws moisture into the meat, making it incredibly tender and juicy. It's like a spa treatment for your turkey! The brining process typically takes 12-24 hours, so plan ahead – you don't want to be scrambling at the last minute. The internet is bursting with brining recipes, and I love experimenting with herbs, spices, and even a bit of citrus for a zesty twist.
Stuffing: A Classic Companion (But Not Always Necessary)
Stuffing is a beloved tradition, but it can also be a bit tricky. If you're stuffing your turkey, remember to stuff it loosely, leaving some space for the stuffing to expand as it cooks. This will help prevent a messy situation in the oven. And here's a crucial tip: always cook the stuffing separately to ensure it's cooked through properly. It's a safer bet and will save you from any potential undercooked-stuffing worries.
The Pat-Down and Seasoning: Finishing Touches
Before you send the turkey to the oven, give it a good pat-down with some paper towels to dry the skin. This helps to achieve that beautiful, golden-brown crust we all crave. Now it's time for the seasoning! Salt and pepper are the classic duo, but don't be afraid to get creative. I'm a fan of herbs like rosemary, thyme, and sage – their earthy flavors blend beautifully with the turkey. You can even try a rub with paprika, garlic powder, and onion powder for a bolder flavor profile.
Part 3: Roasting Your Turkey: The Grand Show
We've arrived at the heart of the matter: the roasting process. This is where the magic happens, where a simple bird transforms into a culinary delight. The key is to cook the turkey slowly and evenly, giving it enough time to reach the perfect level of doneness.
Preheat Your Oven: A Crucial First Step
Preheat your oven to 180°C (350°F). This ensures the turkey cooks evenly from the start, preventing any uneven browning or raw spots.
Positioning the Turkey: A Matter of Airflow
Place the turkey in a large roasting pan. If you're using a roasting rack, make sure the turkey is positioned high enough to allow air to circulate around it. A roasting rack helps to cook the turkey evenly and prevents the bottom from becoming soggy. Think of it as giving the turkey its own personal space to breathe and cook beautifully.
Basting: A Touch of TLC
Basting is a secret weapon for a juicy and flavorful turkey. It involves pouring the pan juices over the turkey during cooking, keeping it moist and flavorful. Baste the turkey every 30-45 minutes, making sure to spread the juices evenly across the entire bird. This will result in a beautifully browned, succulent turkey that your guests will rave about.
Part 4: Cooking Time: A Guide to Turkey Timing
Okay, let's get down to the nitty-gritty: how long do you roast a turkey? Well, it depends on the size of the bird. Here's a general guideline for cooking times, but remember, these are just starting points. The best way to ensure your turkey is cooked through is to use a meat thermometer.
| turkey weight (kg) | Cooking Time (hours) |
|---|---|
| 4-5 kg | 2-2.5 hours |
| 5-6 kg | 2.5-3 hours |
| 6-7 kg | 3-3.5 hours |
For a more accurate estimate, you can also use a handy online turkey roasting calculator, which will factor in the weight of your bird and provide a more tailored cooking time.
Part 5: Checking for Doneness: The Moment of Truth
The moment of truth has arrived! How do you know if your turkey is cooked through? The answer lies in the internal temperature. Using a meat thermometer, insert it into the thickest part of the thigh, making sure it doesn't touch any bone. The turkey is cooked when it reaches an internal temperature of 82°C (180°F).
The Pop-Up Thermometer: A Handy (But Not Foolproof) Tool
Some turkeys come equipped with a pop-up thermometer. When the thermometer pops up, it indicates that the turkey has reached the desired internal temperature. But I always recommend using a separate meat thermometer just to be absolutely sure.
Resting Time: Patience is a Virtue
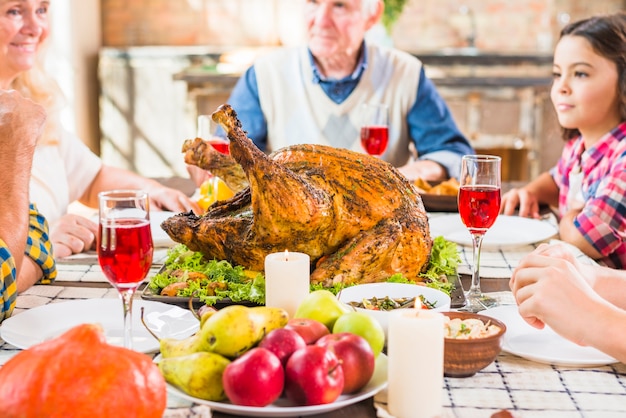
Once the turkey is cooked, resist the urge to carve it right away. Let it rest for at least 15-20 minutes before carving. This allows the juices to redistribute throughout the meat, resulting in a much more tender and flavorful turkey. Think of it as a well-deserved break for the bird before it takes center stage on your table.
Part 6: Carving the Turkey: A Masterclass in Precision
Alright, the turkey is cooked, it's rested, now it's time for the grand finale: carving! This is a skill that takes practice, but don't worry, I'm here to guide you through it.
Tools of the Trade: Sharpen Your Arsenal
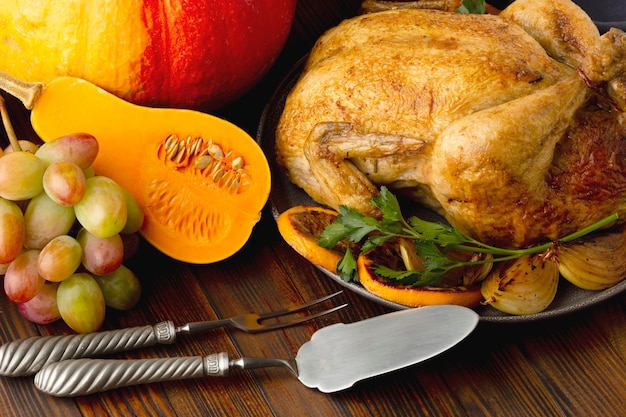
You'll need a sharp carving knife and a carving fork. The carving knife should be long and thin, with a sharp, pointed tip for slicing through the meat with precision. The carving fork helps you to hold the turkey steady while you carve, preventing it from slipping and causing a carving catastrophe.
Carving Technique: A Step-by-Step Guide
Start by removing the legs and thighs. Cut along the joint where the leg meets the body, then separate the leg from the thigh. Now you can carve the breasts. Make shallow cuts across the grain of the meat, keeping the knife close to the bone to avoid tearing the meat. You can also carve the wings, separating them from the breast and slicing the meat from the bone.
Part 7: Leftovers: A Culinary Treasure Trove
What's a holiday feast without leftovers, right? Leftover turkey is a culinary treasure trove, a blank canvas for creative culinary adventures. Think turkey sandwiches, turkey salad, or even a hearty turkey soup. The possibilities are endless!
Storing Leftovers: Preserving the Feast
To store leftovers, let them cool to room temperature, then refrigerate in airtight containers. They should last for 3-4 days in the fridge. You can also freeze leftover turkey for up to 4 months. Just wrap it tightly in plastic wrap and aluminum foil before placing it in the freezer.
Part 8: Troubleshooting: Facing Culinary Challenges Head-On
We've all been there: those moments when things don't go quite as planned. Let's talk about some common turkey-roasting challenges and how to overcome them.
Dry Turkey: The Challenge of Moisture
If your turkey comes out dry, it might be because it was cooked too long. Next time, try reducing the cooking time by 15 minutes or so. You can also try basting more frequently to keep the bird moist.
Unevenly Cooked: A Matter of Positioning
Sometimes, the turkey cooks more quickly on one side than the other. This can happen if the turkey is not positioned correctly in the roasting pan. Try rotating the turkey halfway through cooking to ensure even cooking.
Burnt Skin: A Touch Too Much Heat
If the turkey skin is burning, try covering it with a piece of aluminum foil for the last hour of cooking. This will help to prevent the skin from burning while allowing the meat to cook through.
FAQs: Answers to Your Burning Questions
Here are a few frequently asked questions about turkey roasting, providing solutions for those turkey-related dilemmas:
Can I cook a turkey in a slow cooker?
Yes, you can! Slow cookers are great for creating moist and tender turkey. Just make sure to choose a slow cooker that’s large enough to accommodate your turkey. The cooking time will vary depending on the size of the turkey.
How do I know when a turkey is done?
The best way to tell if a turkey is done is to check the internal temperature. Insert a meat thermometer into the thickest part of the thigh, making sure it doesn’t touch any bone. The turkey is cooked when it reaches an internal temperature of 82°C (180°F).
Can I freeze a cooked turkey?
Yes, you can freeze a cooked turkey. Let it cool to room temperature, then wrap it tightly in plastic wrap and aluminum foil. It can be frozen for up to 4 months.
How do I reheat a cooked turkey?
To reheat a cooked turkey, preheat your oven to 160°C (325°F). Place the turkey in a roasting pan and cover it with aluminum foil. Heat for 15-20 minutes, or until heated through.
Can I cook a turkey in the microwave?
It’s not recommended to cook a whole turkey in the microwave. Microwave ovens are designed for smaller portions and are not suitable for cooking large items like turkeys.
I hope this comprehensive guide has equipped you with the confidence and knowledge to roast a perfect turkey for your next festive gathering. Remember, practice makes perfect, so don't be afraid to experiment and find what works best for you. Happy cooking, and may your turkey be a triumph!
Everyone is watching

Prime Rib Roast Cooking Time Chart: Per Pound Guide
Cooking TipsPrime rib roast. Just the name conjures images of lavish dinners, crackling fires, and hearty laughter. It’s ...

How Long to Bake Potatoes in the Oven (Perfect Every Time)
Cooking TipsBaked potatoes are a staple in my kitchen. They're incredibly versatile, delicious, and surprisingly easy to m...

Perfect Rice Every Time: The Ultimate Guide to Cooking Rice
Cooking TipsAs a self-proclaimed foodie, I've always been a bit obsessed with rice. It's the foundation of countless cuisi...

The Ultimate Guide to Cooking Asparagus: Tips, Techniques, and Recipes
Cooking TipsAsparagus. The mere mention of this spring delicacy conjures up images of vibrant green spears, crisp and burs...

Ultimate Guide to Cooking the Perfect Thanksgiving Turkey
Cooking TipsThanksgiving. Just the word conjures up images of overflowing tables laden with delicious food, the scent of r...