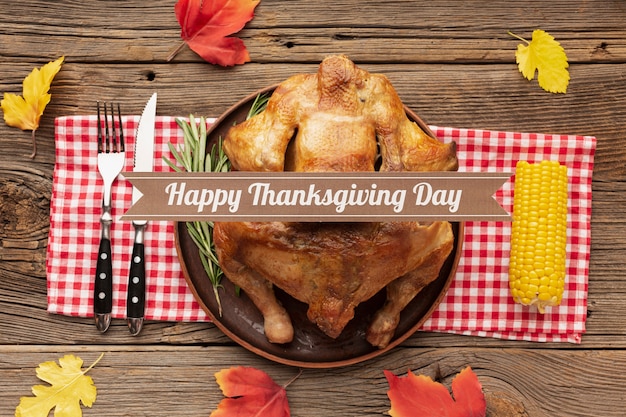
Ah, the Christmas turkey! It's a symbol of festive cheer, bringing families together around a table laden with delicious food. But let’s be honest, mastering the art of turkey roasting can be a bit daunting, especially when you're aiming for that perfect golden-brown exterior and juicy, succulent meat. I've been there, nervously checking the oven, wondering if it's done yet, thermometer in hand. Over the years, I've learned a thing or two about turkey roasting, and I’m here to share my knowledge with you, complete with a handy cooking time chart and a ton of tips and tricks to help you conquer this culinary challenge with confidence.
Part 1: A Journey Through My Turkey Tales
My own turkey experiences have been a rollercoaster of triumphs and mishaps. There were times when I'd emerge victorious, carving a beautifully browned bird, the aroma of rosemary and garlic filling the air. But there were also those times when, well, let's just say things didn't quite go according to plan. Like the year the breast came out dry as a bone (a tragedy!), or the time the legs were still a bit pink in the middle (a near disaster!). These experiences, both good and bad, taught me valuable lessons about turkey roasting, which I'm eager to share with you today.
The Importance of Choosing the Right Turkey
You know what they say, "You can't make a silk purse out of a sow's ear." The same applies to turkeys. A good turkey is the foundation for a delicious roast. I've learned that free-range turkeys, with their richer flavour and succulent texture, are truly the way to go. But ultimately, the choice is yours. Just make sure you pick a bird that's been properly brined or injected with flavour. You'll be amazed at the difference it makes!
Part 2: The turkey cooking time chart - Your Secret Weapon
Now, let's talk turkey - literally. The most crucial factor in turkey roasting is time. To ensure your bird is cooked through and juicy, you need to know precisely how long to roast it. And that's where this handy cooking time chart comes in. It’s your go-to guide for determining the perfect roasting time based on the weight of your turkey. So, ditch the guesswork and embrace the power of this chart!
Understanding the Table:
The table below is based on a turkey that has been properly thawed and is ready for roasting. It's important to note that this is just a general guideline. Factors like your oven's temperature and the turkey's internal temperature can affect the cooking time slightly. Don't worry, we'll dive deeper into calculating the exact roasting time in the next sections.
| turkey weight (lbs) | Roast Time (at 325°F) | Rest Time (at least) |
|---|---|---|
| 10-12 | 3-3.5 hours | 30 minutes |
| 12-14 | 3.5-4 hours | 30 minutes |
| 14-16 | 4-4.5 hours | 45 minutes |
| 16-18 | 4.5-5 hours | 45 minutes |
As you can see, for a 15-pound turkey, the recommended roasting time is around 4 hours. But let's delve a little deeper into the science behind this chart.
Part 3: Prepping Your Turkey - A Crucial Step
Before you even think about putting your turkey in the oven, there's some essential prep work to be done. This is where many people go wrong. Trust me, taking the time to properly prepare your turkey will pay off in the end with a delicious, moist, and flavorful bird.
Brining for Extra Juiciness:
Brining is a time-honoured technique that involves soaking the turkey in a saltwater solution. This process helps retain moisture, making the meat incredibly tender. It’s like giving your turkey a spa treatment! If you’re feeling adventurous, you can even add herbs and spices to your brine for a more complex flavour. I've tried brining my turkey in a lemon and rosemary brine, and it was a game-changer! The meat was so juicy and flavorful, it practically melted in my mouth. Just remember to brine the turkey the day before roasting to allow the brine to penetrate the meat properly.
Patting it Dry:
Once your turkey is brined (or not, if you prefer), it's time to pat it dry. This step is crucial because moisture on the skin can hinder browning, leading to a soggy bird. Gently pat your turkey dry with paper towels, making sure you dry the cavity as well. You're essentially giving your turkey a final "polish" before it goes into the oven.
Part 4: The Roasting Process - Step by Step
Now, the moment of truth – putting your turkey in the oven. This step is a bit of an art form, but with my guidance, you'll be a turkey roasting pro in no time.
Choosing the Right Oven Temperature:
For a 15-pound turkey, I recommend roasting it at 325°F (160°C). This temperature allows for even cooking and helps ensure the meat stays juicy. It's a happy medium between too hot (which can dry out the meat) and too cool (which can make the cooking time unnecessarily long).
Stuffing or No Stuffing?
There's a long-standing debate about whether to stuff your turkey or not. I personally prefer to stuff it separately. It ensures that the stuffing is cooked through, eliminating any risk of foodborne illness. If you decide to stuff the turkey, make sure you cook the stuffing to 165°F (74°C) before putting it in the bird.
Roasting in a roasting pan:
Now, place your turkey in a roasting pan and add some water to the bottom of the pan. The water will help create steam and keep the turkey moist. Think of it as a mini steam bath for your turkey. Make sure the turkey is placed in the center of the pan, allowing for adequate airflow. You want your turkey to cook evenly, not just on one side.
Part 5: Monitoring the Turkey - The Crucial Part
Once your turkey is in the oven, it's important to monitor it closely to ensure it cooks evenly and doesn't dry out. You'll want to check on your turkey periodically, especially in the last hour of cooking.
The Temperature Check:
To check the turkey's internal temperature, use a meat thermometer. Insert the thermometer into the thickest part of the thigh, making sure it doesn't touch any bone. The turkey is considered cooked when the internal temperature reaches 165°F (74°C) in the thigh. It's a good idea to check the temperature in a few different spots to ensure even cooking.
Basting for Juicy Results:
Basting your turkey during roasting helps keep it moist and contributes to a beautiful golden-brown color. Every 30-45 minutes, baste the turkey with pan drippings or butter. Be careful not to over-baste, as it can make the skin soggy. The goal is to create a crispy, golden-brown skin while keeping the meat juicy and tender.
Part 6: Resting the Turkey - A Must-Do
After your turkey is cooked, you must let it rest. This allows the juices to redistribute throughout the meat, resulting in a more succulent and flavorful turkey. Let the turkey rest for at least 30 minutes before carving. It's a bit like giving your turkey a chance to relax and unwind after its oven journey.
The Importance of Resting:
Resting the turkey is crucial because it allows the juices to reabsorb into the meat. If you carve the turkey immediately after cooking, the juices will run out, leading to a dry turkey. Be patient and let the turkey rest. It will be worth it! You'll be rewarded with a juicy and flavorful turkey that everyone will rave about.
Part 7: Carving the Turkey - A Culinary Art
carving a turkey is a skill that takes practice, but it's not as daunting as it seems. Here's a simple guide to help you carve your turkey like a pro.
Using Sharp Knives:
Sharp knives are essential for clean and easy carving. Use a carving knife, which is designed for cutting through meat. Make sure your knife is sharp enough to cut through the skin and bones without tearing the meat. You don't want to be wrestling with a dull knife, as this can lead to uneven cuts and a messy carving experience.
Step-by-Step Guide:
1. Remove the legs: Start by carefully removing the legs from the turkey. You can use a carving fork to hold the turkey steady while you cut.2. Remove the wings: Next, remove the wings by cutting through the joint where the wing meets the body.3. Slice the breast: Carefully slice the breast into thin pieces, using the carving knife to cut along the grain of the meat. 4. Carve the dark meat: Finally, carve the dark meat from the legs and thighs. Cut the leg meat into manageable pieces and slice the thigh meat into thin slices.
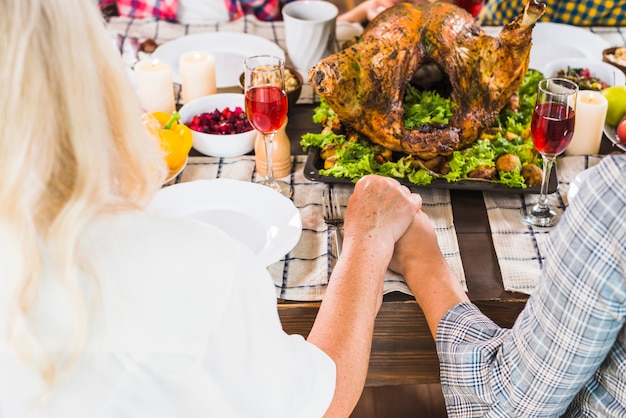
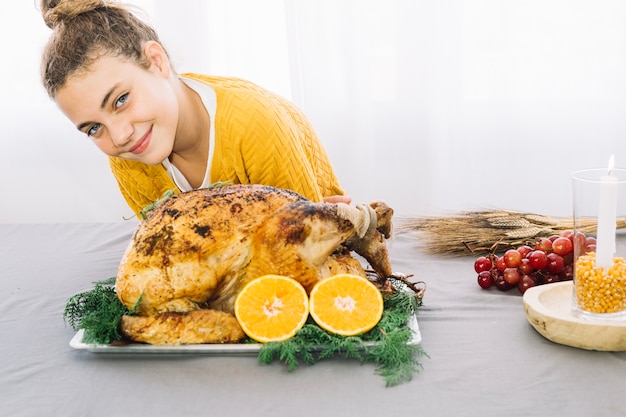
Part 8: Serving the Turkey - A Feast for the Senses
You've done it! Your turkey is cooked, rested, and carved. Now it's time to serve and enjoy the fruits of your labor.
Arranging the Turkey on a Platter:
Arrange the carved turkey on a platter, garnishing it with fresh herbs or cranberries for a touch of festive elegance. You can also add some gravy, which will make the turkey even more succulent.
Pairing with Sides:
Serve your turkey with a selection of your favorite sides, like mashed potatoes, stuffing, roasted vegetables, and cranberry sauce. I love to pair my turkey with a creamy gravy made from the pan drippings and a simple side of roasted brussels sprouts. The combination of flavors and textures is truly divine!
Part 9: Leftovers - A Culinary Treasure
Don't let those delicious turkey leftovers go to waste! They're perfect for creating new dishes and sandwiches. There are endless possibilities with leftover turkey, from turkey sandwiches to turkey soup. So, get creative and embrace the culinary potential of your leftovers!
Ideas for Leftovers:
Here are a few ideas for leftover turkey:
- turkey salad sandwiches: A classic for a reason! Mix leftover turkey with mayonnaise, celery, and onion for a delicious sandwich filling.
- Turkey and stuffing casserole: Combine leftover turkey and stuffing with a creamy sauce and bake in the oven for a comforting casserole.
- Turkey soup: A hearty and flavorful soup made with leftover turkey, vegetables, and broth.
- Turkey enchiladas: Spice things up with turkey enchiladas filled with leftover turkey, cheese, and your favorite enchilada sauce.
- turkey pot pie: A cozy and comforting pot pie filled with leftover turkey, vegetables, and a flaky crust.
Part 10: FAQs - Your Questions Answered
I'm sure you have questions about roasting a turkey, especially if you're a newbie. Here are some frequently asked questions and my answers to help you overcome any turkey-related concerns.
1. What if my turkey is frozen?
If your turkey is frozen, it's essential to thaw it completely before roasting. The best way to thaw a turkey is in the refrigerator, allowing 24 hours for every 5 pounds of turkey. This ensures that the turkey thaws evenly and safely.
2. How long should I roast a 15-pound turkey?
According to the chart, a 15-pound turkey should be roasted for approximately 4 hours at 325°F (160°C). However, it's always best to check the internal temperature to ensure it reaches 165°F (74°C) in the thigh.
3. What if my turkey isn't completely cooked?
If your turkey isn't completely cooked, you can continue roasting it until it reaches the desired internal temperature. Just make sure you check the temperature frequently and don't overcook it.
4. What if my turkey is overcooked?
Sadly, there's not much you can do to salvage an overcooked turkey. However, you can try to minimize the dryness by carving the turkey immediately and serving it with gravy or sauce.
5. How do I store leftover turkey?
Store leftover turkey in an airtight container in the refrigerator for up to 4 days. You can also freeze leftover turkey for up to 2 months.
Remember, turkey roasting is all about preparation, patience, and a touch of culinary confidence. With this guide by your side, you're well on your way to creating a truly unforgettable festive feast. Happy roasting!
Everyone is watching

Prime Rib Roast Cooking Time Chart: Per Pound Guide
Cooking TipsPrime rib roast. Just the name conjures images of lavish dinners, crackling fires, and hearty laughter. It’s ...

How Long to Bake Potatoes in the Oven (Perfect Every Time)
Cooking TipsBaked potatoes are a staple in my kitchen. They're incredibly versatile, delicious, and surprisingly easy to m...

Perfect Rice Every Time: The Ultimate Guide to Cooking Rice
Cooking TipsAs a self-proclaimed foodie, I've always been a bit obsessed with rice. It's the foundation of countless cuisi...

The Ultimate Guide to Cooking Asparagus: Tips, Techniques, and Recipes
Cooking TipsAsparagus. The mere mention of this spring delicacy conjures up images of vibrant green spears, crisp and burs...

Ultimate Guide to Cooking the Perfect Thanksgiving Turkey
Cooking TipsThanksgiving. Just the word conjures up images of overflowing tables laden with delicious food, the scent of r...