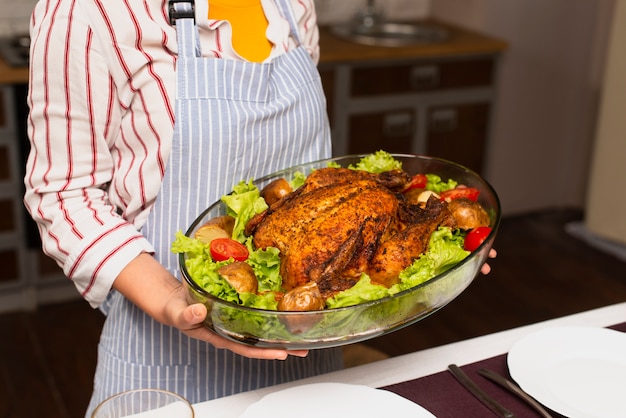
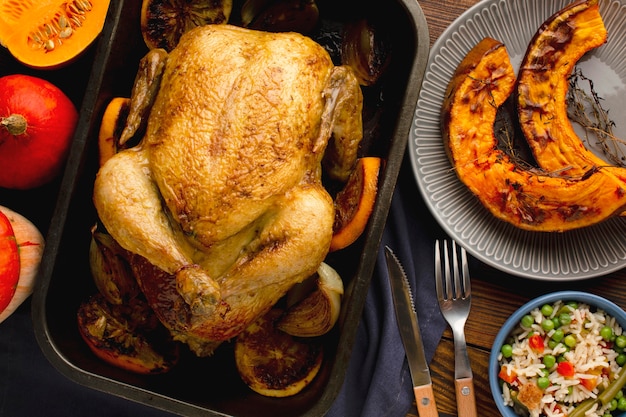
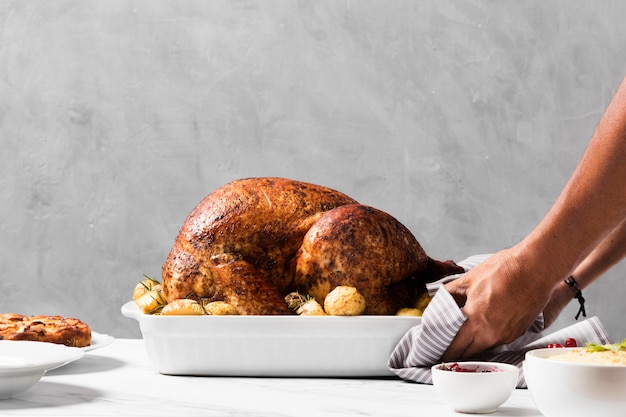
The festive season is upon us, and for many of us, that means a beautiful roasted turkey gracing the centrepiece of our tables. It’s a tradition that brings families and friends together, but let’s be honest, there’s always a bit of pressure to get it right. Nobody wants a dry turkey, right? So, I’m here to share my tried and true method for roasting a 13lb turkey in the oven, a size perfect for a family gathering of 8 to 10. I'll guide you through the process, from prepping to cooking, even offering troubleshooting tips, so you can relax and enjoy the celebrations.
(Part 1) - Prep is Key

The saying "fail to prepare, prepare to fail" holds true for roasting a turkey. It’s not rocket science, but getting the prep right sets the stage for a delicious, juicy bird.
1. Choosing the Right Turkey
First, let’s pick our turkey. A 13lb bird is just the right size for a good-sized family gathering. When selecting your turkey, look for a plump bird with good colour. A bit of fat under the skin is a good sign – it’ll help keep the turkey moist as it roasts. I usually steer clear of frozen turkeys; fresh ones just taste better in my opinion.
2. The Brine: A Love-Hate Relationship
Now, let's talk brining. Brining is a bit of a hot topic, it’s basically soaking the turkey in a salt-water solution to help it retain moisture. Some people swear by it, and I must admit, I'm a convert. But, I'm not talking about a full-on brine for days - that's just too much for me. I prefer a quick, overnight brine. It’s a bit more hands-on, but for me, it’s worth it. I've been burnt by dry turkeys before, and trust me, nobody wants a dry turkey on their Christmas dinner plate. A properly brined turkey is just a whole other level of juicy and flavorful.
Brining 101
- The Brine Solution: Dissolve 1 cup of salt in 1 gallon of cold water. You can add extra flavor by adding herbs and spices to the brine, such as garlic, onion, bay leaves, or citrus zest. Personally, I love the flavor of a citrus-infused brine.
- The Soak: Submerge the turkey in the brine in a large container like a stock pot or cooler. Make sure the turkey is fully submerged and that the container is large enough to prevent the turkey from touching the bottom. Cover the container and refrigerate for 6-8 hours, or ideally overnight.
- Rinse and Pat Dry: After the brine, rinse the turkey thoroughly with cold water and pat it dry with paper towels. This removes any excess salt and prepares it for roasting.
3. Prepping the Bird
Once your turkey is home, it's time for a good pat-down. Rinse it thoroughly inside and out, and then pat it dry with paper towels. Next, remove the giblets (that little bag of stuff tucked inside) - you can use those to make a delicious gravy later. And finally, if your turkey has a neck and tail, you can remove those too. Don’t worry if you're a bit squeamish about this part - you can always ask the butcher to do it for you.
(Part 2) - The Roasting Process: A Step-by-Step Guide

Now, onto the roasting. This is where the magic happens.
1. The Oven: A High Heat Start
Preheat your oven to 425°F (220°C) – we want that initial high heat to help create a lovely crispy skin.
2. Trussing: Keeping it Together
Trussing is basically tying the legs and wings of the turkey to keep it all neat and tidy. It helps the bird cook evenly and prevents the legs from drying out. If you're a bit unsure about trussing, there are loads of videos online to help you out. I personally find using kitchen twine the easiest.
Trussing Techniques:
- The Classic Method: Cross the turkey’s legs and secure them with kitchen twine. Then, fold the wings behind the back and tie them to the legs.
- The Butterfly Method: This method is a bit more advanced but can be helpful for smaller turkeys. You’ll basically butterfly the turkey by cutting through the breastbone, then flatten the bird. This allows for faster cooking and more even browning.
3. The Butter Rub: Flavour Boost
You can get really fancy with your turkey rub, but I keep it simple. Melt some butter, and then mix it with your favourite herbs and spices. I usually go for a classic combination of rosemary, thyme, and sage. It gives the turkey such a lovely aroma, and it just makes it taste so much more festive.
Butter Rub Variations:
- Citrus Herb: Lemon zest, thyme, rosemary, and a pinch of salt and pepper.
- Garlic Herb: Minced garlic, parsley, oregano, and a touch of paprika.
- Spicy Rub: Paprika, cayenne pepper, chili powder, garlic powder, and onion powder.
4. The Turkey Goes In
Place the turkey in a roasting pan. Now, if you're using a roasting rack, that's ideal. It allows air to circulate around the turkey, leading to more even cooking. If you don't have one, that's okay, just make sure the bottom of the pan is deep enough to catch any drippings. I prefer to use a roasting pan that is big enough to fit the turkey, with a little room to spare.
5. Initial High Heat
Pop the turkey into your preheated oven and give it a good 30 minutes at that high heat. This will create a nice crispy skin.
6. Lowering the Heat: The Long Game
After 30 minutes, reduce the oven temperature to 325°F (165°C) and continue roasting. This is where things get a bit more technical. The cooking time for a 13lb turkey will depend on a few factors:
- The turkey's weight: A 13lb turkey will likely take about 3-3.5 hours to cook.
- The oven: Different ovens can have varying temperature fluctuations.
- The turkey's internal temperature: This is the key to knowing when the turkey is cooked through.
7. The "doneness test": The Ultimate Test
To check if the turkey is done, you need to use a meat thermometer. You want the internal temperature of the turkey to reach 165°F (74°C) in the thickest part of the thigh, without touching any bone. This may take a little longer than the general cooking time mentioned above, so it's always best to check the temperature.
Tips for Using a Meat Thermometer:
- Insert Properly: Insert the thermometer into the thickest part of the thigh, making sure it's not touching any bone.
- Wait for Stable Reading: Give the thermometer a few seconds to register an accurate reading.
8. The Resting Period: A Crucial Step
Once the turkey is cooked, you need to let it rest for at least 15 minutes before carving. This allows the juices to redistribute, which means a moister and more flavorful turkey.
(Part 3) - Gravy: The Delicious Finishing Touch

Now, what would a roast turkey be without gravy?
1. The Drippings: The Foundation
While the turkey is resting, you can make the gravy. You'll need to use the pan drippings, so make sure you don't discard them.
2. The Deglazing Process: Flavour Explosion
Pour off the excess fat from the pan drippings, but leave some behind. You can use a spoon to scoop it off. Then, add a little bit of flour to the pan and cook it over low heat, stirring constantly. This will thicken the gravy.
3. Stock and Spices: Customizing Your Gravy
Add some stock to the pan – chicken or turkey stock work best. You can also add any leftover pan juices from cooking vegetables. And, feel free to add a pinch of your favourite spices for extra flavour. I like to add a bit of rosemary and thyme to my gravy, but you can experiment and find your own personal blend.
(Part 4) - Tips and Tricks
Okay, so you've got the basics covered. But, here are a few extra tips to make your roast turkey truly amazing.
1. The Roasting Pan Cover: A Moisture Lock
If you want to create a really moist turkey, consider using a roasting pan cover. It creates a steamy environment, which helps to keep the turkey juicy. I tend to use a cover for the first hour of roasting, and then remove it for the rest of the cooking time to get that crispy skin.
2. The water bath: Another Moisture Trick
Another trick for keeping the turkey moist is to use a water bath. This involves placing a roasting pan filled with water on the bottom rack of the oven. The steam from the water helps to keep the turkey moist. I haven't tried this one personally, but it's definitely something I'm going to experiment with next time.
3. The "Breast-Up" vs. "Breast-Down" Debate
There's a lot of debate about whether to roast the turkey breast-up or breast-down. Some people say that breast-up creates a juicier turkey, while others say breast-down helps to keep the white meat moist. Personally, I've found that breast-up tends to give a better overall result. But, I'm all for experimenting, so try both ways and see what you prefer.
(Part 5) - Troubleshooting: Fixing Common Issues
Okay, so even the most experienced turkey roaster can run into a few hiccups along the way. Here's a quick guide to tackling some common problems.
1. The Turkey's Breast is Dry: Remedies
If the turkey breast is dry, it's usually a sign that it was cooked for too long. There's not much you can do to fix this once the turkey is out of the oven, but you can try to make it a bit more moist by adding a bit of gravy or pan juices to the breast meat.
2. The Turkey's Skin isn't Crispy: Getting that Crunch
If the skin isn't crispy, you might need to cook it for a little bit longer, or you can try brushing the turkey with a bit of honey or maple syrup before roasting to help it brown.
3. The Turkey is Overcooked: What to Do
If you accidentally overcook the turkey, there's not much you can do to fix it. The best you can do is try to salvage the breast meat and use it in another dish. The dark meat is generally more forgiving and can usually be salvaged.
(Part 6) - Serving Up Your Masterpiece
Okay, so your turkey is cooked, rested, and carved. It's time to plate it up and impress your guests.
1. The Presentation: A Feast for the Eyes
When you're arranging your turkey on the platter, make sure to carve it evenly. You want to give everyone a good mix of white and dark meat. You can get creative with the presentation, and use some fresh herbs like rosemary or thyme to add a touch of colour and fragrance.
2. The Accompaniments: A Symphony of Flavors
Of course, your roasted turkey wouldn't be complete without some delicious accompaniments. roast potatoes, stuffing, and gravy are the classics, but don't be afraid to experiment with other vegetables and sides.
(Part 7) - Leftovers: Putting Them to Good Use
Don't let those turkey leftovers go to waste! There are so many delicious ways to use leftover turkey.
1. turkey sandwiches: A Classic
Who doesn't love a good turkey sandwich? It's a quick and easy way to use up leftover turkey, and you can add all your favourite toppings, like cranberry sauce, stuffing, and mayonnaise.
2. turkey salad: A Versatile Option
Turkey salad is a great option for lunch or dinner. You can mix it with mayonnaise, celery, and onion, or get creative with your own flavour combinations.
3. turkey soup: Comforting and Delicious
Turkey soup is a hearty and comforting way to use up leftover turkey. You can add vegetables like carrots, celery, and potatoes, and you can even add some leftover gravy for extra flavour.
(Part 8) - FAQs
1. Can I Cook My Turkey in a slow cooker?
You can, but it's not the best way to get a crispy skin. If you're set on using a slow cooker, make sure to brown the turkey in a pan first. I'd stick to the oven for a more traditional roast.
2. Can I Freeze My Turkey Before Roasting?
It's best to avoid freezing your turkey if you can. Freezing and thawing can affect the texture of the meat. If you really need to freeze it, make sure to thaw it completely in the refrigerator before roasting.
3. How Do I Know If My Turkey Is Cooked?
Use a meat thermometer. You want the internal temperature of the turkey to reach 165°F (74°C) in the thickest part of the thigh, without touching any bone.
4. What Should I Do If My Turkey is Dry?
There's not much you can do once the turkey is out of the oven. Try adding some gravy or pan juices to the breast meat to make it more moist.
5. How Long Can I Keep Leftover Turkey in the Fridge?
Leftover turkey can be stored in the fridge for up to 3-4 days. Make sure to store it in an airtight container.
(Part 9) - Conclusion
So there you have it, my guide to roasting a 13lb turkey. It might seem a bit daunting at first, but trust me, it's easier than you think. With a little bit of planning and prep, you can create a delicious and impressive roast turkey that your guests will love. Don't forget to enjoy the process – roasting a turkey is a tradition for many, and it's a chance to connect with family and friends. And most importantly, remember to have fun! Happy roasting!
Everyone is watching

Perfect Rice Every Time: The Ultimate Guide to Cooking Rice
Cooking TipsAs a self-proclaimed foodie, I've always been a bit obsessed with rice. It's the foundation of countless cuisi...

Ultimate Guide to Cooking the Perfect Thanksgiving Turkey
Cooking TipsThanksgiving. Just the word conjures up images of overflowing tables laden with delicious food, the scent of r...

The Ultimate Guide to Cooking Asparagus: Tips, Techniques, and Recipes
Cooking TipsAsparagus. The mere mention of this spring delicacy conjures up images of vibrant green spears, crisp and burs...

Can You Cook Spaghetti with Gasoline? (The Shocking Truth)
Cooking TipsWe've all seen those crazy internet trends. You know, the ones that make you wonder, "Did someone actually try...

Chorizo and Eggs Recipe: The Ultimate Guide
Cooking TipsRight, let’s talk about chorizo and eggs. You know, that classic Spanish dish that's always a winner. It's th...
