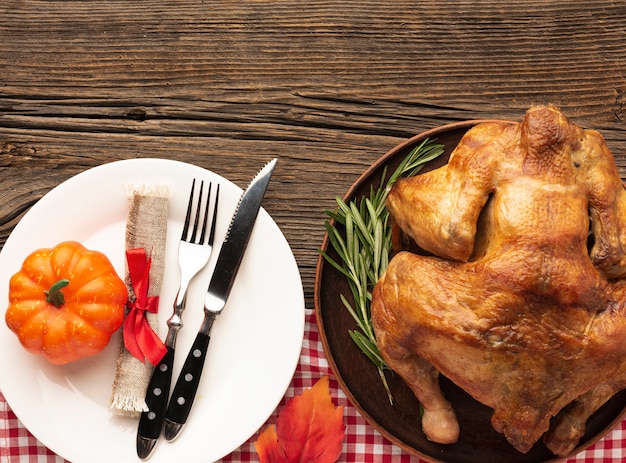
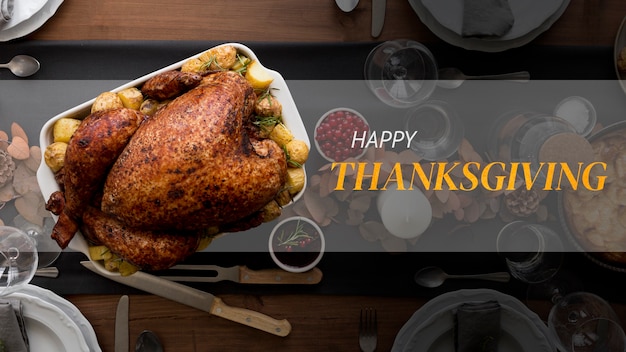
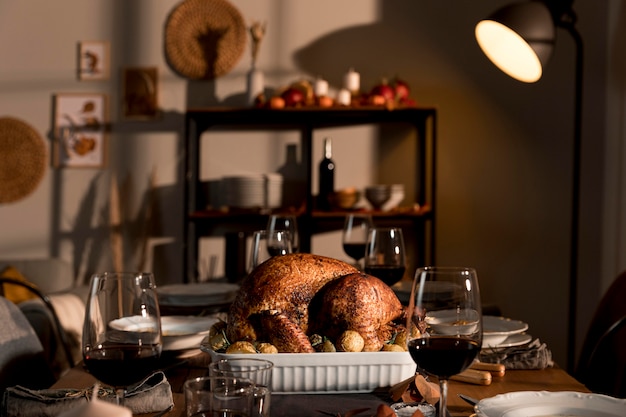
Ah, turkey – the star of the festive table, a symbol of gathering and good times. But let's be honest, tackling a 14-pound turkey can feel a bit daunting. That's why I'm here, your trusty guide, to walk you through the process, step by step, from thawing to carving. I've been there, folks – the dry breast, the undercooked leg, the burnt skin – I've seen it all! But trust me, with a bit of know-how and a sprinkle of confidence, we'll make this a triumph. No more turkey disasters, just delicious, juicy bird fit for a king (or a queen!).
Part 1: Setting the Stage

Okay, let's get organized. The first thing you need is a big enough roasting pan. Think of it as your turkey's stage, and you want it to have plenty of room to shine. You'll also need a rack – those little metal bars you put inside the pan – to lift the turkey up, allowing air to circulate all around and giving us that beautiful golden-brown skin we crave.
1.1 Thawing That Turkey
First things first, let's tackle that frozen bird. Thawing a turkey takes time, so plan ahead. I recommend thawing in the fridge, which gives a nice, slow defrost and helps prevent bacteria growth. It's generally recommended to allow 24 hours per 5 pounds of turkey. That means our 14-pounder needs a good 67 hours to thaw. Yes, it's a long time, but it's worth it for a juicy, evenly cooked turkey.
1.2 Drying for Crispness
Once your turkey is completely thawed, pat it dry with paper towels. This is crucial for getting that crispy skin, folks! Think of it like prepping your canvas before you paint – a dry surface will allow the skin to brown beautifully.
Part 2: Brining: To Brine or Not To Brine?

Now, let's address the elephant in the room: brining. Brining is a technique that involves soaking your turkey in a salty water solution. Some swear by it, saying it keeps the turkey super moist and juicy. I used to be a brining fan myself, but after years of experimenting, I've found that it's not essential. If you cook your turkey properly, it'll be juicy and flavorful without the hassle of brining.
2.1 Understanding the Benefits
However, I'll admit that brining does have its advantages. It adds flavor to the meat, and it can indeed help keep the turkey moist. Brining works by drawing moisture into the meat, so during cooking, that moisture helps prevent dryness.
2.2 Different Brining Approaches
If you're feeling adventurous and want to go the brining route, there are a couple of options. You've got the dry brine, which involves rubbing the turkey with salt and herbs and letting it sit in the fridge for a few days. Or, you've got the wet brine, where you submerge the turkey in a saltwater solution. There are also ready-made brines available at the supermarket for those who want a quick fix.
2.3 The Takeaway
Personally, I'm happy to skip the brining step. A well-cooked turkey is more than enough for me! However, if you’re a firm believer in brining, go for it. Just make sure you’ve got the fridge space and allow ample time for the brining process.
Part 3: Pre-Roast Prep

Alright, let's get those oven mitts ready – it's time to roast!
3.1 Oven Choice is Key
First things first, you want to use a conventional oven, not a fan-assisted one. A fan oven can dry out the turkey, so for this job, we're going old school.
3.2 Heating Up the Oven
Now, preheat that oven to 325°F (160°C). You want the oven nice and hot for even cooking and a gloriously crisp skin. While the oven is warming up, you can get busy prepping stuffing and those delicious side dishes.
Part 4: Stuffing: A Safety First Approach
Now, let's talk about stuffing. It's a holiday classic, but there's a crucial safety factor to consider: don't stuff your turkey until right before it goes in the oven. Stuffing that's been sitting in the turkey at room temperature for hours can be a breeding ground for bacteria.
4.1 Safe Stuffing Options
So, what's the safest approach? You have two options: stuff the turkey right before it goes into the oven, or cook the stuffing separately. I always choose to cook the stuffing separately because it's much safer and more reliable. You can cook it in a casserole dish, a loaf pan, whatever works for you. Just make sure it's cooked through before serving.
4.2 Stuffing Inspiration
Need some stuffing ideas? For a classic Thanksgiving stuffing, try a simple bread stuffing with celery, onions, herbs, and sausage. Or, if you're feeling a bit more adventurous, go for a wild rice stuffing with cranberries and pecans. The possibilities are endless!
Part 5: roasting time
Okay, turkey's prepped, stuffing's ready, let's get this bird into the oven!
5.1 Placement Matters
Place the turkey in your roasting pan, and slide it into the oven. Now, here's where the real magic happens. We need to figure out how long to cook that 14-pound turkey.
5.2 The Traditional Method
The traditional method is to cook the turkey for 15 minutes per pound at 325°F (160°C). So, for our 14-pound bird, that's about 3.5 hours. But remember, every oven and every turkey is a bit different, so keep an eye on things.
5.3 Temperature is Key
The most reliable way to know if your turkey is done is to check the internal temperature. Use a meat thermometer to check the thickest part of the thigh. You want the internal temperature to reach 165°F (74°C). If you don't have a meat thermometer, you can use a fork to poke the thickest part of the thigh. If the juices run clear, it's cooked. If they're pink, it needs more time.
Part 6: Basting for Juiciness
While the turkey is roasting, you can baste it with butter or pan drippings every 30 minutes. This helps keep the turkey moist and adds a beautiful golden-brown color.
6.1 Basting Tips
Use a spoon to ladle the drippings over the bird. Be careful with that hot oil! I always wear oven mitts when basting.
6.2 Roasting Time Adjustments
Don't be afraid to check the internal temperature early. The roasting time can vary depending on the size and shape of your turkey, your oven, and even your altitude.
Part 7: Resting for Tenderness
Once the turkey is cooked through, it's time for a little R&R. Let it rest for 15-20 minutes before carving. This allows the juices to redistribute throughout the meat, making it even more tender and flavorful. Cover the turkey with foil to keep it warm while it rests.
7.1 Carving Time
After resting, it's time to carve! Use a sharp carving knife for clean slices. If you're not a carving pro, don't be afraid to ask for help!
Part 8: Serving Your Turkey Feast
Your turkey is cooked, rested, and ready to be served!
8.1 Turkey Presentation
Arrange the carved turkey on a platter, and surround it with all your delicious sides. I'm a fan of mashed potatoes, gravy, stuffing, cranberry sauce, and green beans. But go with whatever floats your boat!
8.2 Enjoy!
Now, it's time to dig in and enjoy that magnificent feast! Happy Thanksgiving, everyone!
FAQs
Now, let's tackle those common turkey questions.
Q1: Can I cook a 14-pound turkey in a smaller roasting pan?
It's not ideal. You need a pan big enough to fit the turkey comfortably with space to allow heat to circulate. A cramped turkey won't cook evenly, and it can lead to spills and messes.
Q2: Should I cover the turkey with foil while roasting?
You can cover the turkey with foil for the first hour of roasting to help it cook more evenly. After that, remove the foil to allow the skin to crisp up.
Q3: How do I know if my turkey is done?
The best way is to check the internal temperature. Use a meat thermometer and check the thickest part of the thigh. It's done when the internal temperature reaches 165°F (74°C). If you don't have a thermometer, you can poke the thickest part of the thigh with a fork. If the juices run clear, it's done. If they're pink, it needs more time.
Q4: How long can I keep the cooked turkey in the fridge?
You can keep a cooked turkey in the fridge for up to 3-4 days. Store it in an airtight container or wrap it tightly with plastic wrap.
Q5: Can I freeze a cooked turkey?
Yes, you can freeze a cooked turkey for up to 2-3 months. Let it cool completely before freezing. Wrap it tightly in plastic wrap and then aluminum foil.
I hope this guide has equipped you with the confidence to tackle a 14-pound turkey and create a truly memorable feast. Remember, the key is to plan ahead, follow the steps, and enjoy the process. And if you ever have any questions or need a little encouragement, don't hesitate to reach out! Happy cooking!
Everyone is watching

Prime Rib Roast Cooking Time Chart: Per Pound Guide
Cooking TipsPrime rib roast. Just the name conjures images of lavish dinners, crackling fires, and hearty laughter. It’s ...

How Long to Bake Potatoes in the Oven (Perfect Every Time)
Cooking TipsBaked potatoes are a staple in my kitchen. They're incredibly versatile, delicious, and surprisingly easy to m...

Perfect Rice Every Time: The Ultimate Guide to Cooking Rice
Cooking TipsAs a self-proclaimed foodie, I've always been a bit obsessed with rice. It's the foundation of countless cuisi...

The Ultimate Guide to Cooking Asparagus: Tips, Techniques, and Recipes
Cooking TipsAsparagus. The mere mention of this spring delicacy conjures up images of vibrant green spears, crisp and burs...

Ultimate Guide to Cooking the Perfect Thanksgiving Turkey
Cooking TipsThanksgiving. Just the word conjures up images of overflowing tables laden with delicious food, the scent of r...
