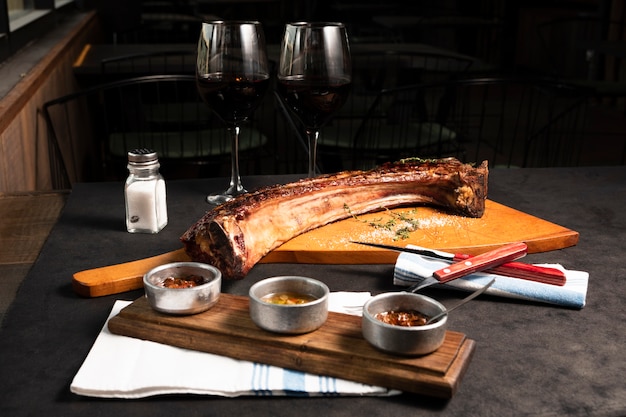
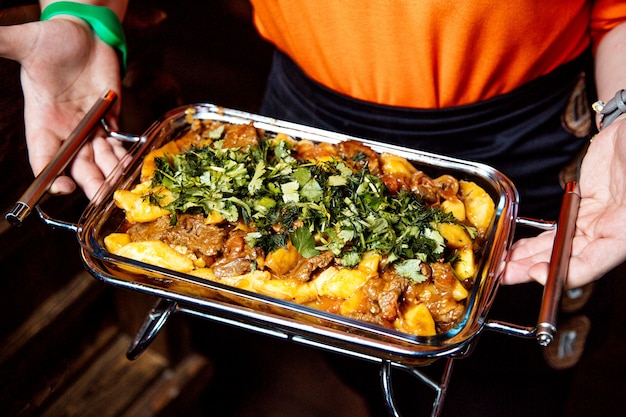
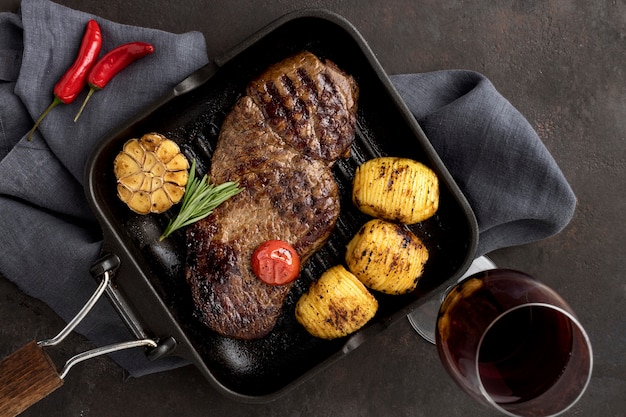
(Part 1) Choosing the Star of the Show: Your perfect brisket

A Brisket Buyer's Guide:
- Fat Cap, the Flavor Booster: A good layer of fat is essential. As it renders down during cooking, it adds a rich flavor and keeps the meat moist. Think of it as a built-in flavor enhancer!
- Marbling, the Tenderness Secret: Look for streaks of fat running through the meat. This marbling translates to an abundance of flavor and an irresistibly tender texture. You'll be thanking me later for this tip!
- Size Matters, but Not Too Much: Choose a brisket big enough to satisfy your crowd, but not so large that it overwhelms your oven. A 3-4 pound brisket is a great starting point for a family meal. Adjust the size to fit your needs, and remember, leftovers are always a bonus!
- Color Counts: A good corned beef brisket should have a vibrant red color, free of any discoloration or signs of spoilage. It's a visual indicator of freshness.
(Part 2) The Prep Work: Getting Your Brisket Ready to Shine

1. The Ritual Rinse and Trim:
Start by rinsing the brisket under cold water, removing any loose bits. You might notice white salt crystals clinging to the surface – these are remnants of the curing process and a good sign! Now, take a look at the fat cap. If there's any excess fat, trim it down to a nice, even layer. You're not aiming for a lean, mean brisket machine; a good layer of fat is crucial for flavor.
2. The Art of the Spice Rub:
This is where your culinary creativity shines! The spice rub is your chance to personalize your brisket and add your unique signature. I find a simple blend of black pepper, garlic powder, onion powder, paprika, and a touch of cayenne pepper works wonders. But don't be afraid to experiment with your favorite herbs and spices! Mix, match, and rub it all over the brisket, ensuring every nook and cranny gets a flavor boost.
3. The Secret Brine Bath:
Here's a little tip I've learned over the years – a brine bath is the ultimate game changer for tenderness and flavor. Mix together water, salt, peppercorns, bay leaves, and your favorite herbs. Let the brisket soak in this aromatic brine for a few hours, or even overnight for maximum flavor absorption. It's like giving the brisket a luxurious spa treatment before its main event!
(Part 3) Oven-Baking Your Brisket: A Slow and Steady Transformation

1. Preheat and Place:
Preheat your oven to 325°F (160°C). Choose a roasting pan that's big enough to comfortably accommodate your brisket, allowing room for steam to circulate. You want it to sit flat and snug, ready for its oven journey.
2. The Flavorful liquid base:
Pour a cup or two of liquid into the bottom of the roasting pan. Water is a classic choice, but beef broth, apple cider, or even beer can add depth of flavor. This creates a steamy environment, ensuring the brisket stays moist and tender. Feel free to add sliced onions or carrots for a little extra flavor and visual appeal. It's like crafting a symphony of flavors within your oven!
3. The Slow and Steady Cook:
Place the brisket in the roasting pan, fat-side up, and let it cook low and slow for 4-6 hours. Patience is key here! This slow cooking process allows the collagen in the brisket to break down, leading to a melt-in-your-mouth texture. It's a testament to your culinary patience, but the reward is worth every minute.
4. The Thermometer Tells the Tale:
As the brisket cooks, keep a watchful eye on it. Use a meat thermometer to check the internal temperature. The brisket is done when it reaches 190°F (88°C). But don't fret, we'll delve deeper into this temperature check in a later section.
(Part 4) The Resting Ritual: Allowing the Flavors to Bloom
We're nearly there, but there's one crucial step before we carve up our culinary masterpiece – the resting ritual.1. Rest, Relaxation, and Redistribution:
After the brisket emerges from the oven, resist the urge to carve immediately. It needs time to rest and allow the juices to redistribute throughout the meat, ensuring it's juicy and flavorful. Wrap the brisket tightly in foil and let it rest in the roasting pan for at least 30 minutes. Think of it as a chance for the brisket to unwind and settle in after its oven adventure.
2. The Pan Sauce, a Flavorful Reward:
While the brisket rests, turn the flavorful juices in the roasting pan into a delicious pan sauce. Carefully skim off any excess fat, then add a little flour and whisk it all together. Simmer the sauce for a few minutes until it thickens. It's like liquid gold and the perfect complement to your perfectly cooked brisket.
(Part 5) Carving the Brisket: A Culinary Masterclass
It's the moment of truth, the grand finale – carving the brisket.1. Tools of the Trade:
Grab a sharp carving knife, preferably one with a long, thin blade. It makes carving effortless, and a carving fork comes in handy for keeping the brisket steady. A carving board is ideal, but a large plate will work just fine.
2. The Art of Slicing:
Carefully lift the brisket from the roasting pan and place it on your carving surface. The key is to slice against the grain, meaning you cut perpendicular to the muscle fibers. This creates tender, melt-in-your-mouth slices. You'll notice the fat layer easily separates from the meat as you carve – that's a good thing! You can remove it before serving, but it adds a lot of flavor, so I often leave it on for extra richness.
(Part 6) Serving Up Your Masterpiece: A Feast for the Senses
The brisket is carved, the sauce is simmering, and the table is set. Time to enjoy your culinary triumph!1. A Symphony of Flavors:
Arrange the carved brisket on a platter. A cutting board, a large plate, or even a serving tray works beautifully. Drizzle the pan sauce over the brisket, adding a finishing touch of flavor and richness. Garnish with chopped parsley, chives, or a sprinkle of smoked paprika for a visual and aromatic delight. It's all about those final touches to make your meal sing.
2. side dish Delights:
No good brisket stands alone! It needs a fantastic selection of side dishes. mashed potatoes, roasted vegetables, and coleslaw are classic choices. Get creative with salads, cornbread, or even a green bean casserole. The possibilities are endless! It's your chance to complete your culinary masterpiece with a symphony of flavors and textures.
(Part 7) Serving Suggestions: Exploring Culinary Creativity
Now that you've got your delicious brisket, let's explore ways to serve it beyond the ordinary.1. The Classic Sandwich:
A corned beef brisket sandwich is a classic for a reason. Pile those tender slices onto a soft roll, slather on some mustard, and add a few pickles. You'll be transported back to the bustling atmosphere of those classic New York delis.
2. The Festive Platter:
For a special occasion, create a festive platter with your brisket, showcasing your favorite side dishes alongside. This is a stunning way to impress your guests and create a truly memorable meal. It's like a culinary work of art, a feast for the eyes and the palate.
3. The Leftover Magic:
Don't let those leftovers go to waste! They're even better the next day. Use them for sandwiches, salads, or a hearty breakfast hash. The brisket's flavor deepens and intensifies over time, making it perfect for a second, third, or even fourth helping. It's a culinary treasure that keeps on giving!
(Part 8) Tips and Tricks: Mastering the Art of Brisket
Let's explore some tips and tricks I've learned over the years to help you elevate your brisket game.1. Embracing the Fat:
Don't shy away from the fat! It's a crucial part of the brisket, adding flavor and keeping the meat moist. You can trim some excess fat, but don't go overboard. Remember, fat equals flavor!
2. The Thermometer's Wisdom:
Use a meat thermometer to check the brisket's internal temperature, ensuring it's cooked to perfection. You can also use it to monitor the temperature of the cooking liquid. It should be simmering, not boiling. A steady simmer creates the best environment for tender and flavorful brisket.
3. The Foil Trick:
If the brisket is browning too quickly, cover it with foil for the last hour or so of cooking. This helps it stay moist and tender. Remove the foil for the last 30 minutes to let the brisket get a nice crispy crust.
4. The Smoky Kiss:
For a truly smoky flavor, cook your brisket in a smoker. It will impart a distinctive and delicious aroma. If you don't have a smoker, add wood chips to the roasting pan. Soak the wood chips in water for 30 minutes, drain them, and add them to the bottom of the pan. The result is a smoky flavor that elevates the brisket's taste to new heights.
(Part 9) FAQs: Answering Your Burning Questions
Let's address some common questions about corned beef brisket.1. How Long Does the Cook Take?
A 3-4 pound brisket typically requires 4-6 hours of cooking time in the oven. The exact time depends on the brisket's size and thickness. It's always better to err on the side of caution and cook it a little longer than you think necessary. You can always check the internal temperature to ensure it's cooked through. You'll know it's done when the internal temperature reaches 190°F (88°C).
2. The Perfect Internal Temperature:
The ideal internal temperature for corned beef brisket is 190°F (88°C). This ensures the meat is cooked through and safe to eat. But don't get too fixated on that number. You want the meat to be tender and juicy. You can always use a fork to check for tenderness. It should pull apart easily, not tough and stringy. If it's not quite there yet, pop it back in the oven for another half hour or so.
3. slow cooker Magic:
Yes, a slow cooker is a fantastic way to make corned beef brisket! Place the brisket in the slow cooker, add some liquid, and cook on low for 8-10 hours, or on high for 4-6 hours. You can add seasonings like peppercorns, bay leaves, or even a bit of brown sugar to the cooking liquid for extra flavor. Just make sure the brisket is fully submerged in the liquid.
4. Side Dish Symphony:
The possibilities are endless! Classic side dishes for corned beef brisket include mashed potatoes, roasted vegetables, coleslaw, and pickled onions. Get creative with salads, cornbread, or even a green bean casserole. It's all about finding the combinations you love best. Don't be afraid to experiment!
5. Freezing for Future Feasts:
Yes, you can freeze corned beef brisket, either raw or cooked. For raw brisket, wrap it tightly in plastic wrap and then place it in a freezer bag. For cooked brisket, let it cool completely, then wrap it in plastic wrap and place it in a freezer bag. It will last for 3-4 months in the freezer. To use, thaw it in the refrigerator overnight and reheat it in the oven, slow cooker, or on the stovetop. You can reheat it directly from frozen, but it will take longer.
(Part 10) Beyond the Basics: Embarking on a culinary journey
There you have it, my friends, the ultimate guide to oven-baked corned beef brisket. It's a dish steeped in flavor, history, and heartwarming memories. I hope you enjoyed this culinary adventure.Now, go out and create your own masterpiece! Experiment with different spices, explore new side dish combinations, and savor the process of transforming a simple cut of meat into a family favorite. Remember, cooking is an art form. Don't be afraid to get creative and let your imagination run wild. The best cooks are always learning and evolving, so keep experimenting, exploring, and above all, have fun! Happy cooking, and happy eating!Everyone is watching

Prime Rib Roast Cooking Time Chart: Per Pound Guide
Cooking TipsPrime rib roast. Just the name conjures images of lavish dinners, crackling fires, and hearty laughter. It’s ...

How Long to Bake Potatoes in the Oven (Perfect Every Time)
Cooking TipsBaked potatoes are a staple in my kitchen. They're incredibly versatile, delicious, and surprisingly easy to m...

Perfect Rice Every Time: The Ultimate Guide to Cooking Rice
Cooking TipsAs a self-proclaimed foodie, I've always been a bit obsessed with rice. It's the foundation of countless cuisi...

The Ultimate Guide to Cooking Asparagus: Tips, Techniques, and Recipes
Cooking TipsAsparagus. The mere mention of this spring delicacy conjures up images of vibrant green spears, crisp and burs...

Ultimate Guide to Cooking the Perfect Thanksgiving Turkey
Cooking TipsThanksgiving. Just the word conjures up images of overflowing tables laden with delicious food, the scent of r...
