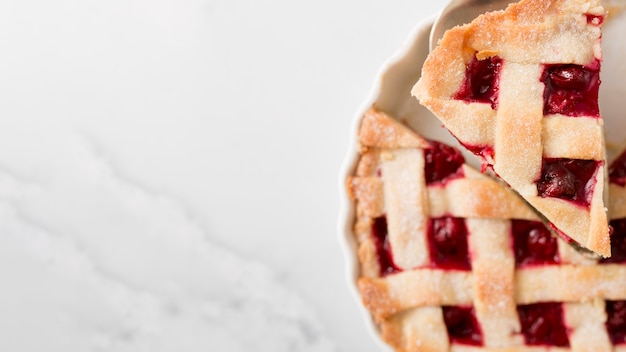
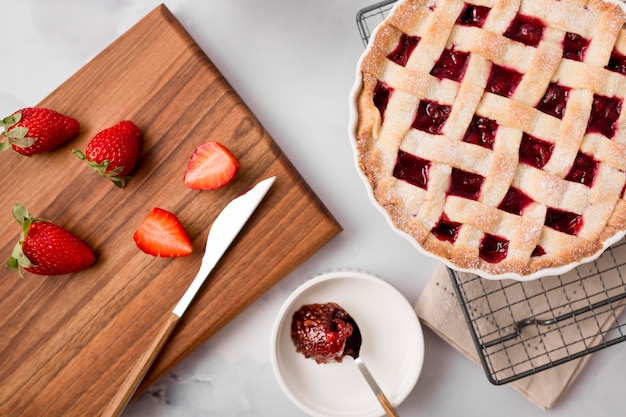
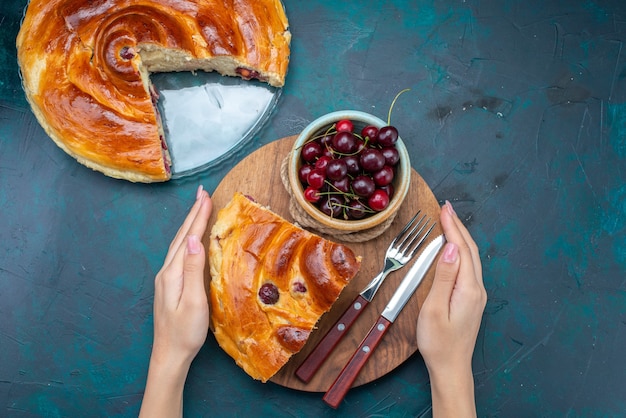
There's something truly magical about cherry pie. The aroma of warm, sweet cherries mingling with the buttery scent of a freshly baked crust – it's enough to transport you back to childhood memories of grandma's kitchen. And let's be honest, who doesn't love a slice of warm, gooey cherry pie topped with a scoop of vanilla ice cream? This guide isn't just a recipe; it's a journey into the world of creating the perfect cherry pie, from selecting the finest cherries to achieving that perfect flaky crust and a bubbling, delicious filling. Let's get started!
Part 1: The Cherry Selection – A Taste of Summer

A cherry pie is only as good as the cherries it contains. This isn't just about any old cherries; we're looking for the best of the best!
A Cherry Orchard of Choices
Bing cherries are the classic choice for a reason – they're big, juicy, and burst with that quintessential cherry flavour. But don't be afraid to explore beyond the familiar. Rainier cherries are a personal favourite – their lighter colour and almost honey-like sweetness add a delightful twist. Montmorency cherries, with their tartness, add a more complex dimension to the pie, making it perfect for those who prefer a less sweet, more tangy flavour.
Fresh is Best, But Frozen Can Be a Friend
Fresh cherries, bursting with summer sunshine, are ideal, but let's be honest, sometimes you just can't find them! That's where frozen cherries come in. They're a fantastic alternative, but remember to thaw them completely before using them in your pie. It’s like having summer in a bag, even when it’s snowing outside!
A Little Quality Control
When choosing your cherries, whether fresh or frozen, make sure they're firm, free from blemishes, and look healthy. You want to ensure your filling is made with the best cherries, ready to burst with flavour!
Part 2: The Crust – A Foundation of Flaky Goodness

The crust is the backbone of your cherry pie. It's the golden, crispy shell that holds the delicious filling, and it needs to be perfect. Over the years, I've tried countless crust recipes, but this one has consistently produced a flaky, buttery masterpiece.
The Secret Weapon – Cold is King!
The key to a truly amazing pie crust is keeping everything cold – that's your cold butter, cold water, and chilled dough. Why? It’s about those delicious layers! When you keep everything chilled, the butter stays in little pockets, creating those beautiful, flaky layers when the pie bakes. It's like a little dance between butter and flour, and you’ll be surprised at the results!
The Recipe for a Flaky Paradise
- 2 1/2 cups all-purpose flour
- 1 teaspoon salt
- 1 cup (2 sticks) cold unsalted butter, cut into small pieces
- 1/2 cup ice water
Instructions:
- Combine the flour and salt in a large bowl. You want to make sure everything is evenly distributed.
- Using a pastry blender (or your fingertips if you’re brave!), cut the cold butter into the flour mixture until it resembles coarse crumbs. It’s a little like making breadcrumbs, but with a lot more butter!
- Add the ice water, one tablespoon at a time, while mixing. Stop when the dough just comes together. Don’t overmix it, or it'll become tough. Just enough to combine!
- Form the dough into a disc, wrap it in plastic wrap, and chill it in the fridge for at least 30 minutes. This is important! The chilling allows the gluten to relax, creating that flaky texture.
It might seem like a lot of steps, but trust me, the extra effort is worth it! You'll be rewarded with a crust that’s both beautiful and delicious.
Part 3: The Filling – A Symphony of Sweet and Tart

The filling is the soul of your cherry pie, the delicious heart that makes it truly special. There are so many ways to create a delicious filling, from classic sweetness to a tangy twist.
The Classic Cherry Pie Filling – A Time-Honored Tradition
- 4 cups fresh or frozen cherries, pitted and halved
- 1 cup granulated sugar
- 1/4 cup all-purpose flour
- 1/4 teaspoon salt
- 1 tablespoon lemon juice
Instructions:
- In a large bowl, combine the cherries, sugar, flour, salt, and lemon juice. Gently toss to coat the cherries evenly. Don't be too rough with them!
- Allow the mixture to sit for 15 minutes. This allows the cherries to release their juices and helps thicken the filling. Patience is key here!
Adding a Tangy Twist – A Little Lemon Magic
If you prefer a more tangy filling, try adding a tablespoon or two of lemon zest to the mix. It'll add a bright citrusy note that cuts through the sweetness of the cherries. You can also substitute a tablespoon of cornstarch for some of the flour. This will give your filling a smoother texture and help prevent it from being too runny.
Part 4: Assembling the Pie – A Masterpiece in the Making
Now we get to the fun part! Assembling the pie is like creating a masterpiece, and it's important to take your time and be careful. We want that beautiful, flaky crust to stay intact. I always use a pie plate with a removable bottom – it makes transferring the pie to a baking sheet much easier and helps prevent the bottom crust from becoming soggy.
Prepping the Crust – A Foundation of Flavor
Take your chilled dough and roll it out on a lightly floured surface. Aim for a thickness of about 1/8 inch. Gently press the dough into your pie plate. Trim any excess dough and crimp the edges – a classic crimped edge is lovely, but feel free to get creative!
Adding the Filling – A Delicious Core
Pour the cherry filling into your prepared pie crust, making sure to distribute it evenly. Next, roll out the remaining dough into a smaller circle for the top crust. Use a fork or a sharp knife to cut a few slits in the top crust to allow steam to escape, preventing your pie from bursting. This is a crucial step to ensure your pie bakes perfectly!
The Finishing Touches – A Touch of Gold
Brush the top crust with a little bit of milk or egg wash. This will give your pie a beautiful golden brown color when it bakes. Finish it off with a sprinkle of sugar – it's the perfect touch for a gorgeous and delicious pie.
Part 5: Baking to Perfection – A Symphony of Heat and Flavor
The moment we've all been waiting for! Baking time! We want a golden brown crust and a bubbling, delicious filling.
Oven Time – A Dance with Heat
Preheat your oven to 375 degrees Fahrenheit (190 degrees Celsius). Bake the pie for 50-60 minutes, or until the crust is golden brown and the filling is bubbling. It's a good idea to check the pie after about 45 minutes to make sure the crust isn't browning too quickly. If it is, cover the edges of the pie with a strip of aluminum foil to prevent them from burning.
Cooling Time – Patience is a Virtue
Once the pie is baked, let it cool completely before serving. This allows the filling to set properly, preventing it from collapsing. I like to let my pie cool for at least 2 hours, but you can definitely wait longer if you prefer. The longer you wait, the more time the flavors have to mingle and create a truly harmonious pie.
Part 6: Topping It Off – The Final Flourish
A great cherry pie deserves a great topping! Here are a few ideas to help you take your pie from good to amazing.
Vanilla Ice Cream – The Classic Pairing
A scoop of vanilla ice cream on top of a warm slice of cherry pie – it's a classic for a reason. The cold ice cream contrasts perfectly with the warm, gooey pie, creating a symphony of taste and texture.
Whipped Cream – A Light and Delicate Touch
For a lighter option, try a dollop of whipped cream. I always make my own with a little bit of vanilla extract – it's so easy and tastes far better than store-bought whipped cream.
A Sprinkle of Cinnamon – A Warm and Cozy Comfort
A little sprinkle of cinnamon on top of your pie adds a warm, comforting flavour. It’s a simple touch, but it really elevates the overall taste, making the pie even more cozy and inviting.
A Drizzle of Honey – A Touch of Sweetness and Depth
If you want something a little different, try drizzling a little bit of honey on top of your pie. The sweetness of the honey complements the tartness of the cherries perfectly, adding a touch of depth and complexity to the flavor.
Part 7: Sharing the Love – A Celebration of Flavor
You've poured your heart and soul into making this pie, and now it's time to share it with the world!
Sharing with Friends and Family – A Moment of Connection
There's nothing quite like sharing a homemade pie with loved ones. It's a gesture of care and affection that shows them you really appreciate them. And what better way to connect than over a warm, delicious slice of pie?
Gifting a Pie – A Touch of Thoughtfulness
A pie is also a wonderful gift for a friend or neighbour. It's a thoughtful gesture that shows you care. It's a beautiful way to say "thank you" or "I'm thinking of you."
Part 8: A Few Final Tips – A Journey of Pie Perfection
Here are a few final tips to ensure your cherry pie turns out perfectly:
- Don't overwork the dough. It'll make the crust tough. Just enough to combine it!
- Use a sharp knife to cut the pie into slices. It’ll prevent the crust from crumbling and make for beautifully presented slices.
- Store any leftover pie in an airtight container at room temperature for up to 2 days. It's best to enjoy it fresh, but if you have leftovers, make sure to store them properly.
FAQs – The Baking Q&A
1. Can I substitute the cherries for another fruit?
Absolutely! You can use any fruit you like in your pie. Some popular choices include apples, blueberries, and peaches. You may need to adjust the amount of sugar and flour in the filling depending on the type of fruit you use. It’s all about experimenting and finding your own flavour combinations!
2. How do I prevent the bottom crust from getting soggy?
There are a few tricks to help: 1) Prick the bottom crust with a fork before adding the filling. This allows for better airflow and helps prevent the crust from becoming soggy. 2) Bake the crust for 10 minutes before adding the filling. This gives the crust a head start in the oven and helps it develop a more sturdy base. 3) Use a pie plate with a removable bottom to help with airflow. This allows the bottom of the pie to bake more evenly and prevents it from becoming soggy.
3. Can I freeze the pie?
Yes! Once the pie has completely cooled, you can wrap it tightly in plastic wrap and then aluminum foil. Freeze it for up to 3 months. When you’re ready to enjoy it, thaw the pie in the refrigerator overnight, then bake it at 350 degrees fahrenheit (175 degrees Celsius) for 15-20 minutes until heated through. It’s like having a delicious piece of summer whenever you want!
4. What are the best ways to store leftover pie?
It's best to store leftover pie in an airtight container in the refrigerator for up to 3 days. However, if you want to keep it longer, you can also freeze it for up to 3 months. To reheat, thaw the pie in the refrigerator overnight and then bake it at 350 degrees Fahrenheit (175 degrees Celsius) for 15-20 minutes until heated through.
5. What makes a good cherry pie?
A good cherry pie is all about balance. It needs a flaky, buttery crust, a sweet and tangy filling, and a beautiful golden brown color. It should also be filled with love and care. After all, that’s what makes it truly special!
Now, go forth and conquer the world of cherry pie! With this guide and a little bit of patience, you'll be creating delicious masterpieces in no time.
Everyone is watching

Perfect Rice Every Time: The Ultimate Guide to Cooking Rice
Cooking TipsAs a self-proclaimed foodie, I've always been a bit obsessed with rice. It's the foundation of countless cuisi...

Ultimate Guide to Cooking the Perfect Thanksgiving Turkey
Cooking TipsThanksgiving. Just the word conjures up images of overflowing tables laden with delicious food, the scent of r...

The Ultimate Guide to Cooking Asparagus: Tips, Techniques, and Recipes
Cooking TipsAsparagus. The mere mention of this spring delicacy conjures up images of vibrant green spears, crisp and burs...

Can You Cook Spaghetti with Gasoline? (The Shocking Truth)
Cooking TipsWe've all seen those crazy internet trends. You know, the ones that make you wonder, "Did someone actually try...

Chorizo and Eggs Recipe: The Ultimate Guide
Cooking TipsRight, let’s talk about chorizo and eggs. You know, that classic Spanish dish that's always a winner. It's th...
