Let's face it, chocolate icing is the ultimate cake topper, the final flourish that transforms a good bake into something truly spectacular. But finding the perfect recipe, one that melts in your mouth and leaves you craving more, can feel like a never-ending quest. Trust me, I've been there! I've spent countless hours sifting through recipes, experimenting with different techniques, and even turning my kitchen into a chocolate-covered disaster zone (we've all been there, haven't we?). But, after years of trial and error, I've finally cracked the code. This ultimate guide to making delicious chocolate icing is packed with tips, tricks, and variations that will turn you into a true icing maestro.
(Part 1) The Foundation of Flawless Icing: Ingredients that Matter

The Importance of Quality Chocolate: It's Not Just About the Sweetness
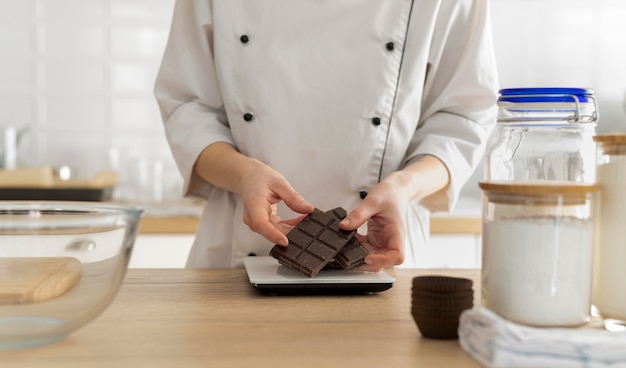
Let's get one thing straight: the quality of your chocolate icing starts with the ingredients. While it's tempting to grab the cheapest option, trust me, it's a mistake you'll regret. High-quality chocolate, especially dark or semi-sweet, provides a richer flavour and a smoother, silkier texture that you just can't replicate with budget alternatives. And don't even get me started on those store-bought tubs of icing – they're convenient, but they simply don't compare to the homemade magic.
The Unsung Hero: Butter's Role in Icing Perfection
Now, let's talk about butter – it's the unsung hero of any good chocolate icing. You want to use unsalted butter, allowing for more control over the flavour profile. And it needs to be softened to room temperature. This ensures it blends seamlessly with the sugar and chocolate, creating a luscious, velvety smooth icing that melts in your mouth.
Sugar: The Sweetness Factor and Texture Control
For most chocolate icing, powdered sugar is the go-to. It dissolves easily in the butter and chocolate, creating a smooth and creamy texture. But if you want a more rustic look and feel, try using granulated sugar. Just be prepared to beat it for a bit longer to achieve that silky consistency.
Milk: The Secret to Achieving Your Desired Consistency
Milk is crucial for achieving the right consistency, adding a subtle sweetness, and helping everything blend together. The choice of milk depends on your desired thickness. I often use milk or cream, but feel free to experiment with almond milk or even a splash of coffee for an extra kick.
(Part 2) The Art of Melting Chocolate: Avoiding Seized Icing Disasters

The Double Boiler Method: A Slow and Steady Approach
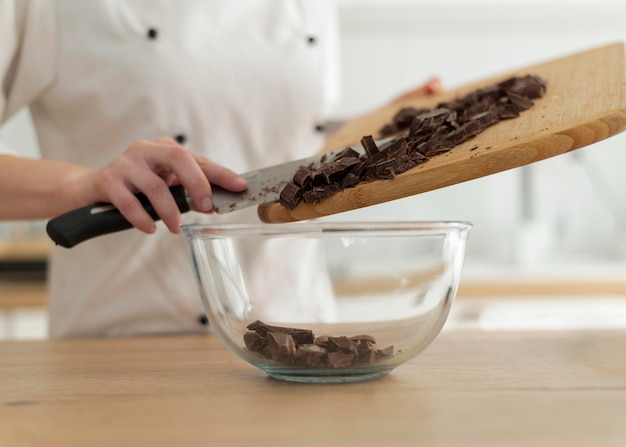
This is the classic method, and for good reason. Remember that dreadful feeling when your icing seizes up? Well, the double boiler is your saving grace! It prevents the chocolate from burning by gently heating it in a bain-marie. It's a slow and steady process, but it's worth it. Simply place a heatproof bowl over a saucepan of simmering water, ensuring the bowl doesn't touch the water. Then, add your chopped chocolate and stir gently until it's melted and smooth.
The Microwave Method: A Time-Saving Option (With Caution)
Now, if you're pressed for time, the microwave is a lifesaver. But proceed with caution! Work in short bursts, like 30 seconds at a time, stirring between each burst. You can even use a heat-safe silicone spatula to distribute the heat evenly. Just remember to keep a close eye on it and don't let it burn!
(Part 3) Bringing it All Together: The Icing Process, Step by Step

The Beat of the Heart: Mixing and Beating for a Light and Fluffy Base
Once your chocolate is melted and smooth, it's time to unleash your stand mixer or hand mixer! You'll want to beat the butter and sugar together until they're light and fluffy, about 3-5 minutes. Then, slowly add the melted chocolate, beating until everything is fully incorporated. Don't overbeat, though, or you'll end up with a dense and heavy icing.
The Milk Factor: Adding Moisture for the Perfect Consistency
Now, it's time to add the milk. Start with a small amount, and slowly add more as needed, beating until the icing reaches your desired consistency. This is where your taste buds come in! You want it smooth and spreadable, but not too runny.
The Final Touch: Flavoring and Color for a Personal Touch
Here's where the fun really begins! You can personalize your icing with a variety of flavourings and colorings. I love a classic vanilla extract, but you can go wild with coffee, peppermint, or even a pinch of salt for a more complex flavour. And if you want a pop of colour, use food colouring! Just remember, a little goes a long way.
(Part 4) Consistency is Key: Understanding the Different Textures
Thick and Creamy: For Beautiful Swirls and Defined Shapes
If you want your icing to hold its shape and create those beautiful swirls, you need a thick icing. You can achieve this by adding more powdered sugar or letting the icing cool for a few minutes.
Smooth and Spreadable: For Drizzling, Covering Cakes, and Glazing
For a smooth and spreadable icing, you want a thinner consistency. This is perfect for drizzling, covering cakes, or creating a glaze. You can achieve this by adding more milk or cream.
Pipeable Perfection: For Creating Detailed Designs and Decorations
If you want to pipe your icing, you need a medium consistency. This allows it to hold its shape but still be smooth and spreadable. To achieve this, adjust the amount of milk or cream based on the thickness of your icing.
(Part 5) Mastering the Art of Icing: From Smooth Finishes to Creative Decorations
Smooth Operator: A Seamless Finish for Professional-Looking Cakes
There's a certain satisfaction that comes with icing a cake to perfection, isn't there? It's all about the smooth finish! Start by spreading the icing evenly over the cake with a spatula. Use long, smooth strokes and make sure to cover every nook and cranny. If you want a smoother finish, you can use an offset spatula to create a polished look.
The Swirl Technique: Adding a Touch of Elegance and Visual Appeal
If you're feeling fancy, try creating swirls on your icing. This is a great way to add a touch of elegance to your cakes. Use a piping bag fitted with a round tip, and gently swirl the icing onto your cake.
Drizzle, Drip, and Decorate: Unleashing Your Creativity for Stunning Visuals
Now, this is where you can really let your creativity shine! Icing is a blank canvas, and you can create anything you want! Drizzle icing over cakes, cupcakes, or cookies. Use a spoon or a piping bag to create a mesmerizing drip effect. Add sprinkles, nuts, or fruit for a visual feast.
(Part 6) The Science Behind the Success: Understanding the Importance of Temperature and Ingredients
Temperature Control: The Crucial Factor in Achieving the Right Consistency
This is where things get a bit technical, but trust me, it's important! The temperature of your ingredients greatly affects the final consistency of your icing. Make sure the butter is softened to room temperature, the chocolate is completely melted, and the milk is cold. This will ensure a smooth and consistent icing.
The Role of Fat: Butter and Chocolate Working in Harmony
Both butter and chocolate contain fat, and this fat is essential for creating a smooth and creamy icing. The fat molecules help to bind the ingredients together, creating a velvety texture. The ratio of butter to chocolate can affect the texture, so experiment with different combinations to find what works best for you.
Sugar's Influence: The Sweetness and Texture of Your Icing
Sugar plays a vital role in both the sweetness and texture of your icing. Powdered sugar dissolves quickly and creates a smooth and creamy consistency. Granulated sugar, on the other hand, will give a more rustic texture. You can also use a combination of both, depending on the desired texture.
(Part 7) Troubleshooting Common Icing Issues: Quick Fixes for Common Challenges
Too Thick: A Simple Solution to Re-adjust the Consistency
If your icing is too thick, simply add a little more milk or cream, a teaspoon at a time, and beat until you reach the desired consistency.
Too Thin: Thickening Your Icing for the Perfect Texture
If your icing is too thin, add more powdered sugar, a tablespoon at a time, and beat until it thickens.
Seized Icing: Recovering from a Common Icing Disaster
If your icing has seized, it's likely because the chocolate was heated too quickly. Don't worry, there's a fix! Add a tablespoon of hot water or milk, a little at a time, and beat until the icing is smooth again.
Lumpy Icing: Preventing and Addressing Lumpy Icing Issues
Lumps can be a real pain! To prevent them, make sure the chocolate is completely melted and smooth before adding it to the butter and sugar mixture. You can also use a fine-mesh sieve to strain the icing to remove any lumps.
(Part 8) Beyond the Basics: Exploring Different Icing Styles and Flavours
Cream Cheese Icing: A Tangy Twist for a Classic Pairing with Chocolate
This classic icing is a perfect pairing for chocolate cake! The tangy cream cheese adds a wonderful contrast to the rich chocolate flavour. You can use this icing on cupcakes, brownies, or even as a filling for chocolate éclairs.
Ganache Icing: Rich, Decadent, and Perfect for a Smooth, Elegant Finish
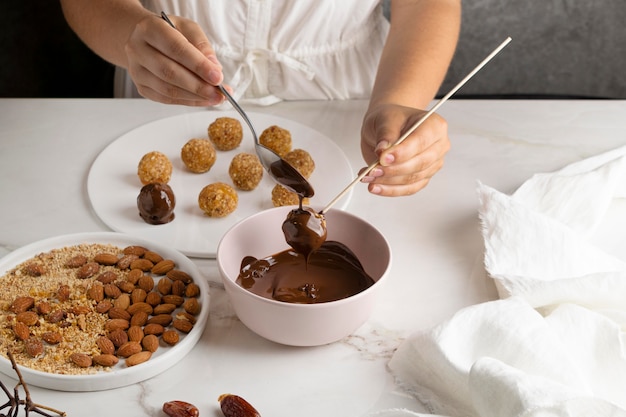
Ganache is essentially a chocolate and cream mixture that sets to a beautiful, glossy finish. It's perfect for creating a smooth and elegant coating for cakes. You can also use it to fill pastries, truffles, or decorate cupcakes.
Frosting: A Lighter and Fluffier Option for a Touch of Sweetness and Decoration
Frosting is a lighter and fluffier icing that's perfect for adding a touch of sweetness and decoration to cakes and cupcakes. It's made with butter, sugar, and sometimes milk or cream, and it can be flavoured with vanilla, chocolate, or other ingredients.
The Art of Flavour: Adding Depth and Complexity to Your Icing
Don't be afraid to experiment with different flavourings! You can create unique and delicious flavour combinations by adding:
- Vanilla Extract: A classic choice that enhances the richness of the chocolate.
- Coffee: A bold and aromatic flavour that complements chocolate beautifully.
- Peppermint: A refreshing twist that adds a touch of cool minty flavour.
- Salt: A surprising addition that balances the sweetness and enhances the chocolate flavour.
- Spices: Warm spices like cinnamon, nutmeg, or cardamom add a complex and aromatic dimension.
- Fruit: Incorporate the sweetness and freshness of fruits like raspberries, strawberries, or oranges for a delightful flavour profile.
(Part 9) Storage and Tips: Ensuring Your Icing Stays Fresh and Delicious
Storing Your Icing: Keeping Your Icing Fresh and Ready to Use
You can store leftover icing in an airtight container in the refrigerator for up to 3 days. However, it's best to use it within a day or two for the best flavour and texture.
Tips for the Perfect Icing: A Guide to Avoiding Common Mistakes
Use good quality ingredients, especially the chocolate and butter.
Don't overbeat the icing or it will become dense and heavy.
Add the milk or cream slowly, a little at a time, until you reach the desired consistency.
Let the icing cool slightly before spreading it onto your cake for a smoother finish.
FAQs: Addressing Your Most Common Icing Questions
Q1. Can I use store-bought icing?
A1. You can, but I'd encourage you to make your own! It tastes so much better and you have total control over the ingredients.
Q2. How do I prevent my icing from seizing?
A2. The key is to use a double boiler or the microwave method carefully. Ensure the chocolate is melted slowly and evenly, and don’t let it overheat.
Q3. Can I add different flavourings to my icing?
A3. Absolutely! Get creative and experiment with your favourite flavourings. I often add a touch of vanilla extract, but you can also use coffee, peppermint, or even a pinch of salt.
Q4. How do I make my icing smooth?
A4. Use a spatula to smooth out the icing and remove any air bubbles. For a polished look, use an offset spatula to create a seamless finish.
Q5. How do I store leftover icing?
A5. Store it in an airtight container in the refrigerator for up to 3 days. It's best to use it within a day or two for the best flavour and texture.
There you have it, folks! The ultimate guide to making delicious chocolate icing. From choosing the right ingredients to mastering the art of icing, you're now ready to take on any cake-decorating challenge. So, grab your mixing bowls, get those ingredients ready, and get ready to create some truly spectacular chocolate icing! Remember, it's all about the journey, and with a bit of practice, you'll be whipping up incredible icing in no time! Happy baking!
Everyone is watching

Perfect Rice Every Time: The Ultimate Guide to Cooking Rice
Cooking TipsAs a self-proclaimed foodie, I've always been a bit obsessed with rice. It's the foundation of countless cuisi...

Prime Rib Roast Cooking Time Chart: Per Pound Guide
Cooking TipsPrime rib roast. Just the name conjures images of lavish dinners, crackling fires, and hearty laughter. It’s ...

The Ultimate Guide to Cooking Asparagus: Tips, Techniques, and Recipes
Cooking TipsAsparagus. The mere mention of this spring delicacy conjures up images of vibrant green spears, crisp and burs...

Ultimate Guide to Cooking the Perfect Thanksgiving Turkey
Cooking TipsThanksgiving. Just the word conjures up images of overflowing tables laden with delicious food, the scent of r...

How Long to Bake Potatoes in the Oven (Perfect Every Time)
Cooking TipsBaked potatoes are a staple in my kitchen. They're incredibly versatile, delicious, and surprisingly easy to m...
