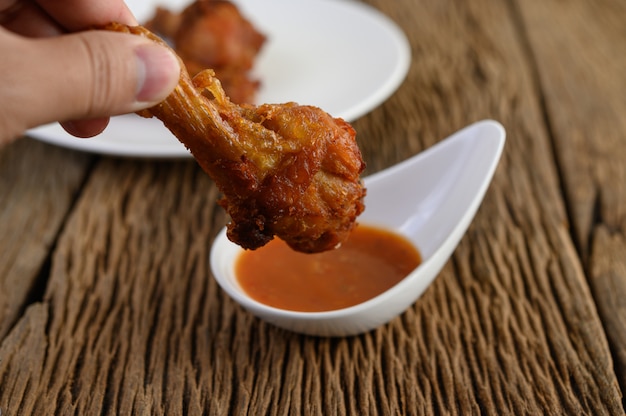
Let's talk fried chicken wings. Not the kind you find at the corner store, limp and greasy, but wings that make you sigh with satisfaction and lick your fingers clean. Wings with a crisp, crackly skin that gives way to succulent, tender meat. That's what we're aiming for here, my friends. This isn't just a recipe, it's a journey, a deep dive into the art of fried chicken wing perfection. We'll explore every nuance, from choosing the right wings to achieving that irresistible golden-brown crust.
Get ready to take your fried chicken game to a whole new level, because this is the ultimate guide to crispy, juicy fried chicken wings.
(Part 1) Picking Your Wings: It's All About the Cut

Let's begin at the very beginning – the wings themselves. Forget those tiny, little wingettes, we want the real deal: drummettes and flats. These are the meaty, flavorful parts of the wing, perfect for creating that crispy-on-the-outside, juicy-on-the-inside texture we're aiming for.
Drummettes: The Chunky Champions
Drummettes are the thicker, meatier parts, attached to the drumstick. They're great for beginners because they hold their shape well and are less likely to dry out. You might need to trim off any excess skin, as it can get a bit tough.
Flats: The Flat Out Best
Flats are my personal favorite. They're thinner and flatter, providing a larger surface area for that irresistible crispy skin. They can be a bit trickier to cook evenly, but the reward is well worth the extra effort.
Choosing the Wings: A Few Tips
Fresh is Best: Always opt for fresh wings whenever possible. They'll be juicier and have a more vibrant flavor.
Size Matters: Don't be shy about going for larger wings. They yield more meat and provide a more satisfying bite.
Check for Quality: Look for wings that are firm to the touch, with a nice even color and no signs of bruising.
(Part 2) The Brine: A Moisture Boost

Now, here's the thing about fried chicken wings: they're prone to drying out, especially if you're going for that extra crispy skin. But fear not, because the brine is here to save the day! A good brine helps lock in moisture, resulting in wings so tender they melt in your mouth.
The Brine: A Simple Science
A brine is essentially a salt water solution that you soak the wings in for a few hours. The salt draws out moisture from the wings, then gently redistributes it throughout the meat, making it incredibly juicy and flavorful.
My Favourite Brine Recipe:
Ingredients:
1 gallon of cold water
1 cup kosher salt (not table salt, it's too fine)
1/2 cup sugar
1 tablespoon black peppercorns
1 teaspoon garlic powder
1 teaspoon onion powder
Instructions:
1. Combine all ingredients in a large container. You can use a large bowl or even a gallon ziplock bag.
2. Submerge the wings completely in the brine, making sure they're completely covered.
3. Cover the container and refrigerate for at least 4 hours, but preferably overnight.
Brining Tips:
Temperature is Key: Keep your brine cold! A warm brine can actually start cooking the wings, leading to a rubbery texture.
Don't Overdo It: Brine your wings for too long and they'll become overly salty.
Get Creative: Feel free to experiment with different herbs and spices in your brine. I like to add a bay leaf, fresh thyme, or even a few sprigs of rosemary for a subtle, earthy flavor.
(Part 3) The Flour: A Crispy Foundation

We're ready to move on to the breading, the foundation of that crispy, golden crust. And when it comes to breading, it's all about the flour.
The Right Flour:
All-Purpose Flour: This is a good starting point, providing a classic, crispy coating.
Rice Flour: Try this for a lighter, less dense crust. It also creates a beautifully airy texture.
Cornstarch: This adds a bit of chewiness and a lovely golden color, making your wings even more irresistible.
A Mix is Best: I like to combine all-purpose flour, cornstarch, and rice flour for the perfect balance of crispness and chewiness. It's like having the best of all worlds!
The Breading Technique:
1. Dredge: Coat the wings thoroughly in flour, making sure to get every nook and cranny. You want a complete and even coating for maximum crispiness.
2. Shake Off Excess: Gently tap off any excess flour to prevent a thick, clumpy crust. We want a light and airy coating.
(Part 4) The Oil: The Golden Elixir
We're getting close now. It's time to talk about the oil, the magic ingredient that transforms our wings into golden, crispy perfection.
Choosing the Right Oil:
High smoke point: Look for an oil with a high smoke point, like canola, vegetable, or peanut oil. These oils can withstand high temperatures without burning, ensuring even cooking and a delicious flavor.
Neutral Flavor: You want an oil with a neutral flavor so it doesn't overpower the taste of the wings. The focus should be on your carefully seasoned and brined chicken!
Clean and Fresh: Always use fresh oil whenever possible. Old oil can impart a stale, unpleasant flavor, ruining your perfect wings.
The Oil Temperature:
The Perfect Temperature: The ideal temperature for frying chicken wings is between 350°F and 375°F (175°C to 190°C). This ensures that the wings cook evenly and get that beautiful golden-brown color, without burning.
Testing the Temperature: Use a deep-fry thermometer to check the oil temperature. This is a crucial step for success!
(Part 5) The Frying: Achieving Perfection
Alright, it's finally time to fry! This is where the magic happens, so pay close attention!
Frying Techniques:
Batch Frying: Fry the wings in batches to ensure they cook evenly. Don't overcrowd the pan, as this will lower the oil temperature and prevent a crispy crust.
Time is Key: The frying time will vary depending on the size of the wings and the temperature of the oil. You want them to be cooked through, with a crispy crust and juicy, tender meat inside.
Signs of Doneness:
Golden Brown: The wings should be a beautiful golden brown colour, a sign that they're cooked to perfection.
Crispy Crust: The skin should be crackly and crisp, giving way with a satisfying snap when you bite into it.
Juicy Inside: The meat should be juicy and tender, not dry or overcooked.
Frying Tips:
Turn Them Over: Make sure to turn the wings halfway through the frying process to ensure they cook evenly on all sides.
Don't Overcook: Overcooked wings will be dry and tough. The goal is juicy and tender, not rubbery!
Let Them Drain: Once the wings are cooked, remove them from the oil and place them on a wire rack to drain. This helps remove excess oil and allows the skin to crisp up even further.
(Part 6) The Rest: A Crucial Step
You've got your crispy, golden wings, but don't rush to devour them just yet! A little rest is crucial for achieving that ultimate crunch.
The Importance of Resting:
The Steam Factor: When you take the wings out of the oil, they're still steaming hot. This steam helps to crisp up the skin even further, resulting in a perfectly crackly exterior.
Moisture Redistribution: Giving the wings a few minutes to rest allows the moisture to redistribute throughout the meat, resulting in a juicier, more tender wing.
Resting Time:
5-10 Minutes: A few minutes of rest is usually enough to let the wings cool down and crisp up.
(Part 7) The Sauce: A Flavor Explosion
Now we're talking! The sauce is where we elevate our fried chicken wings from good to great. There are endless possibilities when it comes to sauces, but here are some classics to get you started.
The Sauce Options:
Classic Buffalo Sauce: Spicy, tangy, and a timeless favourite. The perfect balance of heat and tang.
Honey Garlic Sauce: Sweet, sticky, and oh-so-satisfying. A delicious combination of savory and sweet.
bbq sauce: Tangy, smoky, and perfect for a smoky flavor profile. So many varieties to choose from, find your favorite!
Spicy Ranch Dressing: Creamy, tangy, and a bit of a kick. A delicious contrast to the crispy skin.
Homemade Sauces: Get creative and make your own! The possibilities are endless.
Sauce Tips:
Heat it Up: Warm up your sauce slightly before tossing the wings to prevent it from cooling the wings down too much.
Toss Gently: Toss the wings gently in the sauce to coat them evenly. Don't over-toss, or you'll break the crispy skin!
(Part 8) Serving and Enjoyment
You've done it! You've created the ultimate fried chicken wings, crispy, juicy, and flavourful. Now it's time to enjoy your hard work.
Serving Tips:
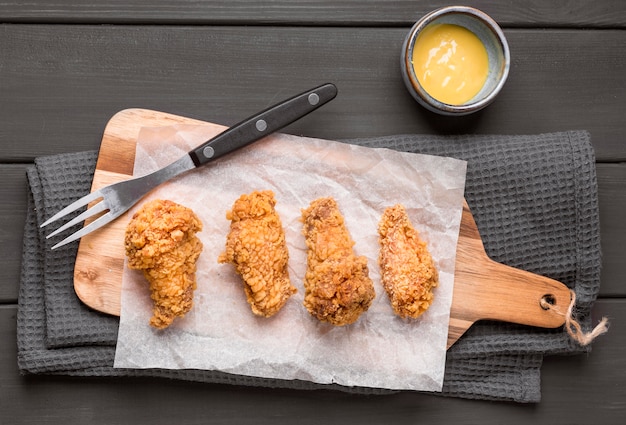
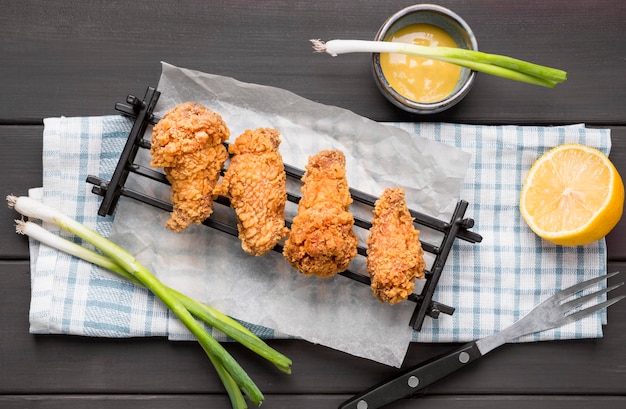
Presentation is Key: Serve the wings on a platter lined with parchment paper to absorb any excess oil. This keeps your platter clean and prevents the wings from getting soggy.
side dishes: Pair your wings with classic side dishes like coleslaw, potato salad, or macaroni and cheese.
Enjoy!: Don't forget to savor every bite!
(Part 9) FAQs: Answering Your Burning Questions
Q1: Can I Use Frozen Wings?
A: While you can use frozen wings, they'll be less juicy and flavorful than fresh wings. If you do use frozen wings, thaw them completely in the refrigerator before brining.
Q2: How Long Can I Brine Wings?
A: You can brine wings for up to 24 hours, but 4-8 hours is usually sufficient. Over-brining can make the wings too salty.
Q3: Can I Use a Different Type of Oil?
A: You can use a different oil, but make sure it has a high smoke point and a neutral flavour. Avoid oils with strong flavors, as they can overpower the taste of the wings.
Q4: What If My Wings Don't Get Crispy?
A: Make sure your oil temperature is hot enough (350°F to 375°F) and that you're not overcrowding the pan. Both of these can lead to soggy wings.
Q5: Can I Reheat Fried Chicken Wings?
A: Yes, you can reheat fried chicken wings in a 350°F (175°C) oven for about 10-15 minutes. They won't be as crispy as when they were freshly fried, but they'll still be delicious.
(Part 10) A Final Word
There you have it, my friends, the ultimate guide to crispy, juicy fried chicken wings. Remember, it's all about taking your time, paying attention to the details, and having fun in the kitchen. Don't be afraid to experiment! The possibilities are endless.
So, go forth and create some magic! And don't forget to share your delicious creations with your loved ones. Happy frying!
Everyone is watching

Prime Rib Roast Cooking Time Chart: Per Pound Guide
Cooking TipsPrime rib roast. Just the name conjures images of lavish dinners, crackling fires, and hearty laughter. It’s ...

How Long to Bake Potatoes in the Oven (Perfect Every Time)
Cooking TipsBaked potatoes are a staple in my kitchen. They're incredibly versatile, delicious, and surprisingly easy to m...

Perfect Rice Every Time: The Ultimate Guide to Cooking Rice
Cooking TipsAs a self-proclaimed foodie, I've always been a bit obsessed with rice. It's the foundation of countless cuisi...

The Ultimate Guide to Cooking Asparagus: Tips, Techniques, and Recipes
Cooking TipsAsparagus. The mere mention of this spring delicacy conjures up images of vibrant green spears, crisp and burs...

Ultimate Guide to Cooking the Perfect Thanksgiving Turkey
Cooking TipsThanksgiving. Just the word conjures up images of overflowing tables laden with delicious food, the scent of r...
