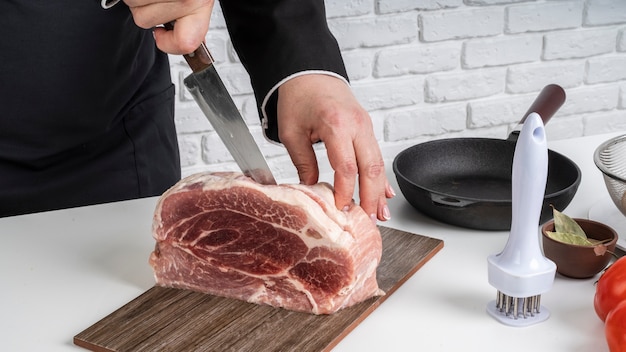
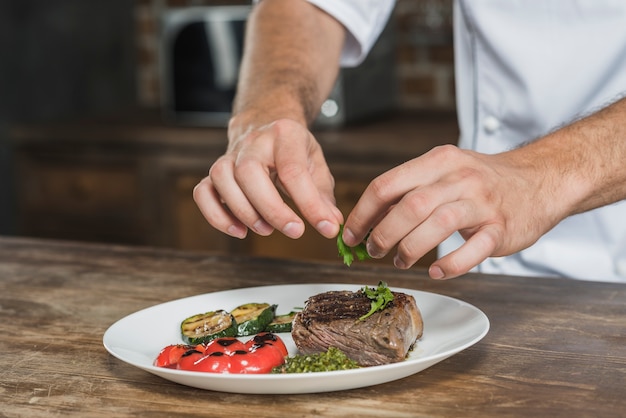
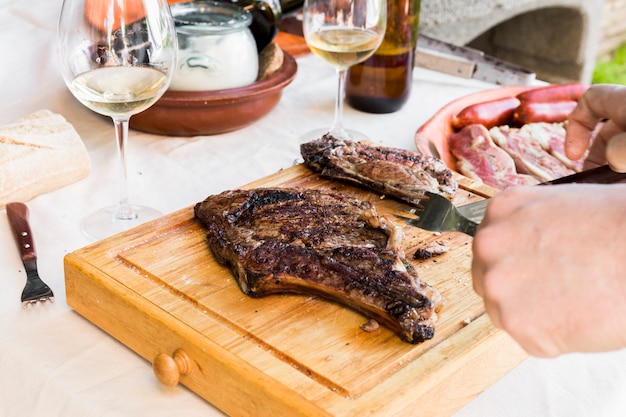
(Part 1) choosing the right cut: The Foundation of a Great Steak

Understanding the Different Cuts: Picking the Perfect Player
- Top Sirloin: This is the most tender and flavorful cut, often referred to as the "king" of sirloin. You'll find a good balance of fat and leanness, making it perfect for grilling or pan-searing. Think of it as the all-star of the sirloin family.
- bottom sirloin: This cut is slightly tougher and less flavorful than top sirloin, but it's still a great option for roasting or braising. It's also a more budget-friendly choice. Consider it the versatile member of the team.
- Tri-Tip: This triangular cut, sometimes referred to as "Santa Maria Steak," is known for its rich flavour and tenderness. It's great for grilling or roasting, and it's often marinated for extra flavor. It's the wildcard of the group, bringing unique flavors and a fun shape to the table.
Choosing the Right Thickness: Getting the Right Dimensions
The thickness of your steak is crucial for even cooking and a juicy result. Here's what you need to keep in mind:
- Thin Steaks: These cook quickly and are perfect for pan-searing or grilling. However, they can be prone to drying out if not cooked carefully. Think of them as the sprinters - fast but requiring careful handling.
- Thick Steaks: These take longer to cook, but they allow for a perfect sear and a juicy, tender interior. They're ideal for grilling or roasting. These are the marathon runners - they take their time but deliver a satisfying, well-developed result.
My Personal Preference: A Top Sirloin Fan
I've always been a fan of top sirloin, especially for grilling. It's the perfect balance of flavour and tenderness, and it's a cut I can always rely on to deliver a great steak. Plus, it's generally more affordable than other cuts like filet mignon. But hey, if you prefer another cut, go for it! Experiment and see what you like best. There are no rules in the kitchen, just good food and good times.(Part 2) Prepping Your Steak: Setting the Stage for Success

Patting Dry: The Importance of a Dry Surface
The first step is to pat your steak dry with paper towels. This might seem simple, but it's crucial for getting a good sear. Any excess moisture will create steam, which can prevent the steak from getting that beautiful brown crust. Imagine it like trying to cook a pancake on a wet griddle - it's not going to turn out right!Seasoning: Bringing Out the Flavor
Now for the fun part: seasoning. Salt and pepper are the classic duo, and for good reason. They enhance the natural flavor of the steak and create a delicious crust. But don't be afraid to get creative! Experiment with other herbs and spices like garlic powder, onion powder, paprika, or even a sprinkle of chili flakes. Think of seasoning as the dressing up your steak - adding a touch of personality and flair.Here's a little tip: season your steak liberally and generously. Don't be afraid to go overboard. You can always add more, but you can't take it away once it's cooked.Resting: Letting the Steak Relax
After you've seasoned your steak, let it rest at room temperature for about 30 minutes before cooking. This allows the steak to come to room temperature, which promotes more even cooking and helps prevent the centre from being cold when you serve it. Think of it as giving your steak a chance to relax and unwind before its big moment in the spotlight.(Part 3) Getting that Perfect Sear: Creating a Delicious Crust

Preheating Your Pan or Grill: Laying Down the Foundation
The key to a perfect sear is to have a super-hot pan or grill. This will create a beautiful brown crust on the outside while keeping the inside juicy and tender. For a pan-sear, heat your cast iron skillet over high heat until it's smoking hot. For a grill, get those flames blazing! You want those grill grates to be nice and hot. Think of it as building a fire - you need a strong, hot base to get the cooking going.The Art of Searing: A Symphony of Heat and Flavor
Once your pan or grill is hot, carefully place your steak down and let it cook undisturbed for about 3-4 minutes per side. You want to resist the urge to flip it too early, otherwise, you'll just be pushing the steak around instead of letting it sear properly. Look for a nice crust forming on the surface of the steak. It should be a deep, golden brown colour, almost caramelized. This is a sign that your steak is developing flavor and a beautiful texture.The Flip: A Crucial Moment
Once your steak has achieved a good sear on one side, flip it over to the other side and repeat the process. Don't forget to rotate the steak by 90 degrees after the first flip to create those lovely grill marks. This adds a touch of visual appeal and a subtle change in texture.(Part 4) Achieving the Perfect Doneness: Finding Your Ideal SteakEveryone has their own preference for how they like their steak cooked. But whether you prefer it rare, medium-rare, medium, medium-well, or well-done, knowing how to achieve the perfect doneness is essential. internal temperature: The Scientific Approach
The most reliable way to determine the doneness of your steak is to use a meat thermometer. Here's a handy guide to the internal temperatures for different levels of doneness:
| Doneness | Internal Temperature (°F) |
|---|---|
| Rare | 125-130°F |
| Medium-Rare | 130-135°F |
| Medium | 135-140°F |
| Medium-Well | 140-145°F |
| Well-Done | 145°F and above |
The Touch Test (Not Recommended for Beginners): The Feel of the Steak
If you don't have a meat thermometer, you can use the touch test, but be warned, it takes a bit of practice. Here's how it works:
Press your finger on the centre of the steak. If it feels like the tip of your nose, it's rare. If it feels like your cheek, it's medium-rare. If it feels like your forehead, it's medium. If it feels firm, it's well-done.
I find the touch test to be a bit unreliable, especially if you're not familiar with different degrees of doneness. For the sake of your steak, I recommend sticking to a meat thermometer.
(Part 5) Finishing Touches: Elevating the Steak Experience
Your steak is almost ready, but there are a few more steps to take to elevate it to the next level.Resting Time: Allowing the Steak to Recoup
After you've taken your steak off the heat, let it rest for 5-10 minutes before cutting into it. This allows the juices to redistribute throughout the meat, resulting in a more juicy and flavorful steak. Think of it as a little bit of relaxation time for your steak after its workout on the grill.Finishing with Butter: A Touch of Luxury
If you really want to take your steak to the next level, finish it with a pat of butter. As your steak rests, the butter will melt and infuse the steak with a rich, buttery flavor. You can also add herbs like thyme or rosemary to the butter for extra flavor. It's like adding a sprinkle of magic to your steak.Slicing and Serving: Presentation is Key
Finally, it's time to slice and serve your beautiful steak. I like to slice my steak against the grain, which means cutting across the muscle fibers. This makes it easier to chew and results in a more tender texture. Serve your steak with a variety of sides, such as mashed potatoes, asparagus, roasted vegetables, or a simple salad.(Part 6) The Art of Pan-Searing: Bringing the Heat Indoors
While grilling is a classic way to cook a sirloin steak, pan-searing can be just as delicious and a lot more convenient. You can whip up a perfect pan-seared steak even if you don't have a grill.Choosing the Right Pan: The Tools of the Trade
A cast iron skillet is the best option for pan-searing. It retains heat exceptionally well, creating a beautiful crust on the outside of the steak. If you don't have a cast iron skillet, a heavy-bottomed stainless steel pan will do the trick. Imagine it as a sturdy, reliable workhorse in your kitchen.Getting a Good Sear: Mastering the Heat
The process for pan-searing is similar to grilling, but you'll want to make sure your pan is smoking hot before adding the steak. Once the pan is hot, sear the steak for about 3-4 minutes per side, just like you would on a grill.Adjusting the Heat: Finding the Right Temperature
Once you've seared both sides, you can reduce the heat to medium-low and continue cooking the steak until it reaches your desired level of doneness. If you're using a cast iron skillet, you may not even need to adjust the heat, as it will naturally retain heat and cook the steak evenly.Finishing Touches: Adding a Touch of Elegance
Once your steak is cooked to your liking, remove it from the pan and let it rest for a few minutes. While it rests, you can add butter, herbs, or even a splash of wine to the pan to create a delicious pan sauce. This is a great way to add a touch of extra flavor to your steak.(Part 7) Beyond the Basics: Experimenting with Flavors: Taking Your Steak to the Next Level
Now that you've mastered the basics of cooking a sirloin steak, it's time to get creative and experiment with different flavors.Marination Techniques: Infusing Flavor and Tenderness
Marinating your steak can infuse it with rich flavors and tenderize the meat. Here are a few of my favorite marinade ideas:- Classic Herb Marinade: Combine olive oil, balsamic vinegar, garlic, rosemary, thyme, and a pinch of salt and pepper. Let the steak marinate for at least 30 minutes, or up to overnight, for the best results. This is a timeless classic, bringing a balance of savory and tangy flavors.
- Citrus Marinade: Mix orange juice, lime juice, honey, soy sauce, and garlic. Marinate the steak for at least 30 minutes. This marinade brings a bright, citrusy twist to your steak.
- Spicy Marinade: Combine soy sauce, chili flakes, ginger, garlic, and sesame oil. Marinate the steak for at least 30 minutes. This marinade adds a touch of heat and a hint of Asian inspiration.
Adding Flavor to Your Steak: Boosting the Flavor Profile
Even if you're not marinating your steak, there are plenty of ways to add flavor during the cooking process. Here are a few ideas:- Garlic Butter: Rub a mixture of garlic butter on the steak before grilling or pan-searing. This adds a rich, buttery flavor with a hint of garlic.
- Smoked Paprika: Sprinkle smoked paprika on the steak for a smoky, earthy flavor. This brings a touch of smoky depth and complexity.
- Herbs: Add fresh or dried herbs like rosemary, thyme, oregano, or sage to the grill or pan during cooking. This adds a fresh, aromatic touch that complements the steak.
Experiment with side dishes: Completing the Meal
Don't forget about the importance of delicious side dishes. They complement the steak and create a well-rounded meal. Here are some of my go-to side dish combinations:- grilled asparagus and Roasted Potatoes: This classic combination is both simple and satisfying. It's a perfect balance of earthy and fresh flavors.
- Creamy Polenta and Sautéed Mushrooms: This is a luxurious and comforting pairing that will elevate your steak dinner. It adds a touch of elegance and sophistication.
- Simple Salad with Balsamic Vinaigrette: A refreshing and light salad is the perfect counterpoint to a rich steak. It provides a contrast of textures and flavors, making the meal more balanced and enjoyable.
(Part 8) FAQs: Your Steak-Related Questions Answered: Getting the Inside Scoop
Now that we've covered all the basics, let's address some of your burning questions about cooking the perfect sirloin steak.1. What's the Best Way to Cook a Sirloin Steak?
There are many ways to cook a sirloin steak, but grilling and pan-searing are two of the most popular methods. Both techniques produce delicious results. If you prefer a smoky flavor and prefer to cook outside, grilling is your best bet. If you prefer a more convenient and indoor option, pan-searing is a great alternative. Ultimately, it comes down to personal preference and what's most convenient for you.
2. How Long Should I Cook a Sirloin Steak?
The cooking time for a sirloin steak will depend on its thickness and the desired level of doneness. A thin steak will cook much faster than a thick one. Generally, it's a good idea to sear the steak for 3-4 minutes per side, and then continue cooking until it reaches your desired internal temperature.
3. Can I Use a Sirloin Steak for Roasting?
Yes, you can use a sirloin steak for roasting. A bottom sirloin cut is particularly well-suited for roasting, as it's a bit tougher and benefits from the longer cooking time. It's a great way to cook a larger cut of meat and enjoy a different texture and flavor.
4. How Do I Know When My Steak is Done?
The best way to determine the doneness of your steak is to use a meat thermometer. This is the most reliable way to ensure that your steak is cooked to your liking. You can also use the touch test, but it's not as accurate as a meat thermometer. A meat thermometer eliminates guesswork and ensures that your steak is cooked perfectly.
5. What Are Some Good Side Dishes for Steak?
There are many delicious side dishes that pair well with steak. Some popular options include mashed potatoes, asparagus, roasted vegetables, creamy polenta, sautéed mushrooms, and simple salads. It really comes down to personal preference. Think about what complements the flavor and texture of your steak and creates a well-balanced meal.
So there you have it, my ultimate guide to cooking sirloin steak. I hope this guide has been helpful, and I encourage you to experiment and find your own favorite techniques and flavor combinations. Remember, there's no right or wrong way to cook steak. It's all about enjoying the process and the delicious results. Now go out there, fire up the grill (or pan!), and have a happy steak night!
Everyone is watching

Prime Rib Roast Cooking Time Chart: Per Pound Guide
Cooking TipsPrime rib roast. Just the name conjures images of lavish dinners, crackling fires, and hearty laughter. It’s ...

How Long to Bake Potatoes in the Oven (Perfect Every Time)
Cooking TipsBaked potatoes are a staple in my kitchen. They're incredibly versatile, delicious, and surprisingly easy to m...

Perfect Rice Every Time: The Ultimate Guide to Cooking Rice
Cooking TipsAs a self-proclaimed foodie, I've always been a bit obsessed with rice. It's the foundation of countless cuisi...

The Ultimate Guide to Cooking Asparagus: Tips, Techniques, and Recipes
Cooking TipsAsparagus. The mere mention of this spring delicacy conjures up images of vibrant green spears, crisp and burs...

Ultimate Guide to Cooking the Perfect Thanksgiving Turkey
Cooking TipsThanksgiving. Just the word conjures up images of overflowing tables laden with delicious food, the scent of r...
