As a seasoned cook, I've spent years trying to conquer the elusive quest for perfectly cooked chicken breast. You know the feeling: one minute it’s dry and tough, the next it’s undercooked and sends shivers down your spine. But fear not, fellow food enthusiasts, for I'm here to share the secrets I've uncovered on this culinary journey. It's not just about the cooking method, it's about the temperature—finding that sweet spot that unlocks juicy, flavorful chicken breast every time.
Part 1: Understanding the Science Behind the perfect chicken

Let's delve into the scientific side of things. Chicken breast, like any protein, undergoes a transformation when heated. The proteins in the meat denature, causing it to firm up and lose moisture. But the key is to stop this process before it turns your chicken into a rubbery mess. This is where temperature control comes in.
1. The Importance of internal temperature
Forget relying solely on visual cues like browning. The only reliable way to ensure your chicken is cooked through and safe to eat is by using a meat thermometer. The USDA recommends an internal temperature of 165°F (74°C) for chicken breast. But wait! That doesn't necessarily mean you'll have juicy, flavorful chicken. The real magic lies in achieving this internal temperature while maintaining a level of moisture that makes your taste buds sing.
2. The Science of Protein Denaturation and Moisture Loss
When chicken is heated, the protein molecules unfold and rearrange, causing the muscle fibers to tighten and become more firm. This process, called denaturation, is responsible for the firm texture of cooked chicken. However, as the temperature rises, the moisture within the muscle fibers starts to evaporate, leading to dryness. The goal is to reach the safe internal temperature without overcooking the chicken to the point where it loses all its moisture.
3. The Role of Fat and Collagen
Fat and collagen play crucial roles in moisture retention. Fat acts as a natural lubricant, holding onto moisture during cooking. Collagen, a protein found in connective tissue, breaks down into gelatin when heated, adding to the chicken's tenderness. Thicker chicken breasts tend to have more collagen, which is why they benefit from longer cooking times.
Part 2: Beyond the Thermometer: The Quest for Juicy Chicken

While the thermometer tells us when the chicken is safe, it doesn't guarantee a delicious result. To truly unlock the secrets of juicy chicken, we need to understand the factors that influence its texture and flavor.
1. The Role of Size and Thickness
Thick chicken breasts take longer to cook than thinner ones. This means they're more likely to dry out if you don't adjust your cooking time accordingly. My rule of thumb is to cook thinner breasts for a shorter time and thicker ones for a bit longer. A good meat thermometer is your best friend in this situation, ensuring that the center reaches 165°F (74°C) while the outer edges remain moist and flavorful.
2. The Importance of Pre-Heating
Never underestimate the power of preheating! A hot oven or pan creates a quick sear, which helps seal in moisture and develop a delicious crust. It's like creating a protective barrier, ensuring that the juices stay inside and the chicken cooks evenly. I always preheat my oven to 400°F (204°C) before popping in my chicken breasts, and it makes a world of difference.
Part 3: The Art of Cooking: Mastering the Methods

Now that we understand the basics, let's explore different cooking methods and how to achieve the perfect temperature for juicy chicken breast. We'll cover techniques that range from simple and reliable to more advanced methods that offer precise temperature control and exceptional results.
1. Baking: A Simple and Reliable Approach
Baking is a classic method for chicken breast. It's straightforward, allows for even cooking, and is a great option for beginners. Here's how to bake those juicy beauties:
- Preheat your oven to 400°F (204°C).
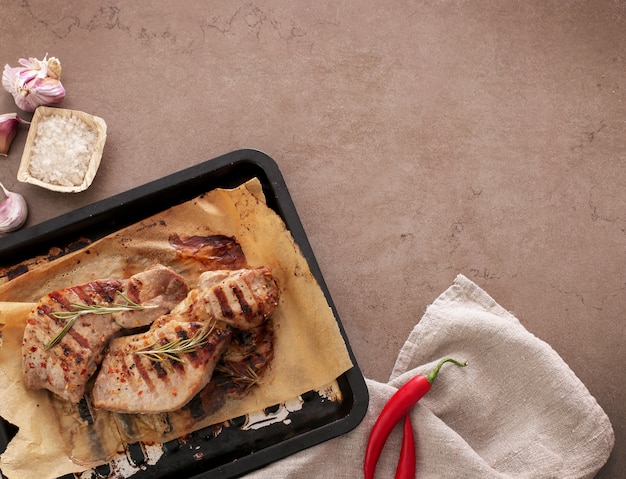
- Place your chicken breasts on a baking sheet lined with parchment paper. This prevents sticking and makes cleanup a breeze.
- Season generously with your favorite spices and herbs. I love a simple combination of salt, pepper, paprika, and garlic powder.
- Bake for 20-25 minutes, or until the internal temperature reaches 165°F (74°C). Remember, cooking time will vary depending on the size and thickness of your chicken breasts.
Tip: To ensure even cooking, it's helpful to use a meat thermometer to check the internal temperature in multiple locations of the chicken breast.
2. Pan-Frying: For a Crispy Crust and Delicious Flavor
Pan-frying offers a crispy exterior and juicy interior, a delicious combination that always gets me excited. Here's the perfect pan-frying technique:
- Heat a skillet over medium-high heat. I prefer to use a cast-iron skillet for its even heat distribution.
- Add a tablespoon of oil or butter to the skillet. I love using olive oil for its flavor and healthy fats.
- Season your chicken breasts with salt, pepper, and any other desired spices.
- Carefully place the chicken breasts in the skillet, making sure not to overcrowd the pan.
- Cook for 3-4 minutes per side, or until golden brown and crispy.
- Reduce the heat to medium-low, cover the skillet, and continue cooking for another 5-7 minutes, or until the internal temperature reaches 165°F (74°C).
Tip: For a truly delicious pan-fried chicken breast, you can use a technique called "reverse searing." This involves cooking the chicken breast over low heat for a longer period to ensure even cooking and then finishing it by searing it over high heat for a crispy crust.
3. Grilling: A Summertime Favorite
grilling chicken is perfect for summer barbecues. The smoky flavor adds another dimension to the dish. Here's how to grill juicy chicken breast:
- Preheat your grill to medium heat.
- Season your chicken breasts with your favorite grill rub or spices. I love using a blend of smoked paprika, cumin, garlic powder, and brown sugar.
- Place the chicken breasts on the grill, making sure to avoid any direct flames.
- Grill for 5-7 minutes per side, or until cooked through and the internal temperature reaches 165°F (74°C).
Tip: To prevent the chicken from sticking to the grill grates, lightly brush them with oil before grilling.
4. Sous Vide: Precision Cooking for Tender and Juicy Chicken
sous vide cooking is a method that involves sealing food in a vacuum bag and immersing it in a temperature-controlled water bath. It's a great way to ensure even cooking and a consistently tender result. Here's how to sous vide chicken breasts:
- Season your chicken breasts with your favorite spices. I like to use a simple blend of salt, pepper, and herbs.
- Place the chicken breasts in a vacuum bag and seal tightly. If you don't have a vacuum sealer, you can use a zip-top bag and remove as much air as possible.
- Fill a pot with water and heat it to 145°F (63°C).
- Immerse the sealed chicken breasts in the water bath. Make sure the water completely covers the bags.
- Cook for 1-1.5 hours, or until the internal temperature reaches 145°F (63°C).
- After cooking, you can sear the chicken breast in a hot skillet for a crispy exterior, or simply enjoy it as is.
Tip: Sous vide cooking allows you to cook the chicken breast to a specific internal temperature, ensuring it's cooked through but not overcooked. This method is particularly useful for achieving a consistently tender and juicy result.
5. instant pot: Quick and Convenient Cooking
The Instant Pot is a fantastic multi-cooker that can do it all, including cooking juicy chicken breasts. Here's how to cook them in the Instant Pot:
- Season your chicken breasts with your favorite spices.
- Place the chicken breasts in the Instant Pot, making sure they are not touching each other.
- Add 1/2 cup of water to the Instant Pot. This helps create steam and ensures the chicken doesn't dry out.
- Close the lid and set the valve to seal.
- Cook on high pressure for 5-6 minutes, or until the internal temperature reaches 165°F (74°C).
- Allow the pressure to release naturally for 5-10 minutes, then carefully release the remaining pressure.
Tip: For a more flavorful result, you can add aromatics like onions, garlic, or herbs to the Instant Pot before cooking the chicken.
Part 4: Avoiding Common Mistakes
Now that we've discussed the methods, let's talk about some common mistakes to avoid. These tips can make a big difference in achieving that perfectly cooked chicken breast.
1. Overcrowding the Pan or Oven
If you overcrowd your pan or baking sheet, the chicken breasts won't cook evenly. It's best to cook them in batches if you have a large amount. This allows for proper heat circulation and ensures each breast cooks to perfection.
2. Using a Cold Pan
A cold pan won't create the necessary sear to lock in moisture and develop a crispy crust. Make sure your pan is hot before adding the chicken breasts. You can test it by placing a few drops of water in the pan. If they sizzle and evaporate quickly, the pan is ready.
3. Flipping the Chicken Too Many Times
Flipping the chicken too often can interrupt the cooking process and lead to a dry, tough texture. Aim to flip it only once or twice during cooking, and avoid poking or prodding it with a fork or knife.
4. Not Resting the Chicken After Cooking
Allowing the chicken to rest for a few minutes after cooking helps redistribute the juices, resulting in a more tender and flavorful breast. Cover the chicken loosely with foil and let it rest for 5-10 minutes before slicing and serving.
Part 5: Beyond the Basics: Flavoring Techniques
Now that we've mastered the fundamentals of cooking juicy chicken breast, let's explore some creative flavoring techniques to elevate your dishes.
1. Marinating
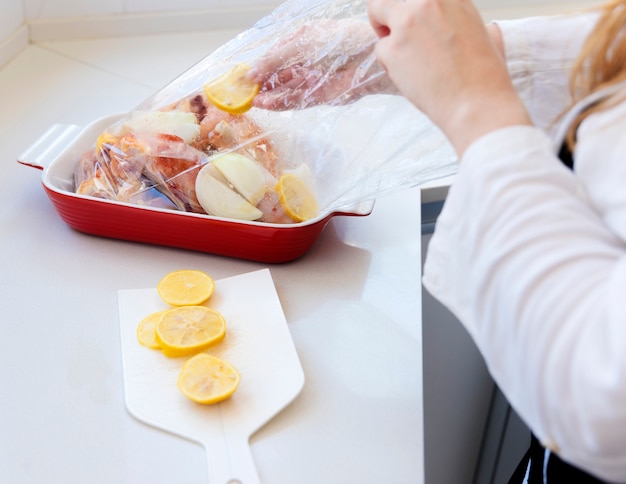
Marinating is a fantastic way to infuse chicken with flavor and moisture. Choose a marinade that complements your dish, and let the chicken soak for at least 30 minutes, or even overnight for maximum flavor. A marinade can be as simple as a mixture of olive oil, lemon juice, and herbs, or it can be more complex, incorporating spices, soy sauce, or even honey.
2. Brining
Brining is a technique that involves soaking chicken in a salt water solution. This helps retain moisture, making the chicken juicier and more flavorful. A simple brine can be made with water, salt, and sugar. I usually brine my chicken for 30 minutes to an hour before cooking. Brining works best for drier cuts of chicken like breast, as it helps to redistribute moisture throughout the meat.
3. Adding Flavor to the Cooking Process
Don't be afraid to get creative with your spices and herbs while cooking. Add chopped onions, garlic, peppers, or other vegetables to the pan or oven for added flavor and depth. You can also add aromatics like bay leaves, thyme, or rosemary to the cooking liquid for a more complex flavor profile.
Part 6: Delicious Ways to Enjoy Juicy Chicken Breast
Once you've mastered the art of cooking juicy chicken breast, the possibilities are endless. Here are some of my favorite ways to enjoy it:
1. Simple and Elegant
A perfectly grilled or pan-fried chicken breast can be the star of a simple yet elegant dish. Serve it with roasted vegetables, a side salad, and a light sauce, like a lemon-herb vinaigrette. A sprinkle of fresh parsley or a drizzle of balsamic glaze can add a touch of sophistication.
2. Flavorful and Aromatic
For a more flavorful and aromatic dish, try adding a rich sauce to your chicken breast. Some of my favorites include a creamy mushroom sauce, a tangy tomato sauce, or a sweet and spicy Asian-inspired sauce. You can also create a pan sauce by deglazing the pan with wine or broth after cooking the chicken.
3. Creative and Inspired
Don't be afraid to experiment with different flavors and textures. Try stuffing your chicken breast with spinach, ricotta cheese, and herbs, or wrap it in bacon before grilling or pan-frying. For a more adventurous dish, try a Thai-inspired chicken breast with peanut sauce or a Moroccan-spiced chicken breast with couscous and dried fruits.
Part 7: Leftovers: Transforming Chicken Breast into New Delights
Let's face it, sometimes we end up with leftover chicken breast. But fear not, there are plenty of ways to repurpose it into delicious meals.
1. chicken salad
A classic for a reason, chicken salad is a great way to use up leftover chicken. Combine it with mayonnaise, celery, onion, and your favorite spices for a satisfying lunch or light dinner. You can add a touch of sweetness with grapes or dried cranberries, or a little crunch with chopped walnuts or pecans.
2. Chicken Soup
Chicken soup is a comforting and nourishing meal that can be made with leftover chicken. Add the chicken to a pot of broth with vegetables, rice, or noodles for a delicious and satisfying soup. You can add a dollop of sour cream or a sprinkle of fresh herbs for a finishing touch.
3. chicken tacos
Turn leftover chicken into a fun and flavorful meal with tacos. Shred the chicken and add it to tortillas with your favorite toppings, like salsa, avocado, and sour cream. You can also use the chicken in quesadillas, burritos, or enchiladas.
4. Chicken Stir-Fry
Leftover chicken breast can be added to a stir-fry for a quick and easy meal. Combine the chicken with your favorite vegetables and a stir-fry sauce for a delicious and healthy dinner.
Part 8: FAQs
Here are some frequently asked questions about cooking chicken breast:
1. How long can I keep cooked chicken breast in the refrigerator?
Cooked chicken breast can be stored in the refrigerator for up to 3-4 days. Make sure to store it in an airtight container to prevent freezer burn.
2. Can I freeze cooked chicken breast?
Yes, you can freeze cooked chicken breast for up to 2-3 months. Wrap it tightly in plastic wrap or aluminum foil and place it in a freezer-safe bag. To thaw frozen chicken breast, transfer it to the refrigerator overnight.
3. What happens if I overcook chicken breast?
overcooked chicken breast will be dry and tough. It's important to cook it to the correct internal temperature, but avoid overcooking it. The texture will become rubbery and the flavor will be compromised.
4. What's the best way to reheat cooked chicken breast?
The best way to reheat cooked chicken breast is in the oven or microwave. Avoid reheating it in a skillet, as this can dry it out. You can also reheat it in a slow cooker or on low heat in a pan with a little bit of broth or sauce.
5. What are some good side dishes to serve with chicken breast?
Chicken breast pairs well with a variety of side dishes, such as roasted vegetables, mashed potatoes, rice, pasta, salads, and fruit. Choose side dishes that complement the flavors of your chicken and create a balanced meal.
And there you have it, my friends. Armed with this comprehensive guide, you'll be whipping up juicy, flavorful chicken breast in no time. Remember, it's all about understanding the science, mastering the techniques, and being a bit adventurous in the kitchen. Happy cooking!
Note: This content is for informational purposes only and should not be considered a substitute for professional medical advice. Always consult with a qualified healthcare professional for any health concerns or before making any decisions related to your health or treatment.
Everyone is watching

Prime Rib Roast Cooking Time Chart: Per Pound Guide
Cooking TipsPrime rib roast. Just the name conjures images of lavish dinners, crackling fires, and hearty laughter. It’s ...

How Long to Bake Potatoes in the Oven (Perfect Every Time)
Cooking TipsBaked potatoes are a staple in my kitchen. They're incredibly versatile, delicious, and surprisingly easy to m...

Perfect Rice Every Time: The Ultimate Guide to Cooking Rice
Cooking TipsAs a self-proclaimed foodie, I've always been a bit obsessed with rice. It's the foundation of countless cuisi...

The Ultimate Guide to Cooking Asparagus: Tips, Techniques, and Recipes
Cooking TipsAsparagus. The mere mention of this spring delicacy conjures up images of vibrant green spears, crisp and burs...

Ultimate Guide to Cooking the Perfect Thanksgiving Turkey
Cooking TipsThanksgiving. Just the word conjures up images of overflowing tables laden with delicious food, the scent of r...
