Let's be honest, folks, there's nothing quite like a juicy, flavour-packed hamburger. It's a classic for a reason! But crafting that perfect bite can feel like a daunting task. You're staring at a lump of ground beef, wondering how on earth you're going to turn it into something truly delicious. Well, fear not, my fellow burger enthusiasts! I'm here to guide you through the process, step-by-step, with tips and tricks I've learned over years of burger-making.
This isn't just some random recipe you'll find online – it's a journey into the heart of burger-making. We'll explore the science of creating a juicy patty, the art of building a balanced burger, and the joy of knowing you've created something truly special. So, grab your apron, gather your ingredients, and let's get started!
Part 1: Laying the Foundation - Choosing the Right Mince

The Beefy Beginning: Selecting Your Mince
You can't make a great burger without starting with the right mince. I've tried all sorts, from supermarket basics to fancy cuts, and I've learned that a good burger starts with good meat.
Forget the 90% lean stuff – it'll leave you with a dry, tough burger. You need that fat to keep the patty moist and juicy. Aim for an 80/20 blend, meaning 80% lean beef and 20% fat. This is the magic ratio for a burger that's both flavourful and satisfying.
Freshness is Key
Now, freshness is vital. If you have a local butcher, that's your best bet. They can guide you towards the right cuts and grind for a fantastic burger. If you're buying pre-ground mince, choose the freshest option with the latest use-by date. And always keep it chilled until you're ready to use it.
The Importance of Grind
The grind of your mince plays a big part in the final texture of your burger. A coarse grind creates a patty with a nice, juicy bite, kind of like a happy medium between a chunky sausage and a smooth paste. Too fine a grind and it'll cook up dry and compact.
Grind Your Own for Extra Flavour
If you're feeling adventurous, try grinding your own beef! A good quality chuck or sirloin roast, run through a mincer, creates a burger with incredible depth of flavour. You can even add a touch of short rib or brisket to the mix for added richness. It's a bit more work, but the flavour is truly worth it.
Part 2: Building the Perfect Patty Mix

The Ingredients: A Symphony of Flavors
Alright, now we're getting to the good stuff – crafting the perfect burger mix. Besides your carefully chosen mince, here's what you'll need:
Salt and pepper: These are the essential seasonings that bring out the beef's natural flavours. Don't be shy, but don't overdo it either. A touch of both is all you need.
Onion powder: This adds a hint of sweetness and depth to the mix. Think of it as a secret ingredient that enhances the flavour profile.
Garlic powder: A touch of garlic powder adds another dimension of flavour, rounding out the taste of the beef.
Worcestershire sauce: A dash of Worcestershire sauce is a game-changer, adding umami and a touch of complexity to the mix.
Mixing It Up Gently
Now, the key here is gentle handling. Overworking the mince will make your burger tough and chewy. Just use your hands to mix everything together lightly, until it's evenly combined. Think of it like kneading bread – a light touch is all it takes.
Let the Flavors Mingle
Once you've got your mix together, cover it and pop it in the fridge for at least 30 minutes. This allows the flavours to meld and the mince to chill out, making it easier to work with when you're ready to form the patties.
Part 3: Crafting the Perfect Patty

Forming the Foundation of Your Burger
Okay, now we're ready to sculpt those patties. Take a handful of the chilled mince and form it into a ball. Flatten the ball into a disc, about half an inch thick.
Even Thickness for Even Cooking
This even thickness is crucial for ensuring your burger cooks evenly. You don't want a burnt exterior with a raw center!
The Indentation Trick
Here's a secret I picked up from a seasoned burger chef. Make a small indentation in the center of each patty with your thumb. This little trick helps prevent the burger from puffing up too much as it cooks, keeping it nice and flat.
Storage for Later
If you're making multiple patties, store them in the fridge until you're ready to cook them. Just make sure to separate them with parchment paper so they don't stick together.
Part 4: The Sizzle - Cooking the Burger to Perfection
The Cast-Iron Advantage
For a juicy, flavorful burger, I always cook in a cast-iron skillet. It gets nice and hot and gives the burger a beautiful sear, adding a delicious crust.
Heating the Pan
Heat your cast-iron skillet over medium-high heat. You want it hot enough to sear the patty without burning it. If you're not sure, just sprinkle a few drops of water into the pan. If the water sizzles and evaporates quickly, you're good to go.
The Crucial Sear
Add your patties to the hot skillet, making sure there's enough space between them. You want them to sear, not steam. Don't overcrowd the pan or the burgers will end up soggy and bland. Let them cook undisturbed for about 3-4 minutes per side, allowing a nice, crispy crust to form.
The Flip: Timing is Everything
Resist the urge to flip those patties too early! You need to develop that lovely sear on the first side. Once the bottom is nicely browned, carefully flip them over using a spatula.
Cooking to Your Desired Doneness
Continue cooking for another 3-4 minutes, or until the patties reach your desired level of doneness. For medium-rare, aim for an internal temperature of around 130°F (54°C). For medium, target 140°F (60°C), and for well-done, it's about 160°F (71°C).
Checking for Doneness
You can check the doneness by gently pressing on the top of the patty with your finger. If it springs back, it's medium-rare. If it's firm, it's medium. If it's very firm, it's well-done. You can also use a meat thermometer for a more precise reading.
Resting for Juiciness
Once your burgers are cooked, remove them from the skillet and let them rest for 5 minutes before assembling your burgers. This allows the juices to redistribute throughout the patty, resulting in a more juicy and flavourful bite.
Part 5: Building a Burger Masterpiece
The Art of Balance
A great burger is about more than just the patty. It's about crafting a symphony of flavours and textures, with each component playing a crucial role.
The Bun
Start with a good quality bun, like a brioche bun or a potato bun. You want something that's soft and pillowy, yet sturdy enough to hold all the deliciousness.
The Patty
Of course, the patty is the star of the show. Place your rested burger on the bottom bun.
The Toppings: A World of Flavour
Now, let's get creative with the toppings! I'm a big believer in choosing toppings that complement the flavours of the patty and bun.
Here are some classic and gourmet combinations to get you started:
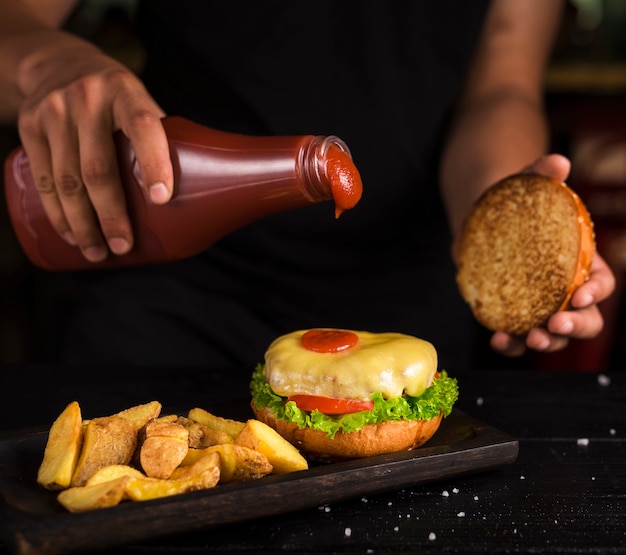
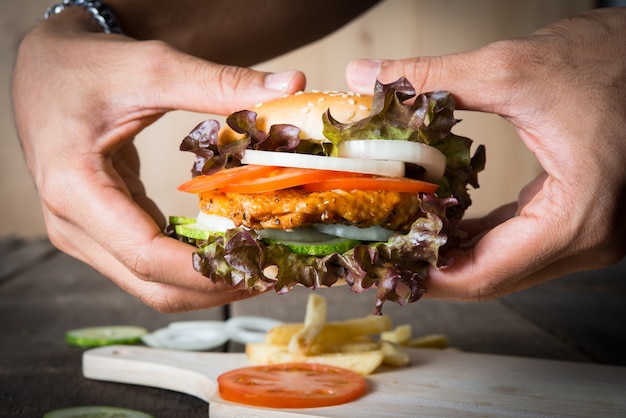
Classic: Lettuce, tomato, onion, and a dollop of mayonnaise.
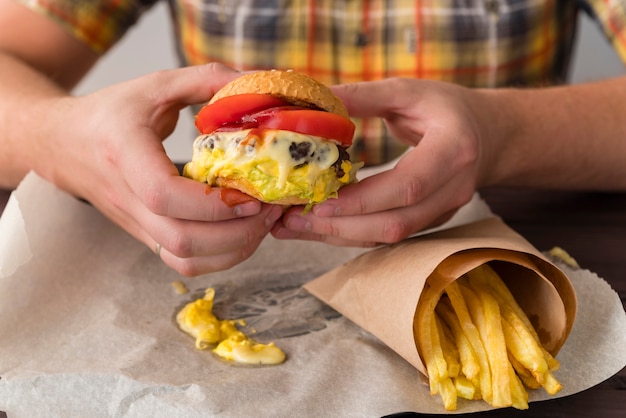
Cheesy: Melted cheddar, caramelized onions, and a tangy pickle.
Spicy: Jalapenos, pepper jack cheese, and a spicy sriracha mayo.
Gourmet: Roasted red peppers, goat cheese, and a balsamic glaze.
The Secret to Juiciness
Remember, don't go overboard with the toppings! Keep it simple and let the flavour of the patty shine through.
Part 6: The Sidekicks
Complementary Sides
No burger is truly complete without some delicious sidekicks. Here are some of my favourites:
french fries: Crispy, golden-brown fries are a classic burger companion.
Onion Rings: crispy onion rings with a sweet and savoury flavour.
Coleslaw: A refreshing and crunchy slaw, offering a contrasting texture.
potato salad: A creamy and comforting potato salad, perfect for a classic burger experience.
Choosing the Perfect Pair
Of course, the perfect side dish will depend on your burger's flavour profile. If you're having a classic cheeseburger, go with some classic french fries. If you're having a spicy burger, try some onion rings.
Part 7: Finishing Touches for a Stunning Presentation
The Presentation Matters
A beautifully presented burger is almost as satisfying as eating it. It's the final touch that elevates your burger from good to great.
The Burger Tower
Start with a base of lettuce or spinach leaves, then layer on your patty, cheese, and toppings. Don't overload the bun – you want to be able to take a good bite without everything falling apart.
Adding a Garnish
A simple garnish, like a sprig of parsley or a few cherry tomatoes, can elevate your burger from good to great. It's a final touch that adds a splash of colour and visual appeal.
Part 8: Tasting the Burger Masterpiece
The Moment of Truth
You've done it! You've crafted a burger masterpiece. Now, it's time to savour the fruits of your labour.
The Bite
Take a big bite and let the flavours explode in your mouth. You'll taste the juicy patty, the crispy toppings, the soft bun, and all the amazing flavours you've carefully crafted.
The Verdict
Is it the perfect skillet hamburger? I think so, but hey, it's all about personal preference. Keep experimenting, keep refining your techniques, and keep enjoying those juicy, delicious burgers.
FAQs
1. What if my burger patties are too thick?
If your patties are too thick, they might not cook evenly. Try pressing them down a bit with a spatula while they're cooking to help them cook through.
2. What can I do if my burger is too dry?
A dry burger is a culinary crime. To prevent dryness, use a good quality mince with enough fat content, don't overcook the patties, and let them rest for a few minutes after cooking.
3. How can I prevent my burger from falling apart?
A burger that falls apart is a nightmare. Use a good quality bun that's sturdy enough to hold the patty and toppings. Don't overcrowd the bun and keep the toppings light.
4. What are some alternative toppings for burgers?
The world of burger toppings is your oyster. Try grilled pineapple, bacon, avocado, roasted mushrooms, or caramelized onions.
5. What's the best way to clean my cast-iron skillet after cooking burgers?
A cast-iron skillet is a real workhorse in the kitchen. To clean it, first, wipe out any excess grease. Then, wash it with hot water and a little bit of soap. Rinse it thoroughly, dry it with a towel, and rub a thin coat of oil onto the surface. This will help to season the skillet and prevent rust.
And that, my friends, is how you create the perfect skillet hamburger. Remember, cooking is a journey, not a destination. Enjoy the process, experiment with different flavours, and most importantly, have fun!
Everyone is watching

Prime Rib Roast Cooking Time Chart: Per Pound Guide
Cooking TipsPrime rib roast. Just the name conjures images of lavish dinners, crackling fires, and hearty laughter. It’s ...

How Long to Bake Potatoes in the Oven (Perfect Every Time)
Cooking TipsBaked potatoes are a staple in my kitchen. They're incredibly versatile, delicious, and surprisingly easy to m...

Perfect Rice Every Time: The Ultimate Guide to Cooking Rice
Cooking TipsAs a self-proclaimed foodie, I've always been a bit obsessed with rice. It's the foundation of countless cuisi...

The Ultimate Guide to Cooking Asparagus: Tips, Techniques, and Recipes
Cooking TipsAsparagus. The mere mention of this spring delicacy conjures up images of vibrant green spears, crisp and burs...

Ultimate Guide to Cooking the Perfect Thanksgiving Turkey
Cooking TipsThanksgiving. Just the word conjures up images of overflowing tables laden with delicious food, the scent of r...
