Ah, the over-easy egg. A breakfast staple that, when done right, is a true culinary triumph. That glistening, runny yolk, the crisp edges of the whites, the delicate balance of textures and flavours – it's simple, yet absolutely sublime. But getting that perfect over-easy egg isn't always a walk in the park. It takes a little finesse, a little know-how, and a touch of kitchen magic. So, grab a cuppa, settle in, and let me share my secrets to mastering the over-easy egg, from choosing the right eggs to nailing that perfect flip.
(Part 1) The Equipment: Your culinary arsenal
Before we even think about cracking an egg, let's gather our tools. You don't need a fancy kitchen to achieve egg-cellence, but the right equipment definitely helps. The first essential is a good pan. I'm a huge fan of cast iron – they distribute heat evenly, hold it beautifully, and with a little TLC, they last a lifetime. Look for a pan that's big enough to give your eggs some room to breathe, but not so large they look like they're lost in the desert. A non-stick pan can work too, especially if you're a bit hesitant about flipping.
Next up, a trusty spatula. You want one that's flexible and sturdy, capable of sliding under your egg without breaking it. A silicone spatula is my go-to – it's gentle on the delicate egg whites and won't scratch your pan. A slotted spoon is also helpful for removing any bits of shell that might fall in. Lastly, don't forget a bowl for cracking your eggs, a small spoon for removing shell bits, and a plate for your masterpiece.
(Part 2) The Eggs Themselves: Choosing Your Stars
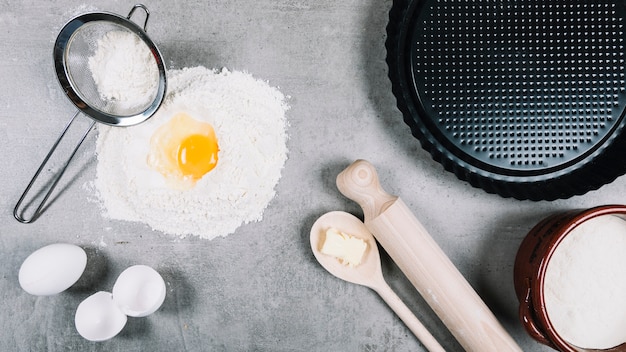
Now, let's talk about the stars of the show – the eggs! I prefer free-range eggs, but any good quality eggs will work. The key is freshness. Look for eggs with a date stamp that isn't too far off. Don't be fooled by fancy labels like "jumbo" or "extra large". We're going for that perfect over-easy experience, and smaller eggs often cook more evenly with a nicer yolk to white ratio. Grab a few medium or even small eggs – they're your culinary superstars.
The Egg Whisperer's Secrets: Choosing the Right Eggs
Choosing the right eggs is like casting your actors for a culinary masterpiece. You want eggs with a nice, firm white and a generous, round yolk. If you hold the egg up to the light, you should see a clear, bright yolk with no signs of a cloudy or watery ring. These are the signs of a fresh, vibrant egg that will cook beautifully. The colour of the shell doesn't affect the taste, so feel free to choose whatever colour eggs you fancy!
(Part 3) Preparing Your Workstation: Setting the Scene
It's time to set the stage for your culinary performance. Your workspace needs to be tidy and efficient. Have your pan, spatula, slotted spoon, bowl of cold water, salt, and pepper all within easy reach. It's like preparing for a cooking competition, but with less pressure – promise!
The Pan's Role: Warming Up Your Stage
Here's where the magic begins. Before you even think about cracking an egg, you need to get your pan up to temperature. It's all about finding that perfect balance – not too hot, not too cold. Too hot, and your eggs will burn. Too cold, and they'll stick. Put your pan on medium heat and let it warm up for a couple of minutes. You know it's ready when a drop of water sizzles and evaporates quickly. You can also test it by lightly rubbing a bit of butter around the pan – it should melt easily and spread evenly. This is like prepping the stage for your egg's grand entrance.
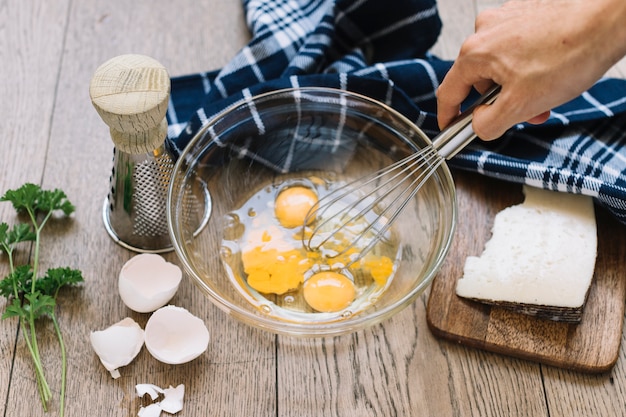
(Part 4) The Cracking Technique: A Gentle Touch
Alright, let's get down to business. Cracking the egg! This part is all about technique, and believe me, it takes practice. You want a clean break, no shell bits in your egg, and a nice, round yolk. I use my thumb to crack the egg on the edge of the bowl. Apply just enough pressure to create a small crack, and then carefully pull the shell apart. If any shell bits fall in, use the small spoon to gently lift them out. Be careful not to break the yolk! It's like handling a delicate piece of art.
(Part 5) Into The Pan We Go: A Smooth Transition
With your pan ready and your egg prepped, it's time for the big reveal. Carefully pour the egg into the hot pan, using a smooth, steady motion. It's like creating a masterpiece, except instead of a brushstroke, you're using a gentle flow of egg. Let the egg sit for a moment, and watch the white set around the yolk. This is where your patience comes in – the whites need a few moments to solidify.
(Part 6) The Flip: A Moment of Truth
Now for the crucial moment – the flip! This is where the real skill comes in. Don't try to flip the egg too early, or the yolk will spread and lose its shape. You want the white to be set, but the yolk should still be runny. Use your spatula to gently slide under the egg, lifting it slightly from the pan. Now, in one swift motion, flip the egg over. If it's not quite ready to flip, give it another few seconds. No pressure!
The Art of the Flip: Tips for Success
A successful flip is the key to a perfect over-easy egg. Here are a few tips to help you master the art of the flip:
- Don't rush it. The white needs to be set enough to hold its shape, but the yolk should still be runny. If the whites are too runny, the yolk will break when you flip it. If the whites are too firm, the egg will stick to the pan.
- Use a gentle touch. Slide the spatula under the egg gently, making sure to lift it slightly from the pan. Don't force it.
- Flip with confidence. One swift, decisive motion is key. Don't hesitate. If you hesitate, the egg will stick to the pan.
- If you're unsure, wait. If you're not confident that the white is set enough, give it another few seconds. It's better to wait a bit longer than to risk breaking the yolk.
(Part 7) The Finishing Touches: Adding a Little Magic
With the egg flipped, it's time to give it a little TLC. Don't be afraid to use a bit of salt and pepper to season it. A sprinkle of fresh herbs, like chives or parsley, can also elevate your egg to new heights. You can also add a splash of vinegar to the pan, which will help to keep the whites from spreading too much. If you're feeling fancy, a knob of butter added to the pan will give your egg a lovely golden hue.
Finishing The Egg: Perfecting the Yolk
As the egg cooks, keep a close eye on the yolk. You want it to be runny, but not completely raw. This is a matter of preference, but I like my yolks to be just slightly cooked on the outside, still runny on the inside. You can test the yolk by gently pressing it with your spatula. If it feels firm, it's cooked. If it feels soft, it's still runny. Once the egg is to your liking, gently slide it onto a plate. Now, you've created a culinary masterpiece!
(Part 8) Serving Your Creation: A Feast for the Senses
With your over-easy egg cooked to perfection, it's time to serve it up. I love to pair mine with a slice of toasted sourdough bread, a dollop of tangy Greek yogurt, and a sprinkle of fresh herbs. You can also add some chopped avocado, a drizzle of hot sauce, or a pinch of smoked paprika. Let your imagination run wild and create your own flavour combinations.
(Part 9) The Perfect Over-Easy Egg Table: A Summary of Steps
Here's a table that summarizes the steps for making the perfect over-easy egg:
| Step | Description |
|---|---|
| 1 | Prepare your workspace: gather your pan, spatula, slotted spoon, bowl of cold water, salt and pepper, and a plate for serving. |
| 2 | Heat your pan to medium heat. Test the pan by adding a drop of water – it should sizzle and evaporate quickly. Add a bit of butter or oil to the pan to coat it. |
| 3 | Crack your egg gently over the bowl, ensuring no shell bits fall into the egg. Use a small spoon to remove any shell bits. |
| 4 | Pour the egg into the hot pan, using a smooth, steady motion. |
| 5 | Let the egg cook for a few moments, allowing the white to set. |
| 6 | Gently slide your spatula under the egg and flip it over in one swift motion. |
| 7 | Season with salt and pepper. Add any other desired toppings, such as herbs, vinegar, or a knob of butter. |
| 8 | Continue cooking until the yolk is to your liking. |
| 9 | Slide the egg onto a plate and enjoy! |
(Part 10) FAQs: Solving Your Egg-cellent Dilemmas
Now that you've mastered the art of the over-easy egg, let's tackle some common questions:
Q1: What if my egg whites stick to the pan?
Don't worry, we've all been there! The key here is to use enough fat in your pan. Add a generous amount of butter or oil to the pan before you crack your egg. This will help to prevent sticking. You can also try using a non-stick pan if you have one. And if the whites do stick, don't try to pry them off the pan. Just let them cook a bit longer, and they should release on their own.
Q2: How can I tell if my egg is cooked to my liking?
This is all about personal preference. If you like your yolk runny, cook it for a shorter amount of time. If you like it more cooked, cook it for longer. You can also gently press the yolk with your spatula. If it feels firm, it's cooked. If it feels soft, it's still runny.
Q3: Can I make over-easy eggs in advance?
I wouldn't recommend it. Over-easy eggs are best enjoyed fresh. The whites will become rubbery and the yolk will harden if you cook them in advance. But if you absolutely must make them in advance, try cooking them until the white is set but the yolk is still runny. Then, gently slide the egg onto a plate, cover it with plastic wrap, and store it in the fridge. When you're ready to eat, you can reheat it in the microwave or on the stovetop. But be warned, it won't be quite as perfect as a freshly cooked egg!
Q4: What can I do if my yolk breaks?
Sometimes, despite our best efforts, the yolk cracks. Don't panic! Just cook it as usual. The yolk will still be delicious, even if it's a bit more spread out.
Q5: What if my egg isn't as perfect as yours?
Don't worry, perfection is a myth! You can't win them all. The most important thing is to enjoy the process and the delicious result. Keep practicing, and you'll be a pro in no time. And even if your egg isn't perfect, it's still going to be delicious. So, go forth, crack some eggs, and have a lovely breakfast!
Everyone is watching

Prime Rib Roast Cooking Time Chart: Per Pound Guide
Cooking TipsPrime rib roast. Just the name conjures images of lavish dinners, crackling fires, and hearty laughter. It’s ...

How Long to Bake Potatoes in the Oven (Perfect Every Time)
Cooking TipsBaked potatoes are a staple in my kitchen. They're incredibly versatile, delicious, and surprisingly easy to m...

Perfect Rice Every Time: The Ultimate Guide to Cooking Rice
Cooking TipsAs a self-proclaimed foodie, I've always been a bit obsessed with rice. It's the foundation of countless cuisi...

The Ultimate Guide to Cooking Asparagus: Tips, Techniques, and Recipes
Cooking TipsAsparagus. The mere mention of this spring delicacy conjures up images of vibrant green spears, crisp and burs...

Ultimate Guide to Cooking the Perfect Thanksgiving Turkey
Cooking TipsThanksgiving. Just the word conjures up images of overflowing tables laden with delicious food, the scent of r...