Let's talk about chicken breasts, shall we? I've been cooking for years, and I've learned a thing or two about getting them just right. I'm not going to lie, it's been a journey. I've had my share of dry, rubbery chicken breasts, and trust me, that's just a recipe for disappointment. Nobody wants to bite into a piece of chicken that resembles a hockey puck, right?
(Part 1) The Quest for juicy chicken: From Dry to Delicious
(Part 2) Debunking the 400°F (204°C) Myth
(Part 3) My Eureka Moment: 350°F (177°C)
(Part 4) Preheating: The Crucial First Step
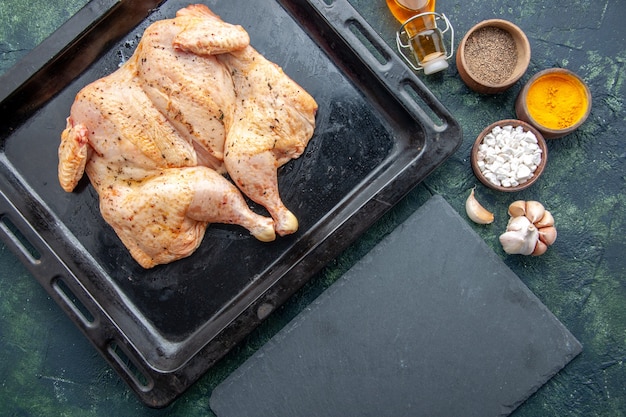
Before you even think about putting your chicken in the oven, make sure it’s preheated. This is crucial to ensure that the chicken cooks evenly and quickly. If you don't preheat the oven, it will take longer for the chicken to reach the desired temperature, leading to uneven cooking and potential dryness. I know, I know, it sounds like a simple step, but it’s one that can make a world of difference. Trust me, it's worth the extra few minutes to ensure a perfectly cooked chicken breast.(Part 5) Chicken Breast Thickness: A Game Changer
Here's another crucial factor: chicken breast thickness. It's a bit of a game-changer, so pay attention. You've got to adjust your cooking time accordingly. A thin chicken breast will cook much faster than a thick one.Adjusting Cooking Time for Different Thicknesses
For a thinner chicken breast (around 1 inch thick), you can expect a cooking time of around 20-25 minutes. A thicker breast (around 1.5 inches thick) might take 30-35 minutes. But here’s the key: You need to check for doneness! Don't just rely on the timer.The Importance of a meat thermometer
Use a meat thermometer to ensure the chicken has reached an internal temperature of 165°F (74°C). It’s the only way to know for sure that it's cooked through and safe to eat. I know, I know, it's an extra step, but it's worth it to avoid the risk of undercooked chicken.(Part 6) Overcooked Chicken: A Culinary Crime
Speaking of overcooking, let's talk about that. It's a common mistake that can lead to dry, rubbery chicken. So, how do you avoid it? Well, first off, don’t rely solely on your timer. It’s a good guideline, but it’s not always accurate. The best way to judge if the chicken is done is to use a meat thermometer. You’ll get a more accurate reading than just relying on visual cues.(Part 7) Resting: Giving Chicken a Moment to Relax
Okay, you've cooked your chicken to perfection, you’ve let it cool slightly, now what? Time for the most crucial step of all: Resting! Let your chicken rest for 5-10 minutes before carving or serving it. This allows the juices to redistribute throughout the meat. It ensures that the chicken is succulent and juicy. Resting it is like giving it a little time to relax after its workout in the oven!(Part 8) Boosting Flavor: Marinades and Brines
Marinades and brines can help to add moisture and flavour to your chicken. Marinades are good for adding flavour, while brines are great for adding moisture. They add that extra oomph to your chicken breast. But don't forget that a good marinade or brine can't make up for dry cooking. It’s just a bonus!(Part 9) Preventing Sticking: Parchment Paper and Roasting Racks
To help prevent the chicken from sticking to the baking sheet, use parchment paper. This way, you can easily remove the chicken without breaking it apart. Another great way to help prevent sticking and ensure even cooking is to use a roasting rack. This allows the heat to circulate around the chicken, resulting in a more evenly cooked product.(Part 10) The Skin Dilemma: To Keep or Not to Keep
I know, some people are all about skin, and others can’t stand it. But if you're leaving it on, you need to know this: Skin helps to keep the moisture in the chicken. It's like a natural barrier. But if you’re going for crispy skin, you can broil it for the last few minutes of cooking. Just keep a close eye on it to avoid burning.(Part 11) Beyond the Oven: Other Cooking Methods
Let's explore some other cooking methods that can also deliver juicy chicken breasts:Skillet Cooking: For Speed and Flavor
For a quicker and more flavorful option, you can cook your chicken breast in a skillet. Just be sure to use a good quality skillet that can withstand high heat. Heat some oil over medium-high heat and then add your chicken breast to the pan. Cook for around 3-4 minutes per side, or until golden brown and cooked through. You can also deglaze the pan with some wine or broth to make a delicious sauce.Grilling: For Smoky Flavor
For a smoky, barbecue-inspired flavour, try grilling your chicken breast. Just remember to preheat your grill and make sure it's cleaned. Place your chicken breast on the grill and cook for about 5-6 minutes per side, or until cooked through. You can also use a marinade to add extra flavour to your chicken.(Part 12) Accompaniments: Completing the Culinary Picture
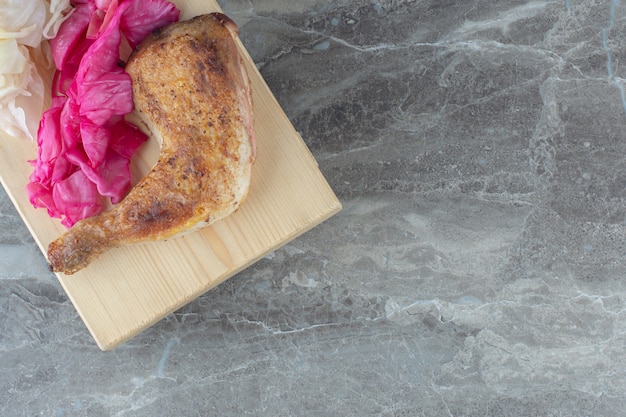
Now, let’s talk about what goes well with your perfectly cooked chicken breast. There are endless possibilities, but I’ve got a few personal favourites:- Roasted Vegetables: A classic pairing, especially with herbs like rosemary and thyme. Think roasted carrots, Brussels sprouts, asparagus, or even potatoes.
- Green Salad: A light and refreshing contrast to the rich flavour of chicken.
- Pasta Salad: A simple and satisfying side dish. Try a classic Italian pasta salad with tomatoes, basil, and mozzarella.
- rice pilaf: A flavorful and fragrant rice dish with herbs and spices.
(Part 13) Recipes: From Oven to Skillet
Let’s get practical. Here are a few of my go-to chicken breast recipes that I swear by:Roasted Chicken Breast with Lemon and Herbs
This recipe is simple, but incredibly delicious. The lemon juice adds brightness, while the herbs add a touch of complexity.Ingredients
- 1 boneless, skinless chicken breast
- 1 tablespoon olive oil
- 1 tablespoon lemon juice
- 1 teaspoon dried thyme
- 1/2 teaspoon salt
- 1/4 teaspoon black pepper
Instructions
- Preheat your oven to 350°F (177°C).
- In a small bowl, whisk together the olive oil, lemon juice, thyme, salt, and pepper.
- Place the chicken breast in a baking dish and pour the marinade over it.
- Roast for 20-25 minutes, or until the internal temperature reaches 165°F (74°C).
- Let the chicken rest for 5-10 minutes before slicing and serving.
pan-seared chicken Breast with Creamy Mushroom Sauce
This recipe is perfect for a quick and satisfying meal. The creamy mushroom sauce is rich and indulgent, and it pairs beautifully with the chicken.Ingredients
- 1 boneless, skinless chicken breast
- 1 tablespoon olive oil
- 1/2 teaspoon salt
- 1/4 teaspoon black pepper
- 1/2 cup sliced mushrooms
- 1/4 cup heavy cream
- 1 tablespoon butter
- 1 tablespoon chopped fresh parsley
Instructions
- Season the chicken breast with salt and pepper.
- Heat the olive oil in a large skillet over medium-high heat.
- Add the chicken breast to the skillet and cook for 3-4 minutes per side, or until golden brown and cooked through.
- Remove the chicken from the skillet and set aside.
- Add the mushrooms to the skillet and cook for 5-7 minutes, or until softened.
- Add the heavy cream and butter to the skillet and bring to a simmer.
- Cook for 2-3 minutes, or until the sauce has thickened.
- Stir in the parsley.
- Return the chicken breast to the skillet and coat it in the sauce.
- Serve immediately.
(Part 14) FAQs: Addressing Common Chicken Concerns
Here are some common questions that I've been asked about chicken breast cooking:1. Can I cook chicken breast in Foil?
You can, but it might not be the best way to cook it. Foil can trap moisture, making the chicken steam rather than roast. It might make it more tender, but it won't brown as nicely. If you do decide to use foil, make sure to leave a small opening to allow some steam to escape.2. How Do I Know If My Chicken Breast is Done?
The best way to know for sure is to use a meat thermometer. Make sure the internal temperature reaches 165°F (74°C). If you don't have a thermometer, you can also use the "finger test" to gauge doneness. Press the chicken with your finger. If it feels firm, it's done.3. What Can I Do with leftover chicken breast?
Leftover chicken breast is a versatile ingredient. You can use it to make salads, sandwiches, soups, or even casseroles. It's also great for freezing and using later.4. Can I Cook Chicken Breast Frozen?
You can, but it will take longer to cook and might not be as juicy. If you do choose to cook frozen chicken, add extra time to your cooking time.5. How Long Can I Store Cooked Chicken Breast in the Fridge?
Cooked chicken breast can be stored in the fridge for 3-4 days. Just make sure to store it in an airtight container.(Part 15) In Conclusion: Embrace the Journey
So, there you have it. My ultimate guide to perfect, juicy chicken breasts. It's not rocket science, but it does take a bit of practice. But trust me, it's worth the effort. Now go forth and conquer the world of chicken breast. You’ve got this!Everyone is watching

Prime Rib Roast Cooking Time Chart: Per Pound Guide
Cooking TipsPrime rib roast. Just the name conjures images of lavish dinners, crackling fires, and hearty laughter. It’s ...

How Long to Bake Potatoes in the Oven (Perfect Every Time)
Cooking TipsBaked potatoes are a staple in my kitchen. They're incredibly versatile, delicious, and surprisingly easy to m...

Perfect Rice Every Time: The Ultimate Guide to Cooking Rice
Cooking TipsAs a self-proclaimed foodie, I've always been a bit obsessed with rice. It's the foundation of countless cuisi...

The Ultimate Guide to Cooking Asparagus: Tips, Techniques, and Recipes
Cooking TipsAsparagus. The mere mention of this spring delicacy conjures up images of vibrant green spears, crisp and burs...

Ultimate Guide to Cooking the Perfect Thanksgiving Turkey
Cooking TipsThanksgiving. Just the word conjures up images of overflowing tables laden with delicious food, the scent of r...