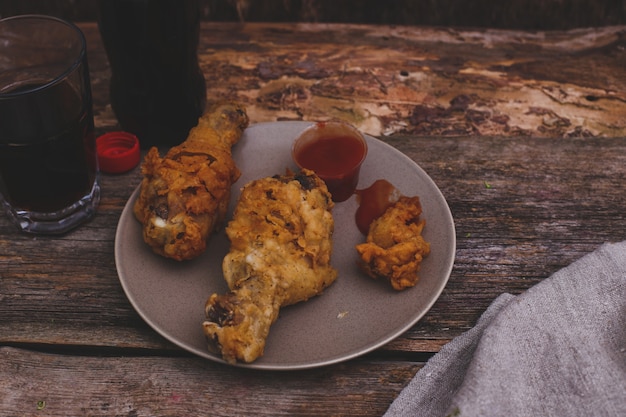
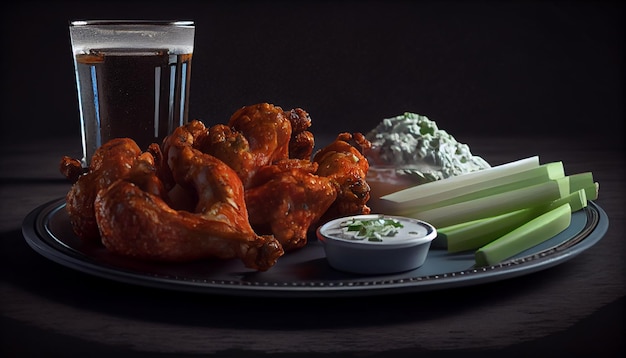
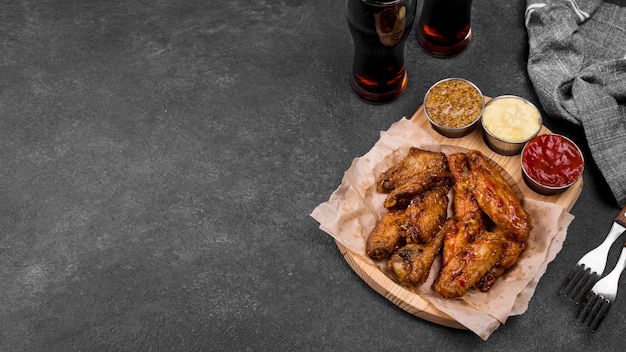
Let’s be honest, folks. chicken wings are the undisputed king of game day snacks, the MVP of any party, and the ultimate comfort food. There’s just something about that perfect combination of crispy skin, juicy meat, and a delightful dip that makes them irresistible. But let’s face it, a bad wing can be a real disappointment. Soggy, undercooked, or worse, dry and rubbery wings are a culinary crime. And the culprit? Temperature. It's the single most important factor in achieving that perfect wing, the one that makes your taste buds sing. So, gather 'round, wing enthusiasts, because we're about to dive into the science, the technique, and the secrets to achieving those ultimate, mouthwatering wings.
(Part 1) The Science Behind the Perfect Wing

Think of cooking chicken wings like a symphony. Each instrument, or in this case, temperature zone, plays a crucial role in creating the harmonious blend of flavors and textures that make a wing truly exceptional. And getting the timing and temperature right? That’s like hitting the perfect note – it makes all the difference.
1.1 Temperature Zones: The Key to Success
Let's break down the temperature zones that will lead you to wing nirvana:
- Zone 1: The Searing Zone (400-450°F/200-230°C): This is where the magic truly begins! This intense heat is all about creating that beautiful, golden-brown crust. Think of it as a crispy armor that locks in the juicy goodness inside. The searing phase is crucial for developing the irresistible crunch that makes a wing so satisfying. But, here's the catch – you have to be careful not to overcook the internal meat during this stage. It's a delicate dance.
- Zone 2: The Cooking Zone (350-375°F/175-190°C): This is where the magic continues. This temperature zone ensures that the chicken cooks through, reaching that safe internal temperature, without drying out the meat. Think of it as a gentle embrace, ensuring even cooking without sacrificing tenderness.
- Zone 3: The Resting Zone (Room Temperature): Don't underestimate the power of patience! Allowing those wings to rest after cooking gives the juices a chance to redistribute throughout the meat, resulting in wings that are incredibly tender and juicy. It's like letting the flavors settle and mingle, creating a culinary symphony of deliciousness.
(Part 2) The Wing Preparation: Getting It Right From the Start

Now, let’s talk about the foundation of every great wing – preparation. You wouldn’t build a house without a solid foundation, and the same goes for your wings. Choosing the right wings, prepping them properly, and getting that seasoning just right sets the stage for a truly exceptional outcome.
2.1 Choosing the Right Wings: A Matter of Preference
Okay, wing aficionados, let’s get down to business. Choosing the right wings is a matter of personal preference, but there are some guiding principles. Drumettes, those thicker, meatier portions, are a personal favorite. I love that hearty bite and the way the meat pulls off the bone. But flats, with their thinner, flatter shape, offer a different kind of deliciousness, and the crispy skin-to-meat ratio is superb. And, of course, you can always go with a mix for a variety of textures and tastes. But regardless of your choice, make sure you're using wings that are a good size, not too small or too large, and always trim those tips - they’re just too bony!
2.2 The Prep Process: A Simple Guide
Here’s the step-by-step process I follow for perfect wing prep:
- Wash and Dry: First things first, give those wings a good rinse under cold water. Then, pat them dry thoroughly with paper towels. Removing any excess moisture is essential for achieving crispy skin and ensuring even cooking.
- Seasoning: This is where the fun begins! I like to keep things simple with a classic salt, pepper, and paprika rub. But you can experiment with different spice blends, herbs, and seasonings to create your own signature wing flavor. Try adding garlic powder, onion powder, cayenne pepper, chili flakes, or even a touch of your favorite hot sauce for a kick. The possibilities are endless!
- The Art of the Wing: Here’s a little trick for extra crispy skin: give those wings a gentle pat with olive oil before seasoning. This helps the skin brown beautifully and creates a crispy exterior.
(Part 3) Oven-Baked Wings: A Crispy Classic

Alright, let's talk about the classic approach, the time-tested, crowd-pleasing method for achieving delicious chicken wings - oven-baked wings. Simple, versatile, and always a winner, it's a method that everyone can master with a few tips and tricks.
3.1 Getting the Oven Ready: The Preheating Ritual
This is a crucial step! Preheating your oven allows the wings to cook evenly and helps create that perfect, crispy exterior. I always preheat my oven for at least 15-20 minutes before I add those wings. Let it reach that desired temperature before you put anything in there. It really makes a difference, trust me!
3.2 The Baking Method: Step by Step
Here's the roadmap to oven-baked wing perfection:
- Baking Sheet Prep: Grab a baking sheet and line it with parchment paper. This makes cleanup a breeze. You'll thank me later!
- Wing Placement: Arrange those wings on the baking sheet in a single layer, making sure they have space to breathe. You want them to get nice and crispy on all sides, so avoid overcrowding.
- The Searing Phase: Pop those wings into the oven at 400°F/200°C for the first 15 minutes. This intense heat is all about creating that beautiful golden-brown crust. And here's a tip: Resist the urge to open the oven door during this crucial stage. Let it do its thing!
- The Cooking Phase: After those 15 minutes, reduce the oven temperature to 350°F/175°C and continue baking for another 25-30 minutes. This lower temperature ensures the wings cook through without drying out the meat. Use a meat thermometer to check that the internal temperature reaches 165°F/74°C. This is essential for food safety.
- The Resting Phase: Once those wings are cooked to perfection, let them rest on the baking sheet for 5-10 minutes before serving. This allows the juices to redistribute, resulting in those succulent, juicy wings.
(Part 4) The Art of Deep-Fried Wings: A Crispy, Juicy Masterpiece
Now, we're stepping up the game with deep-fried wings. It's a classic technique for a reason – it delivers that ultimate crispy, golden-brown exterior while keeping the meat juicy and tender. It’s a bit of a challenge, but the payoff is worth the effort.
4.1 Deep-Frying Equipment: Essential Tools for Success
Here's the arsenal you need for deep-frying success:
- deep fryer: A good deep fryer is your best friend. It ensures even heat distribution and maintains a consistent oil temperature for perfect results. You want that oil to be hot enough to create that crispy exterior, but not so hot that it burns the wings.
- Thermometer: A trusty thermometer is crucial for monitoring the oil temperature. It's all about keeping that oil in the perfect temperature zone for deep frying.
- Mesh Basket: A mesh basket makes it easy and safe to submerge and retrieve those wings from the hot oil. Plus, it helps drain off excess oil, leaving you with crispy, not greasy, wings.
- Large Pot: If you're not using a deep fryer, a large pot with high sides and a lid can work as well. Just make sure the pot is large enough to hold enough oil to completely submerge those wings.
4.2 The Deep-Frying Process: Mastering the Technique
Ready to deep fry like a pro? Here's how:
- Oil Temperature: Heat the oil in your deep fryer or pot to 350°F/175°C. This is the sweet spot for crispy, juicy wings. Keep a close eye on that thermometer. If the temperature drops, give it a few minutes to reheat.
- Frying Time: Gently lower those wings into the hot oil in batches, making sure not to overcrowd the fryer or pot. Overcrowding can cause the oil temperature to drop, which can lead to uneven cooking and soggy wings. The frying time depends on the size of your wings, but generally, it takes about 8-10 minutes for those crispy, golden-brown wings.
- The Flip: After about 4-5 minutes, carefully flip those wings using a slotted spoon or tongs. This ensures even cooking on all sides. You'll notice the skin starting to turn a beautiful, golden-brown color.
- Drain and Rest: Once those wings are cooked to perfection, remove them from the hot oil using a slotted spoon or tongs and place them on a wire rack or paper towels to drain off any excess oil. Let them rest for a few minutes, allowing the juices to redistribute and the wings to cool down slightly.
(Part 5) The Perfect Wing Temperature: The Critical Factor
Okay, folks, let’s talk about the key to success - temperature. It’s all about finding that perfect balance between crispy skin and juicy, tender meat. It’s a fine line, but understanding the basics can make all the difference.
5.1 safe internal temperature: Food Safety First
It’s not just about taste; it’s about safety! Chicken needs to reach an internal temperature of at least 165°F/74°C to kill any harmful bacteria. Always use a meat thermometer to check the internal temperature, especially when cooking chicken.
5.2 Overcooked Wings: The Dry and Rubbery Disaster
We've all been there. You think the wings are done, you pull them out, and then... disaster! Those wings are dry and rubbery, and it’s all because they’ve been overcooked. The key is to avoid keeping those wings in that high-temperature zone for too long. It’s about timing and checking the internal temperature regularly.
5.3 Undercooked Wings: A Risky Business
Undercooked wings are a big no-no! Not only will they not taste good, but they can also be harmful. It’s crucial to cook those wings to the correct internal temperature for food safety. No shortcuts here!
(Part 6) The Wing Temperature Chart: A Quick Reference Guide
Here's a handy chart to help you keep those wings in the perfect temperature zones:
| Cooking Method | Target Temperature (°F) | Target Temperature (°C) | cooking time (Minutes) |
|---|---|---|---|
| Oven-Baked | 400°F (searing), 350°F (cooking) | 200°C (searing), 175°C (cooking) | 15-20 minutes (searing), 25-30 minutes (cooking) |
| Deep-Fried | 350°F | 175°C | 8-10 minutes |
(Part 7) The Wing Dips and Sauces: A Flavor Explosion
Now, let's talk about the finishing touch - those delightful dips and sauces! Let's be honest, a good wing deserves a great dip. It’s all about finding that perfect complement, that flavor explosion that takes your wings to the next level. From creamy and tangy to spicy and sweet, there’s a dip for every taste bud, and you can always get creative and come up with your own unique blend.
7.1 Classic Dip Choices: The Tried and Tested Favorites
Let's start with the classics, the go-to dips that never disappoint:
- Blue Cheese Dip: Creamy and tangy with a slight kick. It’s the perfect balance to those crispy wings. The sharpness of the blue cheese cuts through the richness of the wings, creating a delightful contrast.
- Ranch Dressing: Light, tangy, and creamy. It’s a crowd-pleaser, and it pairs well with all kinds of wings. The creamy texture and refreshing flavor are a perfect match for the crispy wings.
- Buffalo Sauce: Spicy, tangy, and simply irresistible. It's the ultimate wing sauce for those who like a fiery kick. The perfect blend of vinegar, hot sauce, and butter creates a flavor explosion that will leave you wanting more.
7.2 Get Creative with Dips: A Flavor Adventure
Ready for something a little more adventurous? Try these dips:
- Honey Mustard: Sweet and tangy, a perfect balance of flavors. This dip is a great option for those who like a milder flavor profile. The sweetness of the honey complements the savory flavors of the wings, while the mustard adds a tangy kick.
- Garlic Parmesan: Rich, savory, and cheesy. This dip is perfect for those who love a more robust flavor. The combination of garlic, Parmesan cheese, and a touch of creaminess creates a symphony of flavors that will elevate your wings to new heights.
- Sriracha Mayo: Spicy, creamy, and addictive. It’s a great way to add a touch of heat to your wings. The creamy mayonnaise base provides a smooth texture, while the sriracha adds a fiery kick that will awaken your taste buds.
(Part 8) Serving Those Wings: Presentation is Key
Now, let’s talk about presentation. Your beautiful, delicious wings deserve to be showcased! It’s all about making those wings look as good as they taste. And trust me, a little effort goes a long way.
8.1 The Wing Platter: Setting the Stage
A good wing platter is essential, it’s like a stage for your star performers. I like to use a large, rustic platter or a wooden tray. It adds a touch of warmth and sophistication to the occasion. Keep it simple, let those wings be the centerpiece!
8.2 The Wing Arrangement: Creating a Visual Feast
Don’t just throw them on the plate, you want to create a visual feast. I like to arrange those wings in a circular pattern. It looks appealing and creates a sense of balance. You can also use small bowls to display your dips and sauces, adding a touch of elegance to the presentation.
8.3 The side dishes: Completing the Feast
It’s all about balance. Add some side dishes to complement those wings. Think about contrasting textures and flavors. Some simple options include potato wedges, coleslaw, or a simple green salad. It adds variety and makes the meal feel complete.
(Part 9) FAQs: Your Wing-Related Questions Answered
Let’s tackle some common questions about chicken wings:
9.1 What’s the Best Way to Store Chicken Wings?
Store chicken wings in the refrigerator in an airtight container for up to 2-3 days. Always keep raw chicken separate from other foods to prevent cross-contamination. You can also freeze chicken wings for up to 3-4 months. Just make sure to wrap them tightly in freezer paper or aluminum foil.
9.2 Can You Reheat Chicken Wings?
You can reheat chicken wings, but the key is to do it right. The best way to reheat them is in the oven at 350°F/175°C for about 10-15 minutes. Just make sure they’re heated through before serving. You can also reheat them in the microwave, but they may lose some of their crispiness.
9.3 What are the Different Types of Chicken Wings?
There are three main types of chicken wings: drumettes, flats, and tips. Drumettes are the thicker, meatier part of the wing, while flats are the thinner, flatter part. Tips are the small, bony part of the wing that are often discarded.
9.4 What’s the Best Way to Clean a Deep Fryer?
First, unplug the deep fryer and let it cool completely. Then, carefully remove the basket and any other removable parts. Wash them with warm, soapy water and rinse thoroughly. For the deep fryer itself, wipe it down with a damp cloth and a mild detergent. Then, rinse it with clean water and dry it completely.
9.5 What are Some Healthy Chicken Wing Alternatives?
If you're looking for a healthier option, try baked or grilled chicken wings. You can also use skinless chicken breasts or thighs, which are lower in fat. And instead of deep-frying, try baking, grilling, or air frying your wings.
There you have it! The ultimate guide to achieving those perfect, crispy, juicy wings. It’s all about the temperature, the preparation, and the finishing touches. So, get those wings ready, grab your favorite dips, and enjoy a delicious and satisfying wing feast. Happy cooking!
Everyone is watching

Prime Rib Roast Cooking Time Chart: Per Pound Guide
Cooking TipsPrime rib roast. Just the name conjures images of lavish dinners, crackling fires, and hearty laughter. It’s ...

How Long to Bake Potatoes in the Oven (Perfect Every Time)
Cooking TipsBaked potatoes are a staple in my kitchen. They're incredibly versatile, delicious, and surprisingly easy to m...

Perfect Rice Every Time: The Ultimate Guide to Cooking Rice
Cooking TipsAs a self-proclaimed foodie, I've always been a bit obsessed with rice. It's the foundation of countless cuisi...

The Ultimate Guide to Cooking Asparagus: Tips, Techniques, and Recipes
Cooking TipsAsparagus. The mere mention of this spring delicacy conjures up images of vibrant green spears, crisp and burs...

Ultimate Guide to Cooking the Perfect Thanksgiving Turkey
Cooking TipsThanksgiving. Just the word conjures up images of overflowing tables laden with delicious food, the scent of r...
